Our cinnamon ornaments are fragile. It’s not uncommon to lose a beak, tail or a foot if they are dropped while hanging them on your tree. Or sometimes they can start to warp if they are stored somewhere humid. But don’t worry, they are fixable!! Below we outline how to properly repair your cinnamon ornaments, and how to store them at the end of the season.
Broken foot/beak
While making and packaging ornaments, it never fails that I’ll drop one… or there was the time that the dogs were wrestling and knocked the whole Christmas tree over! Let’s just say, I’ve got quite a collection of broken ornaments. And because I love them so much, and I know how much work goes into making them, they all get glued back together and put back on the tree :)
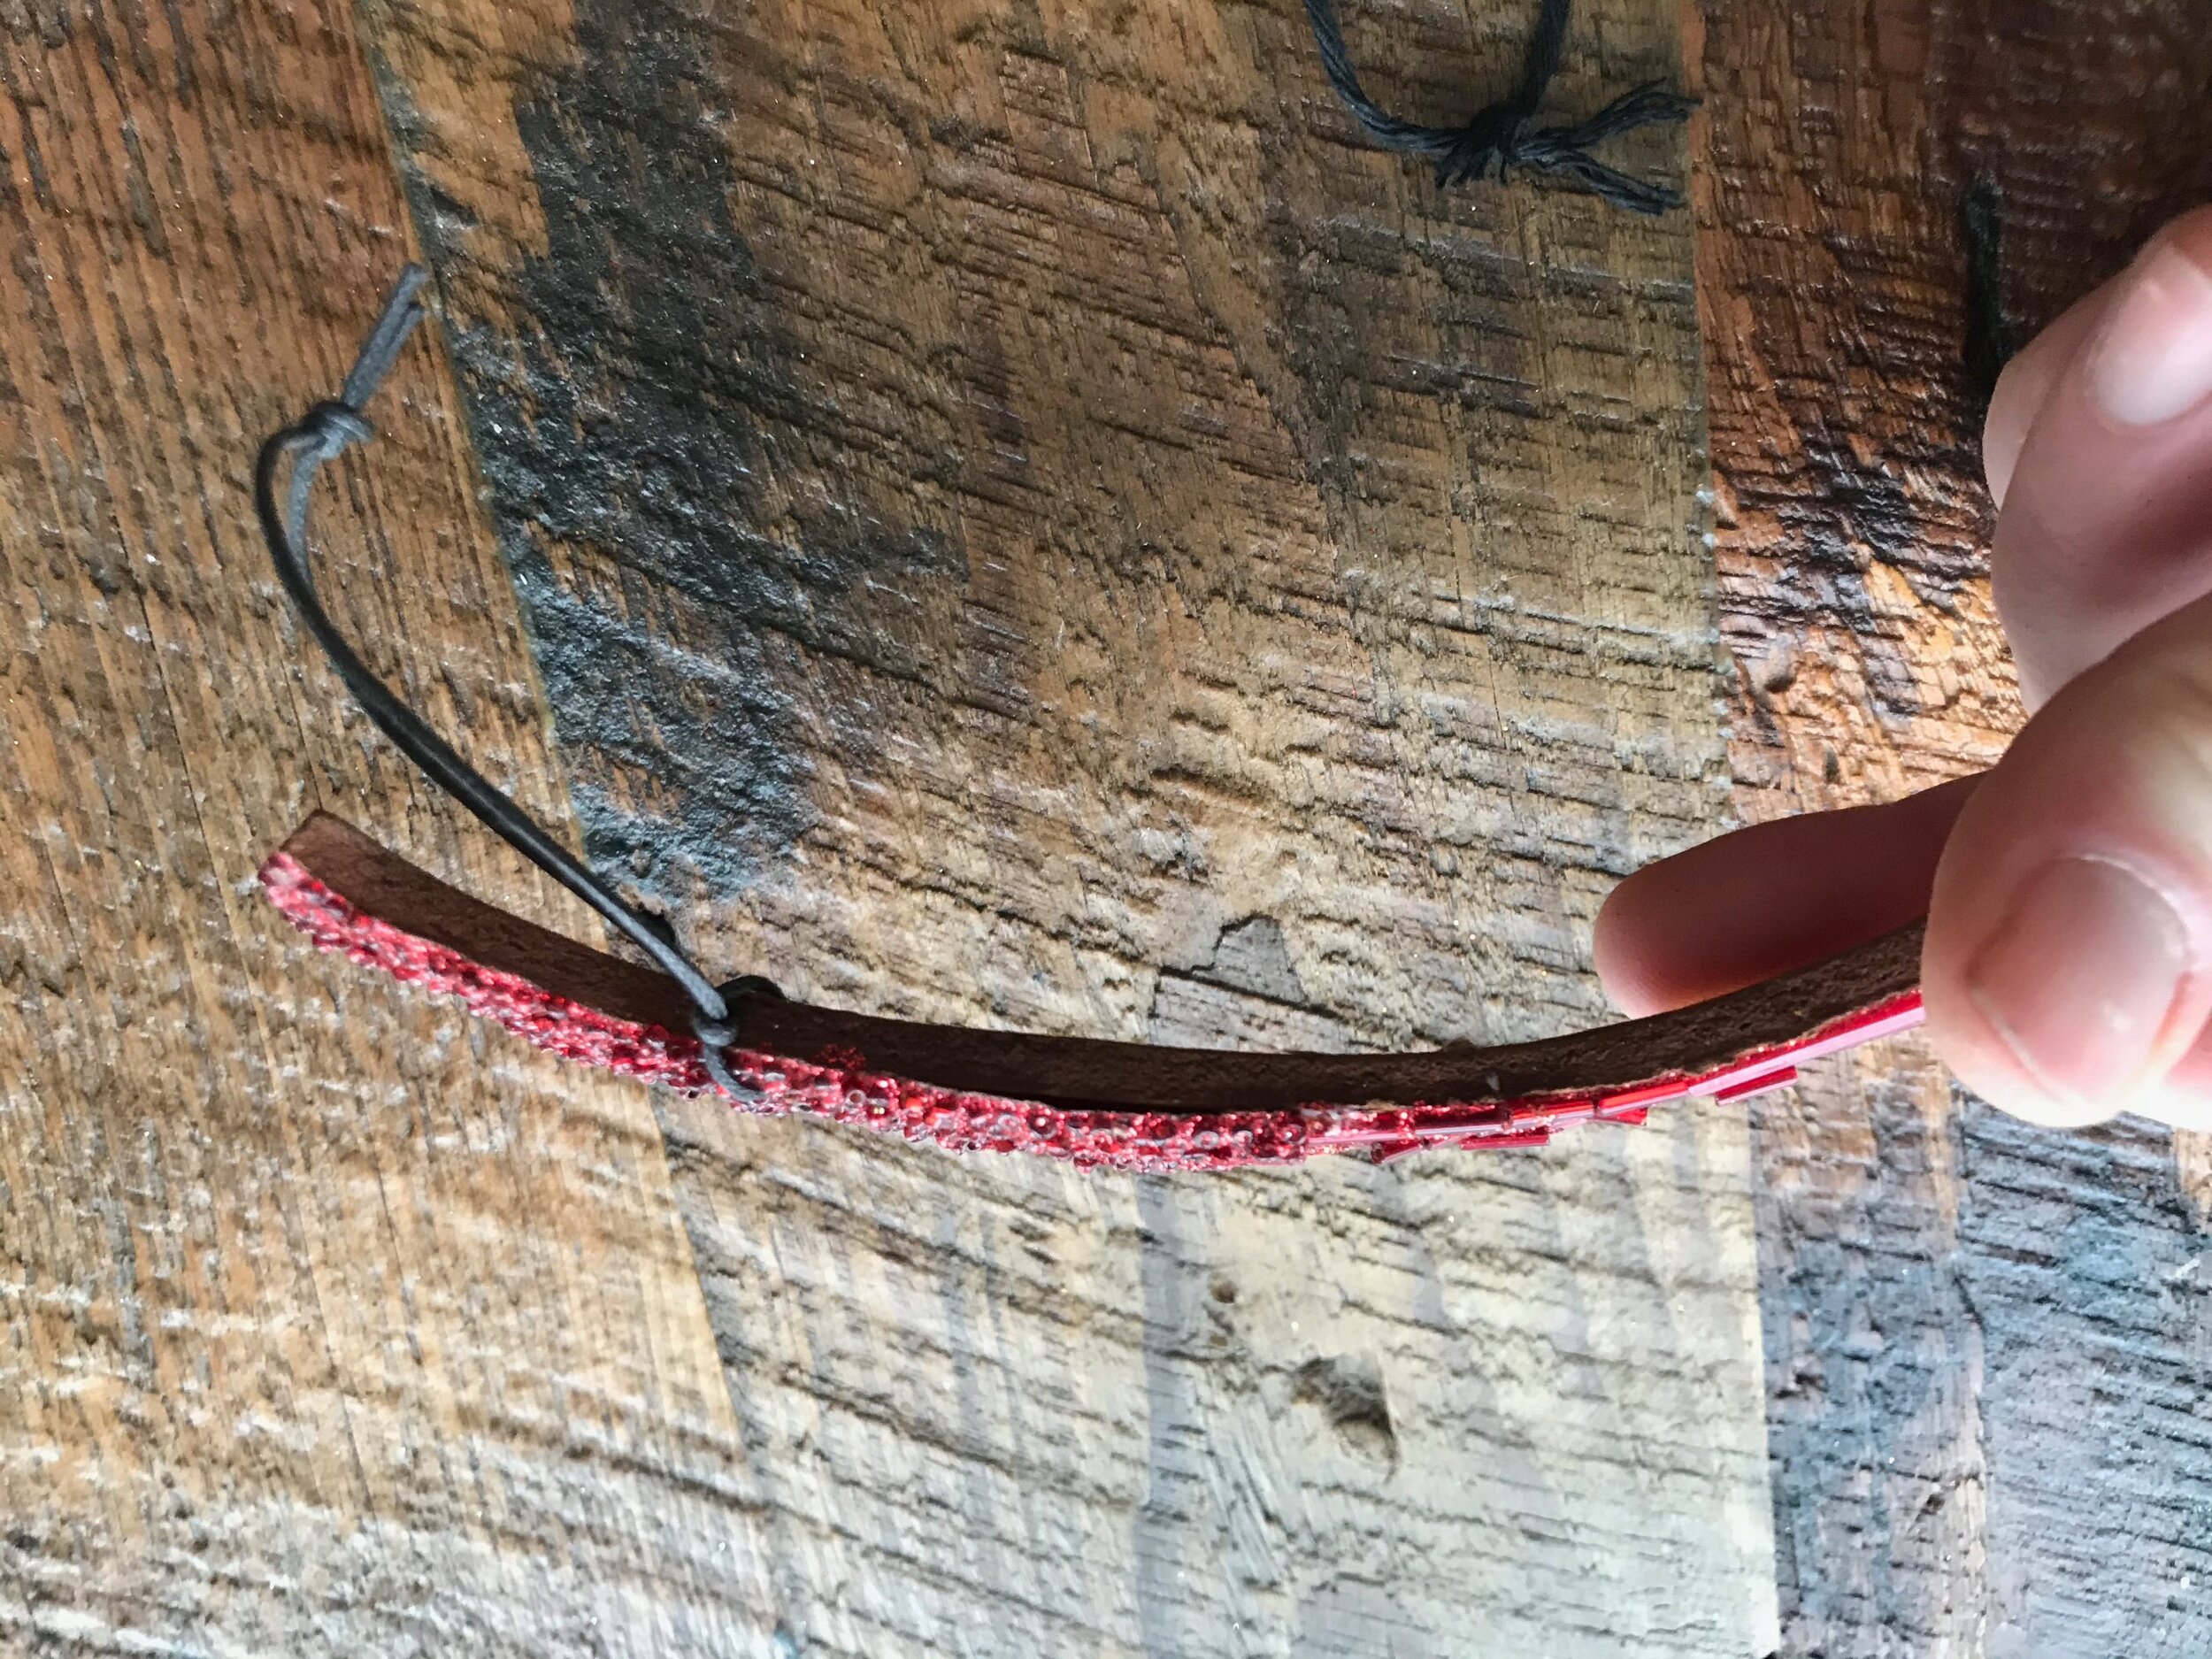
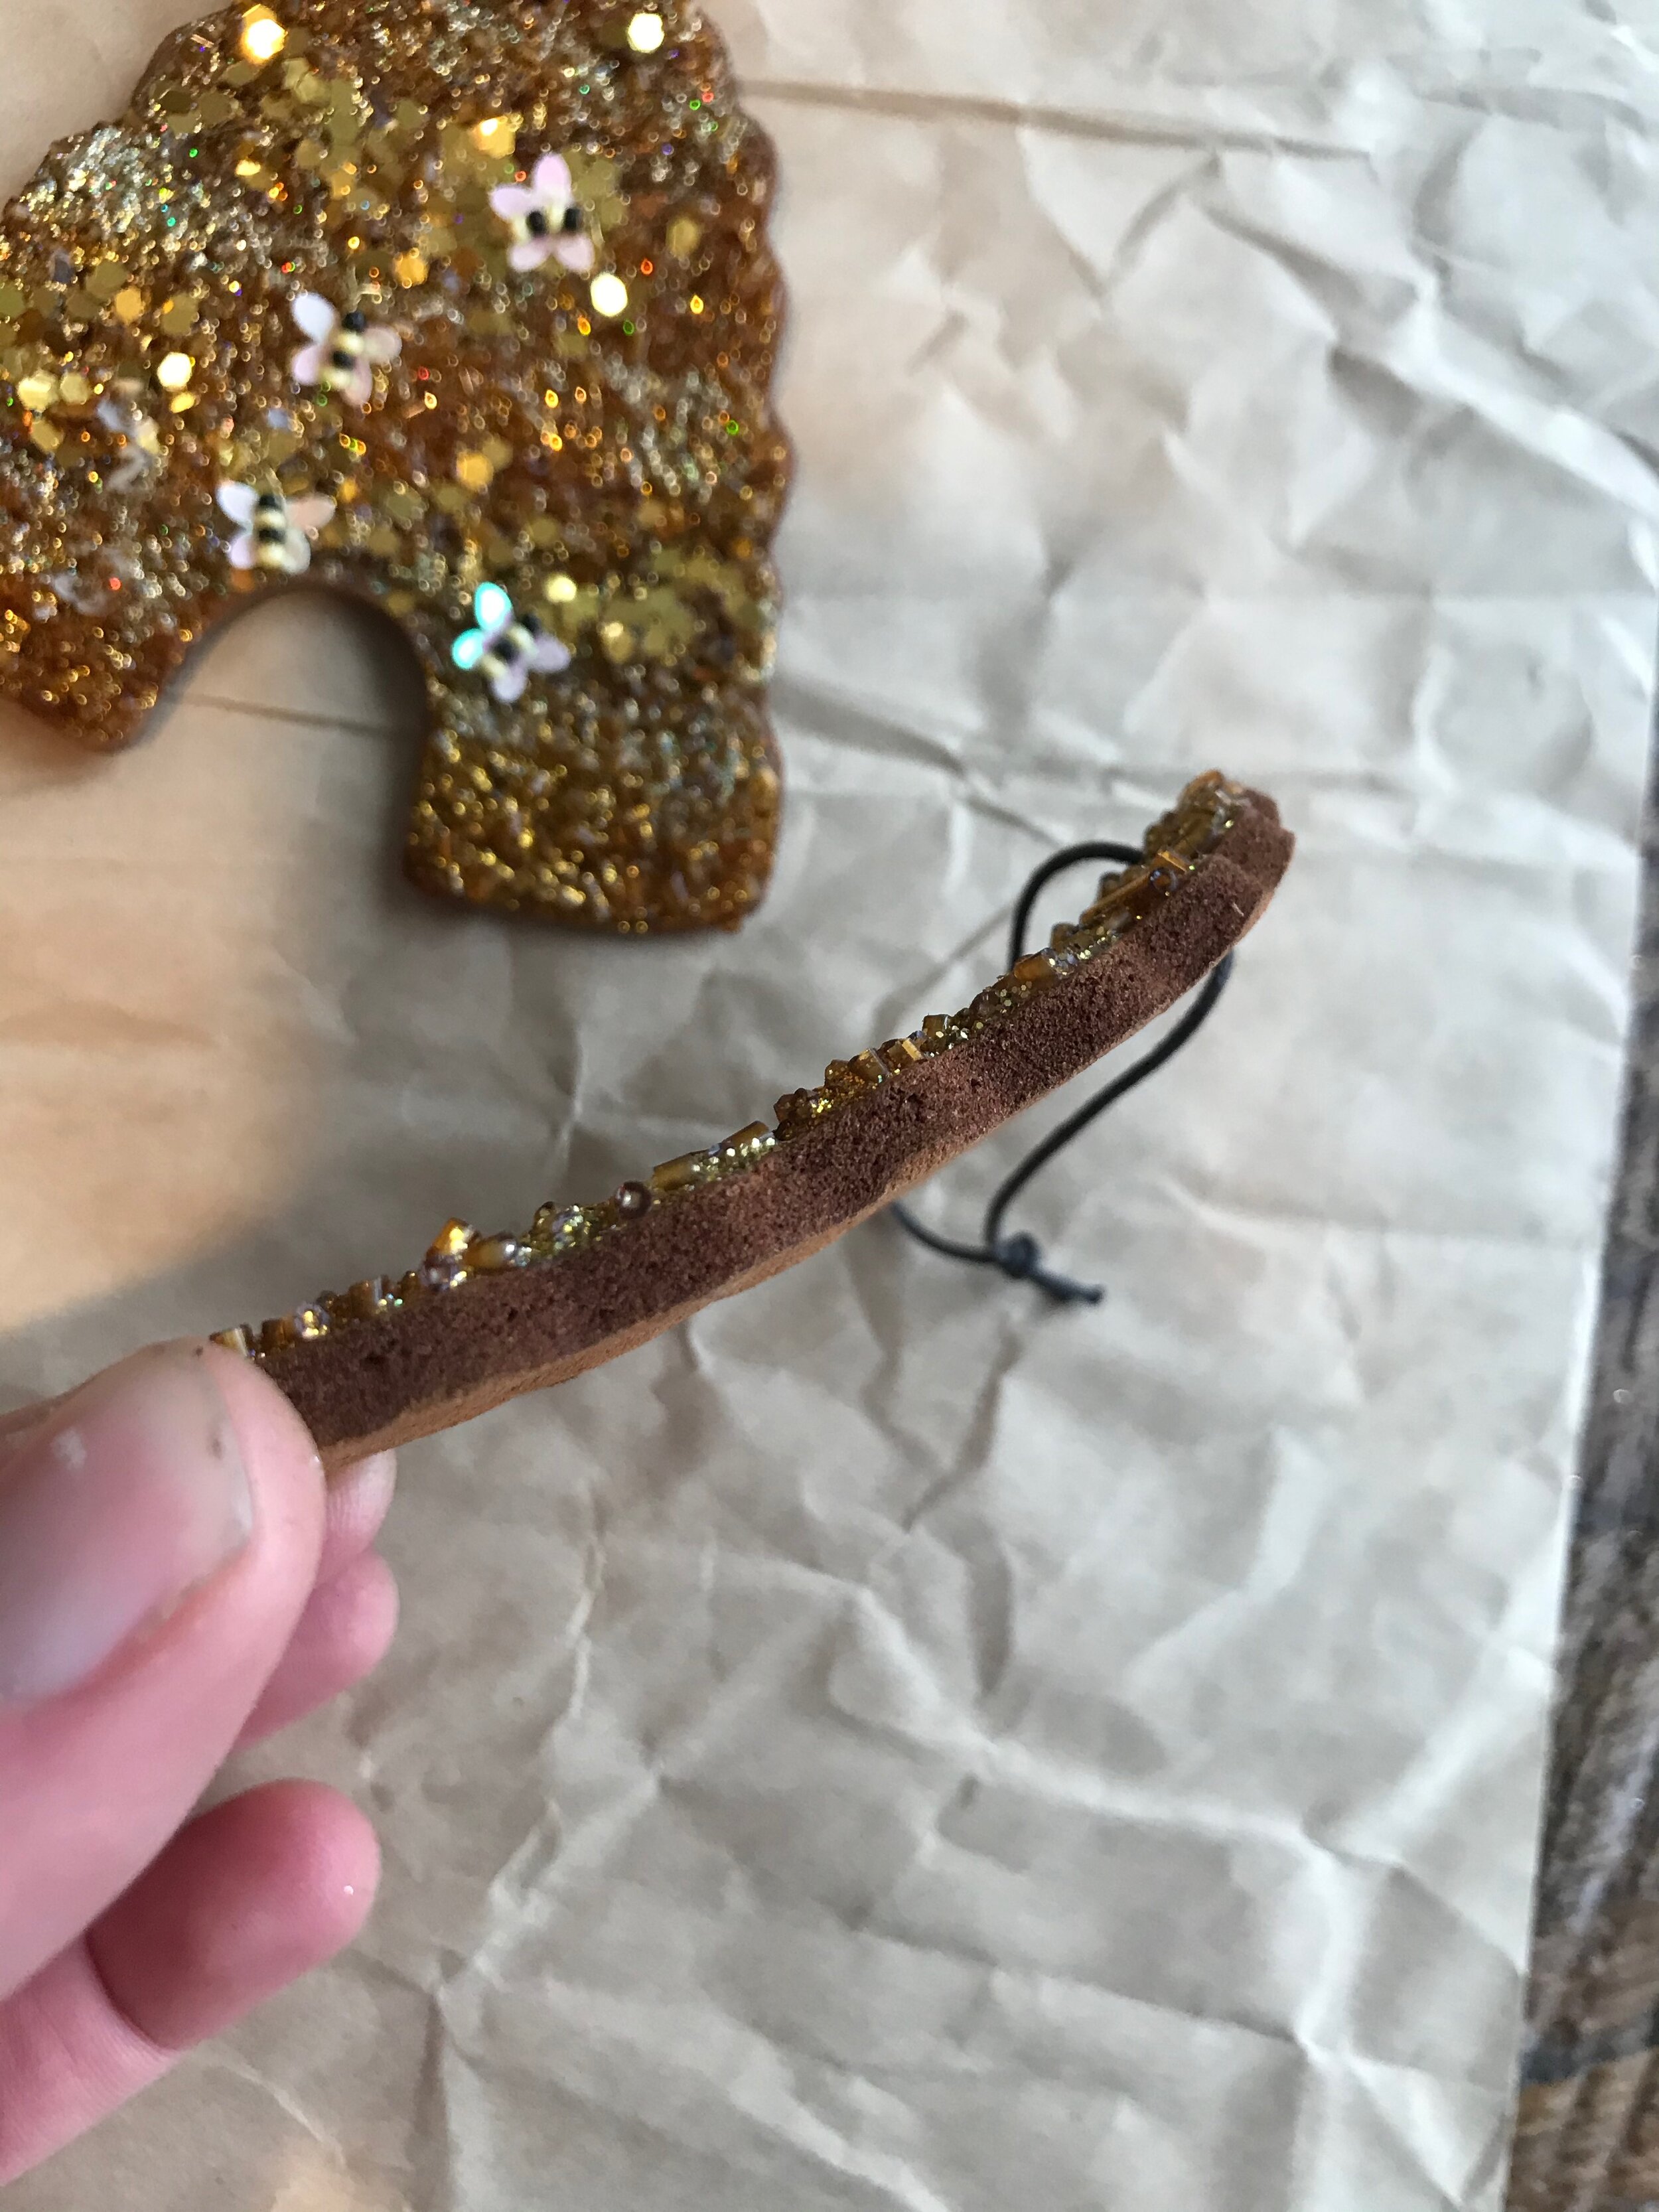
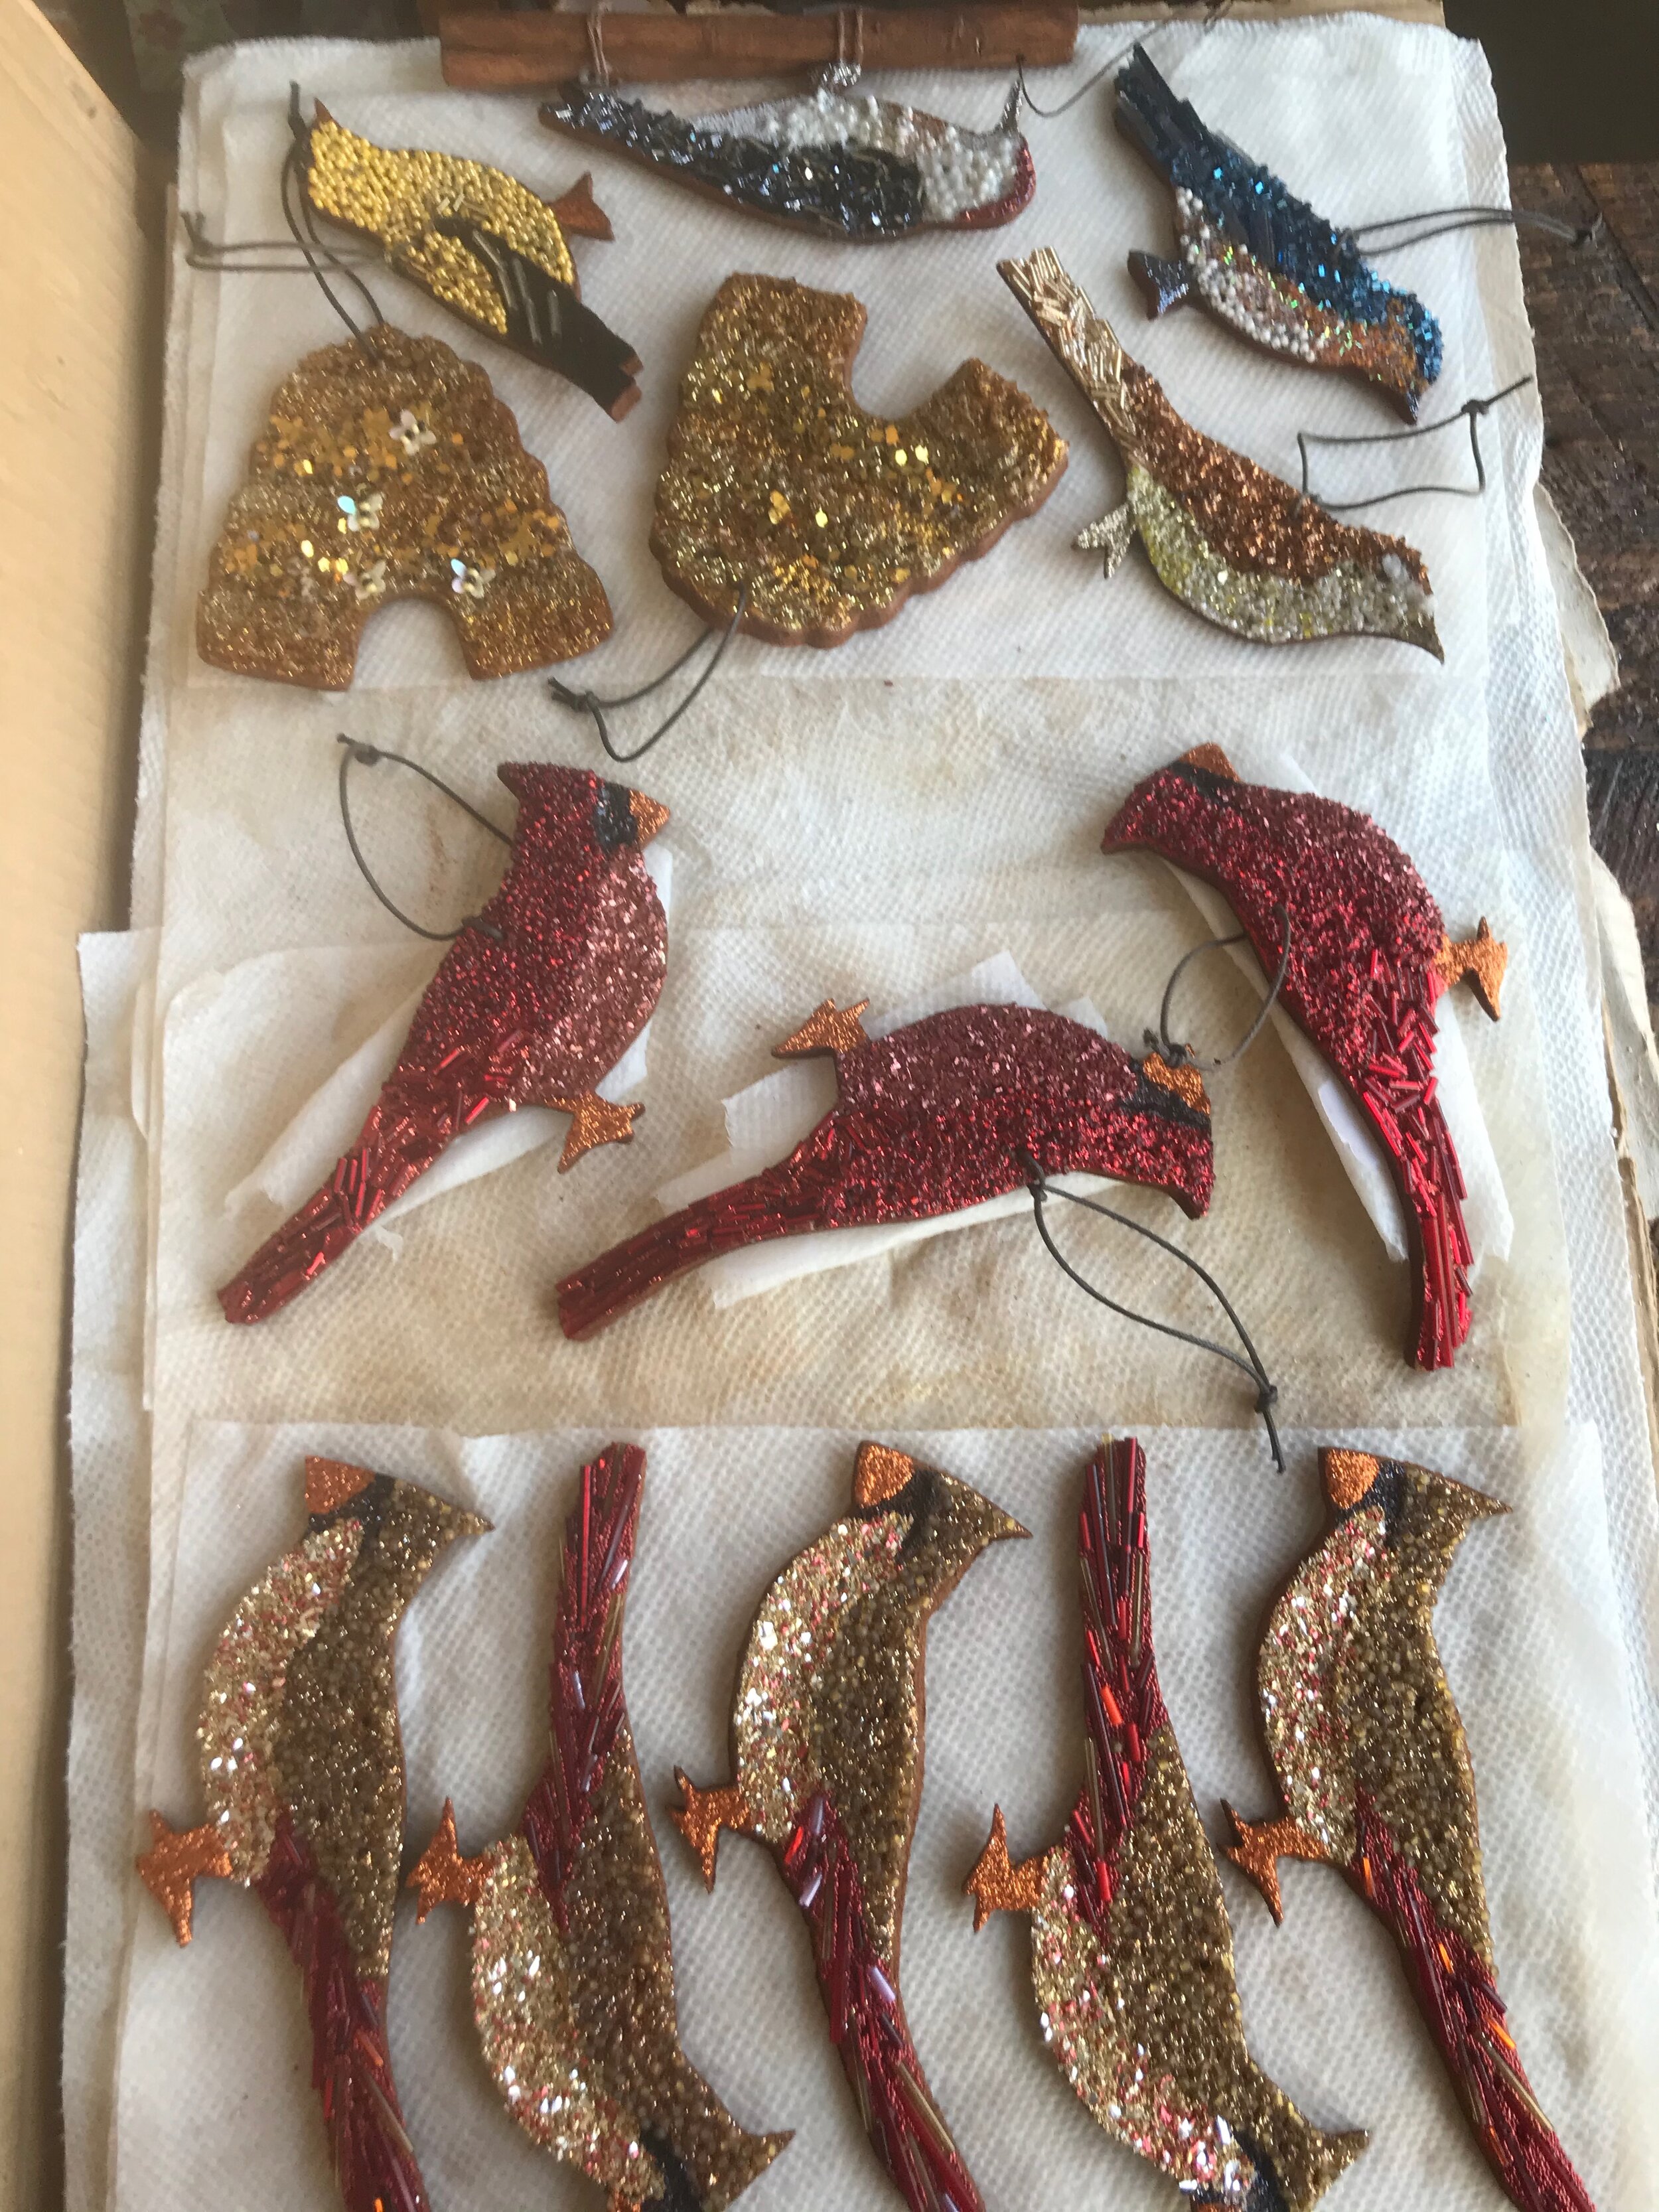
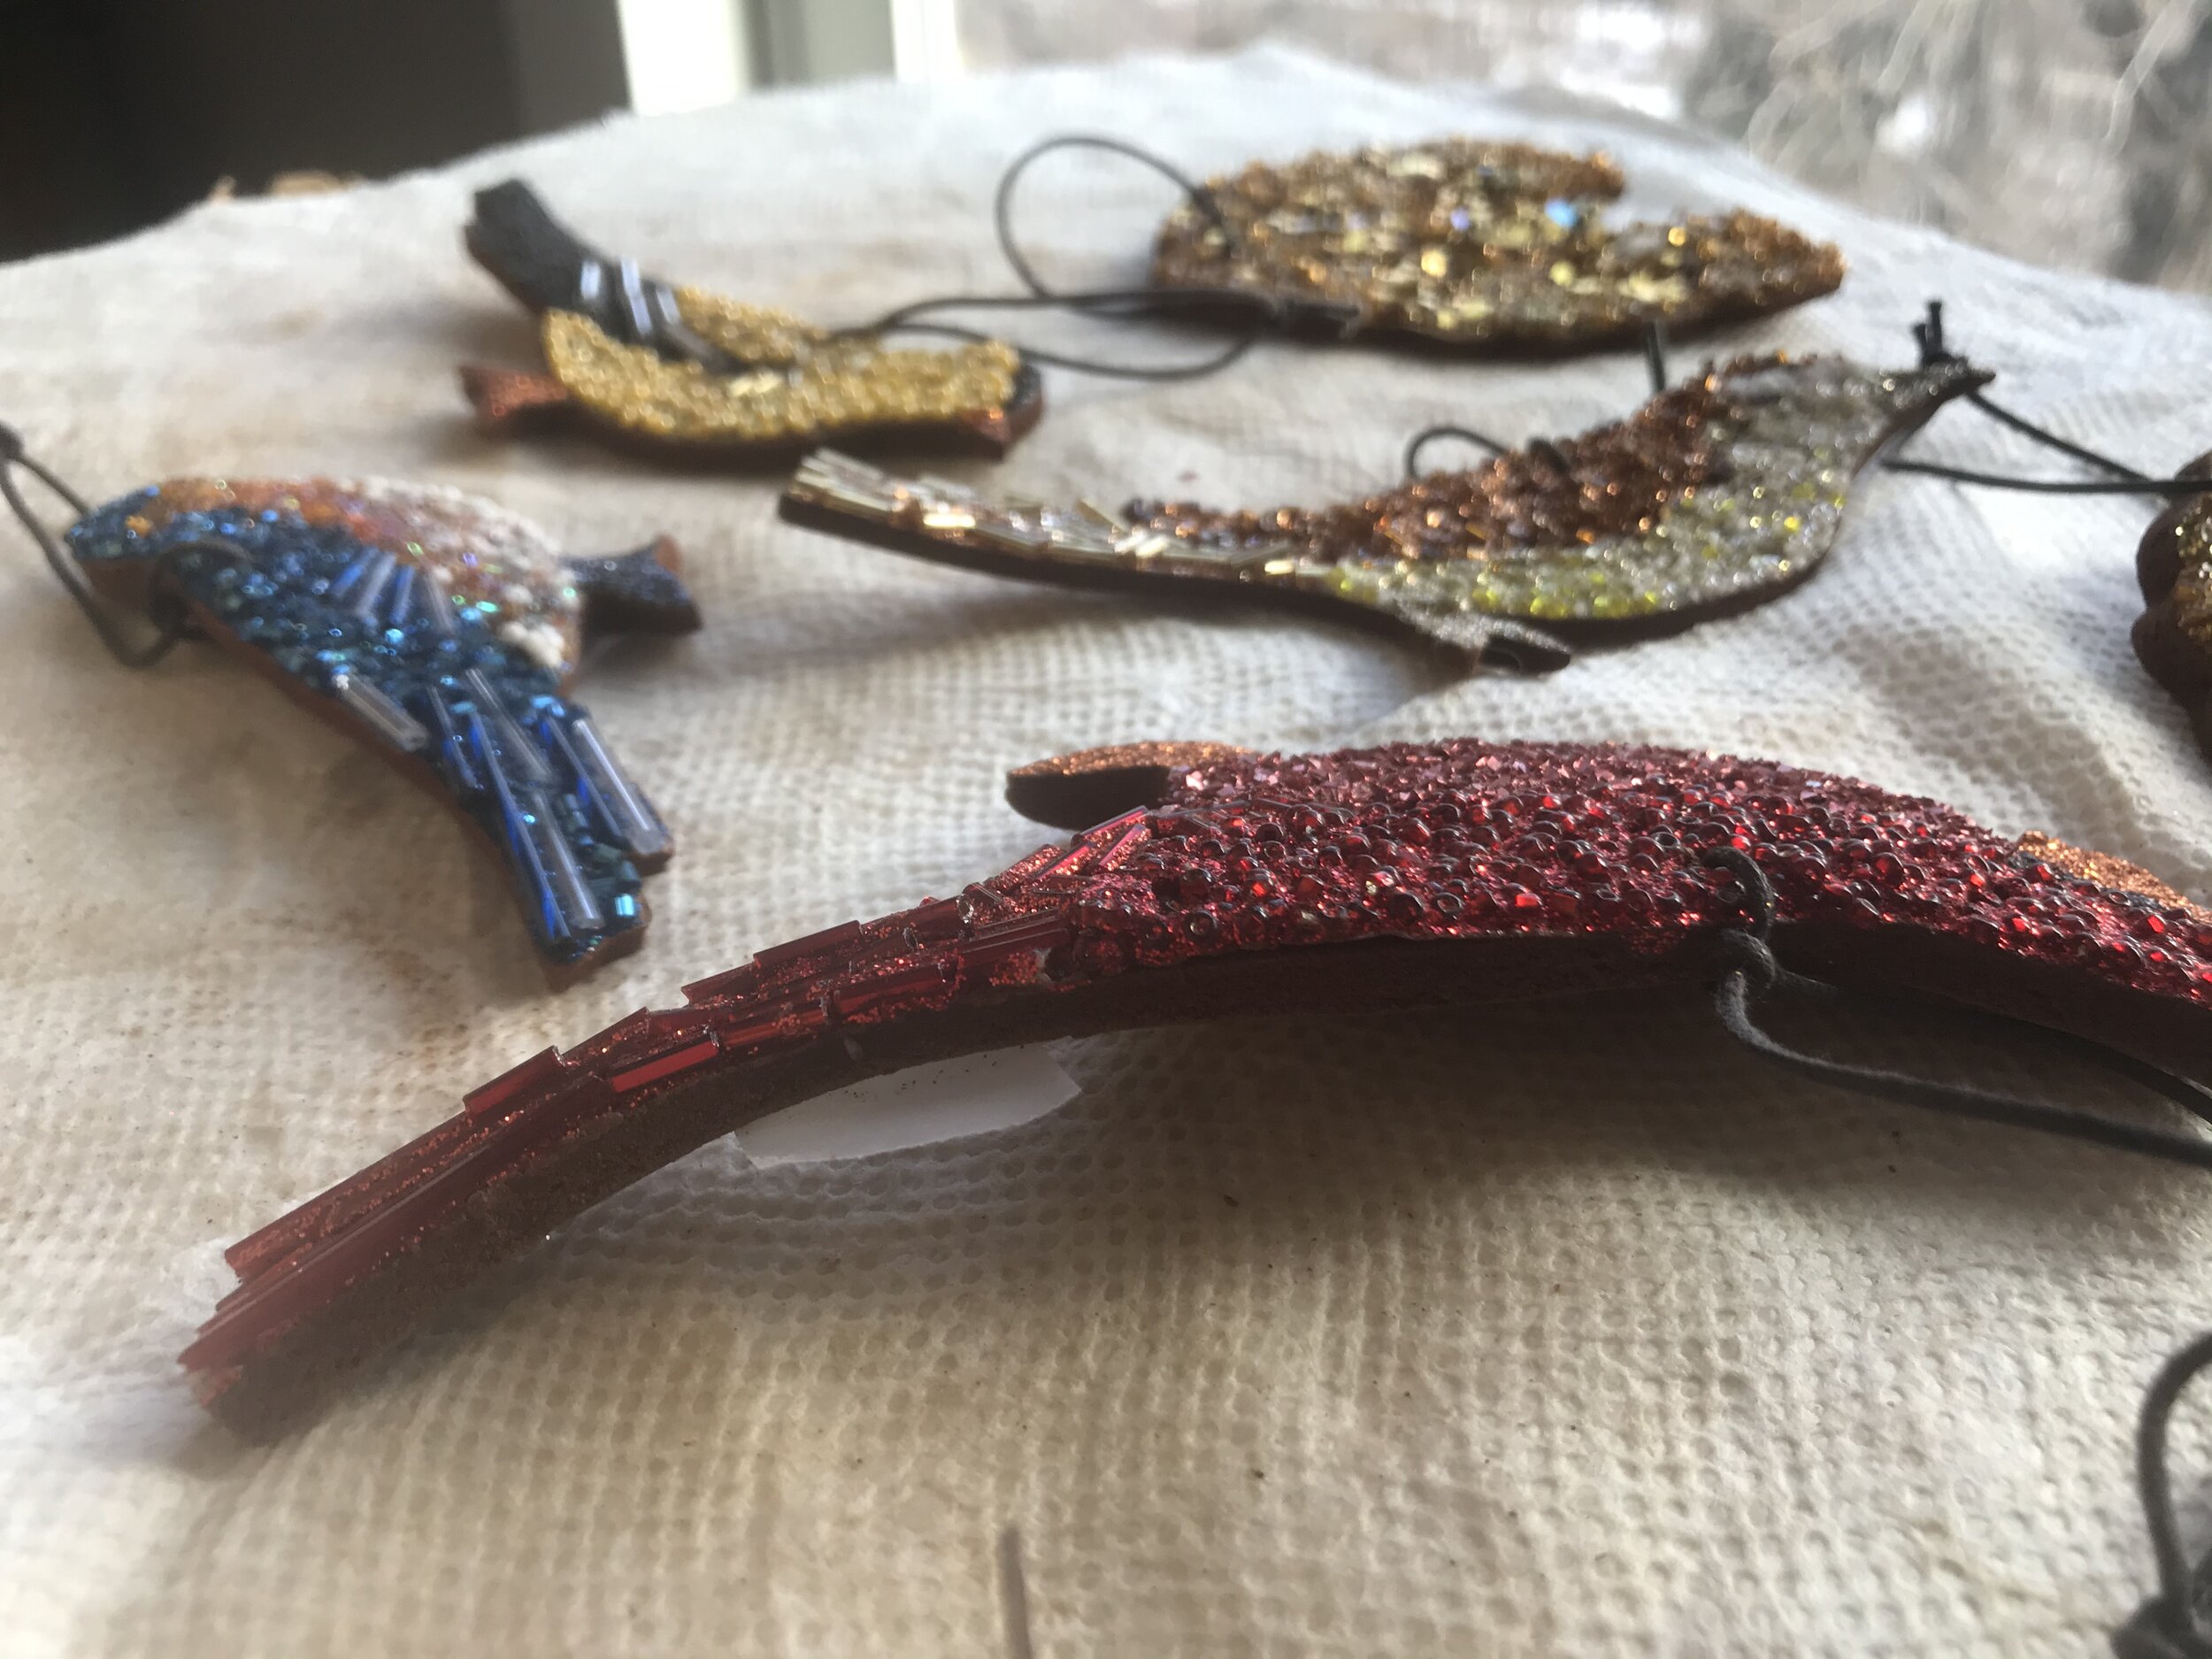
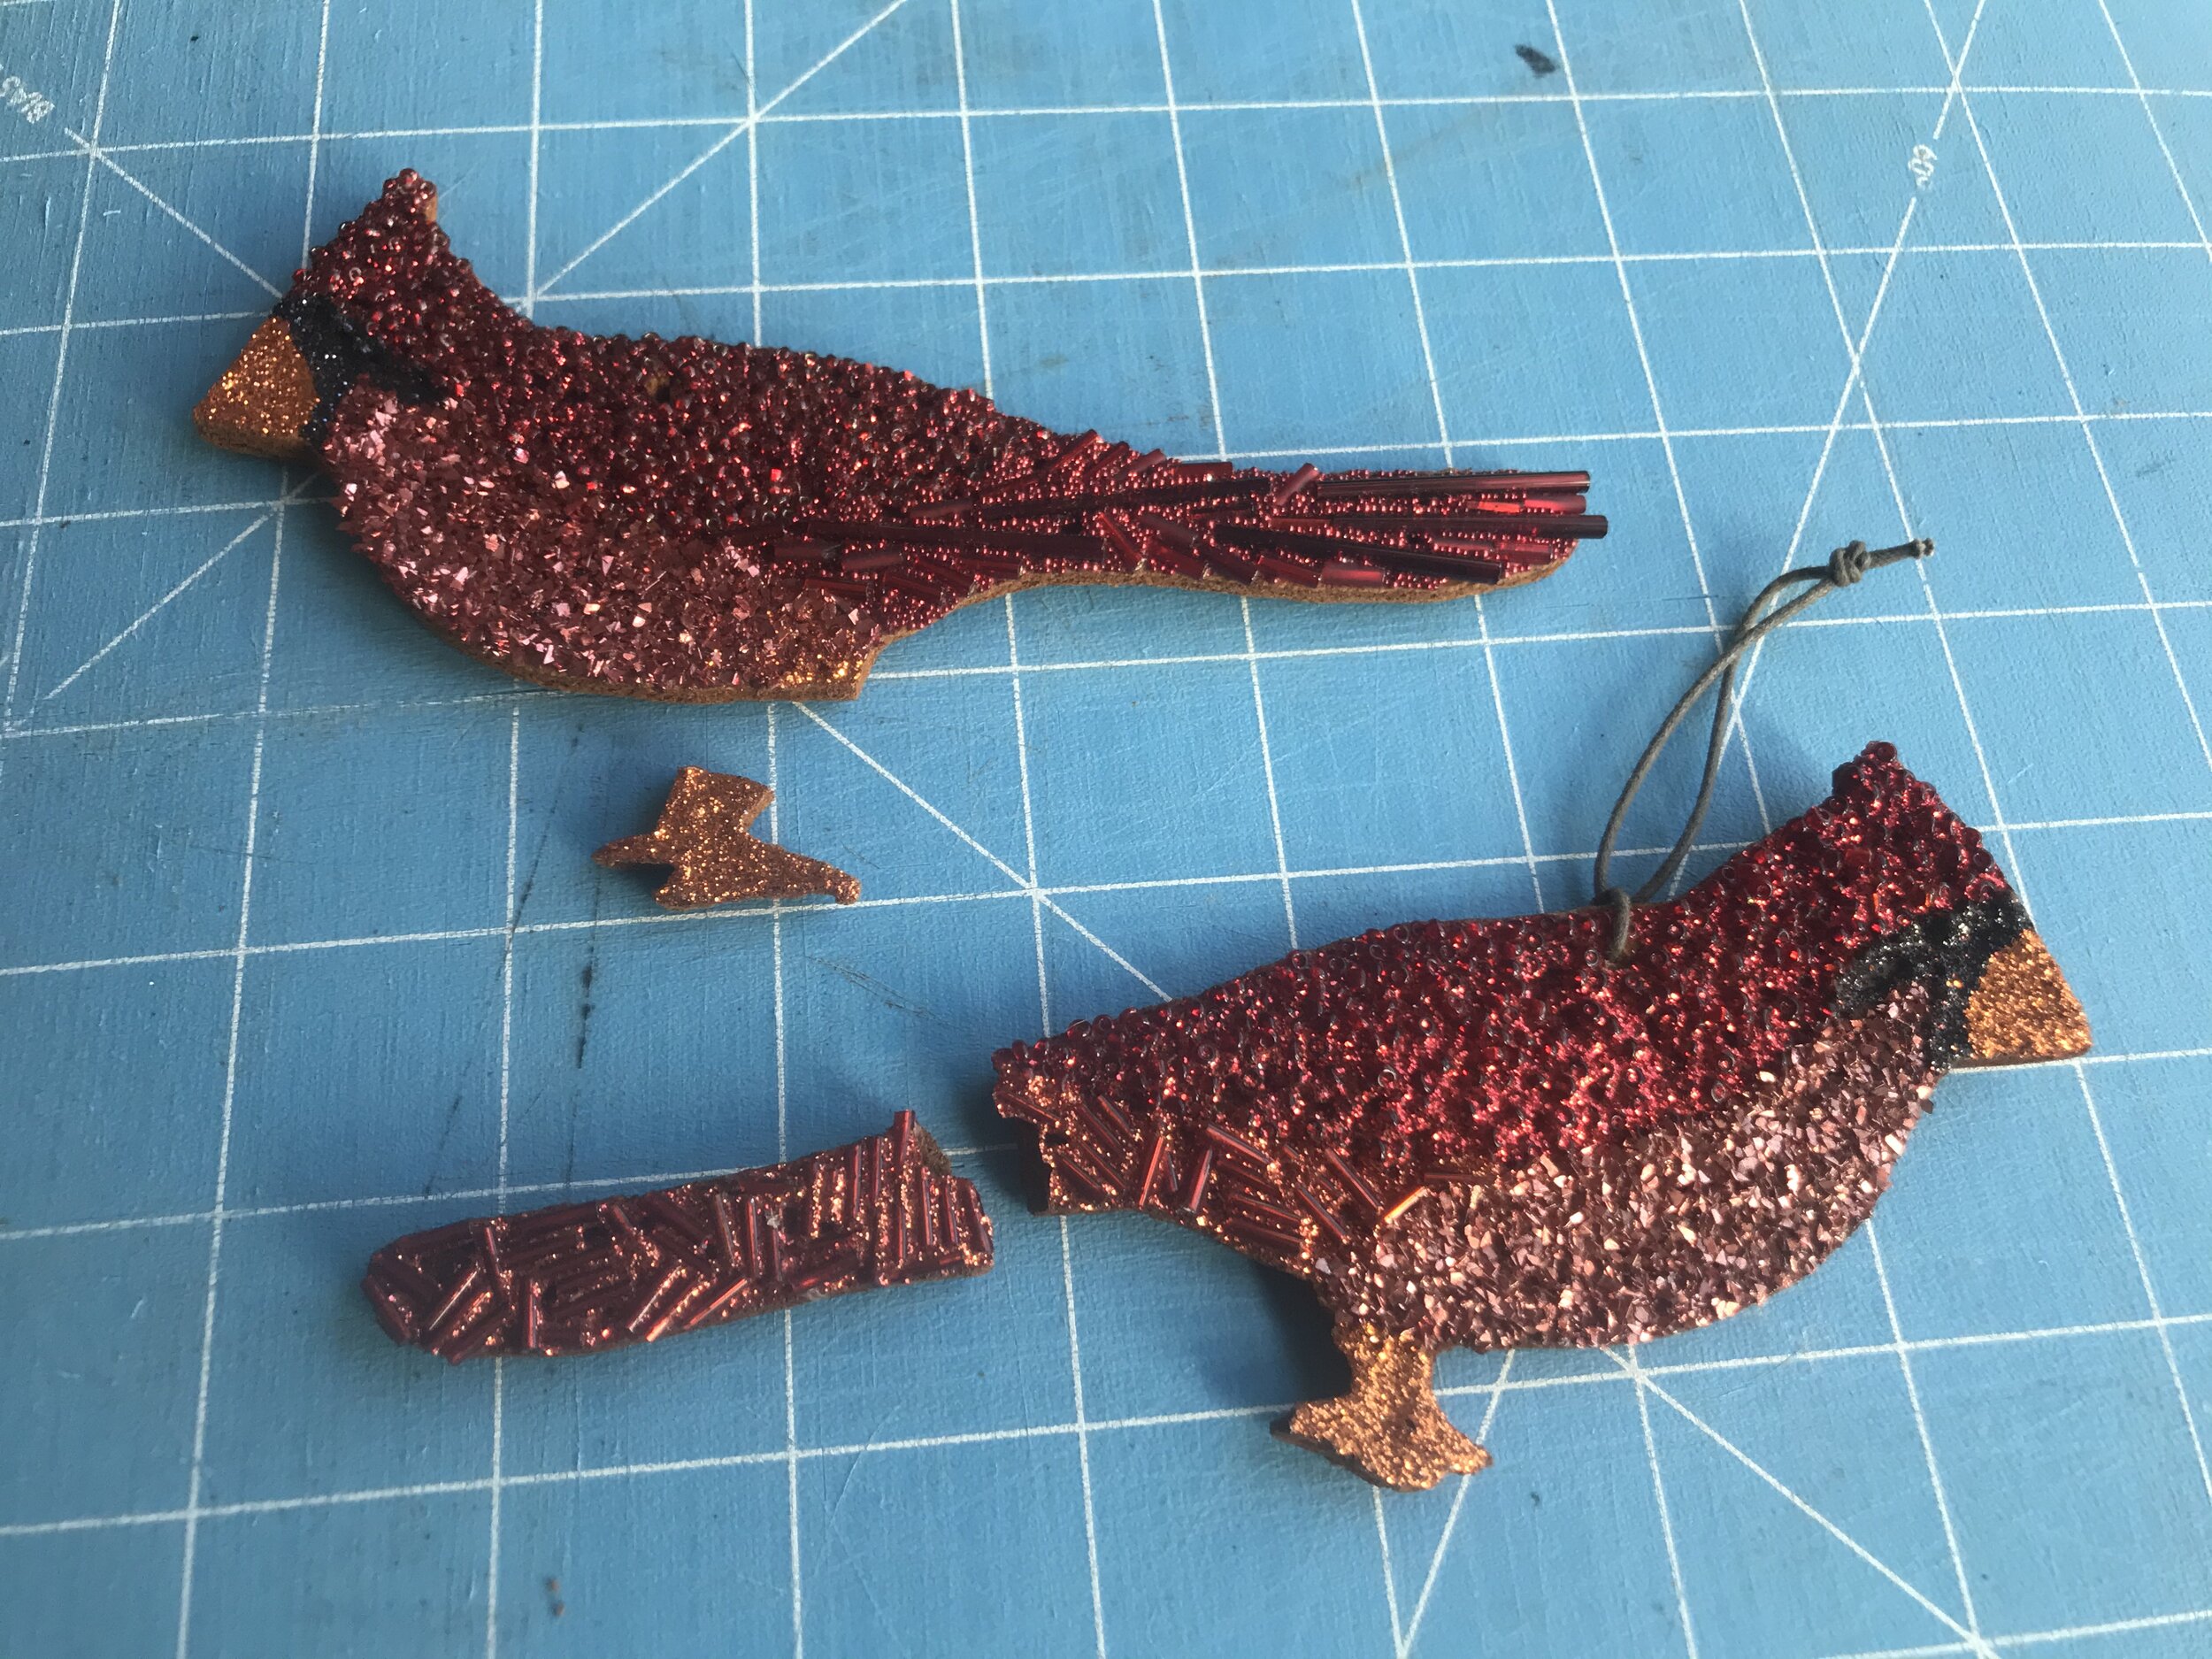
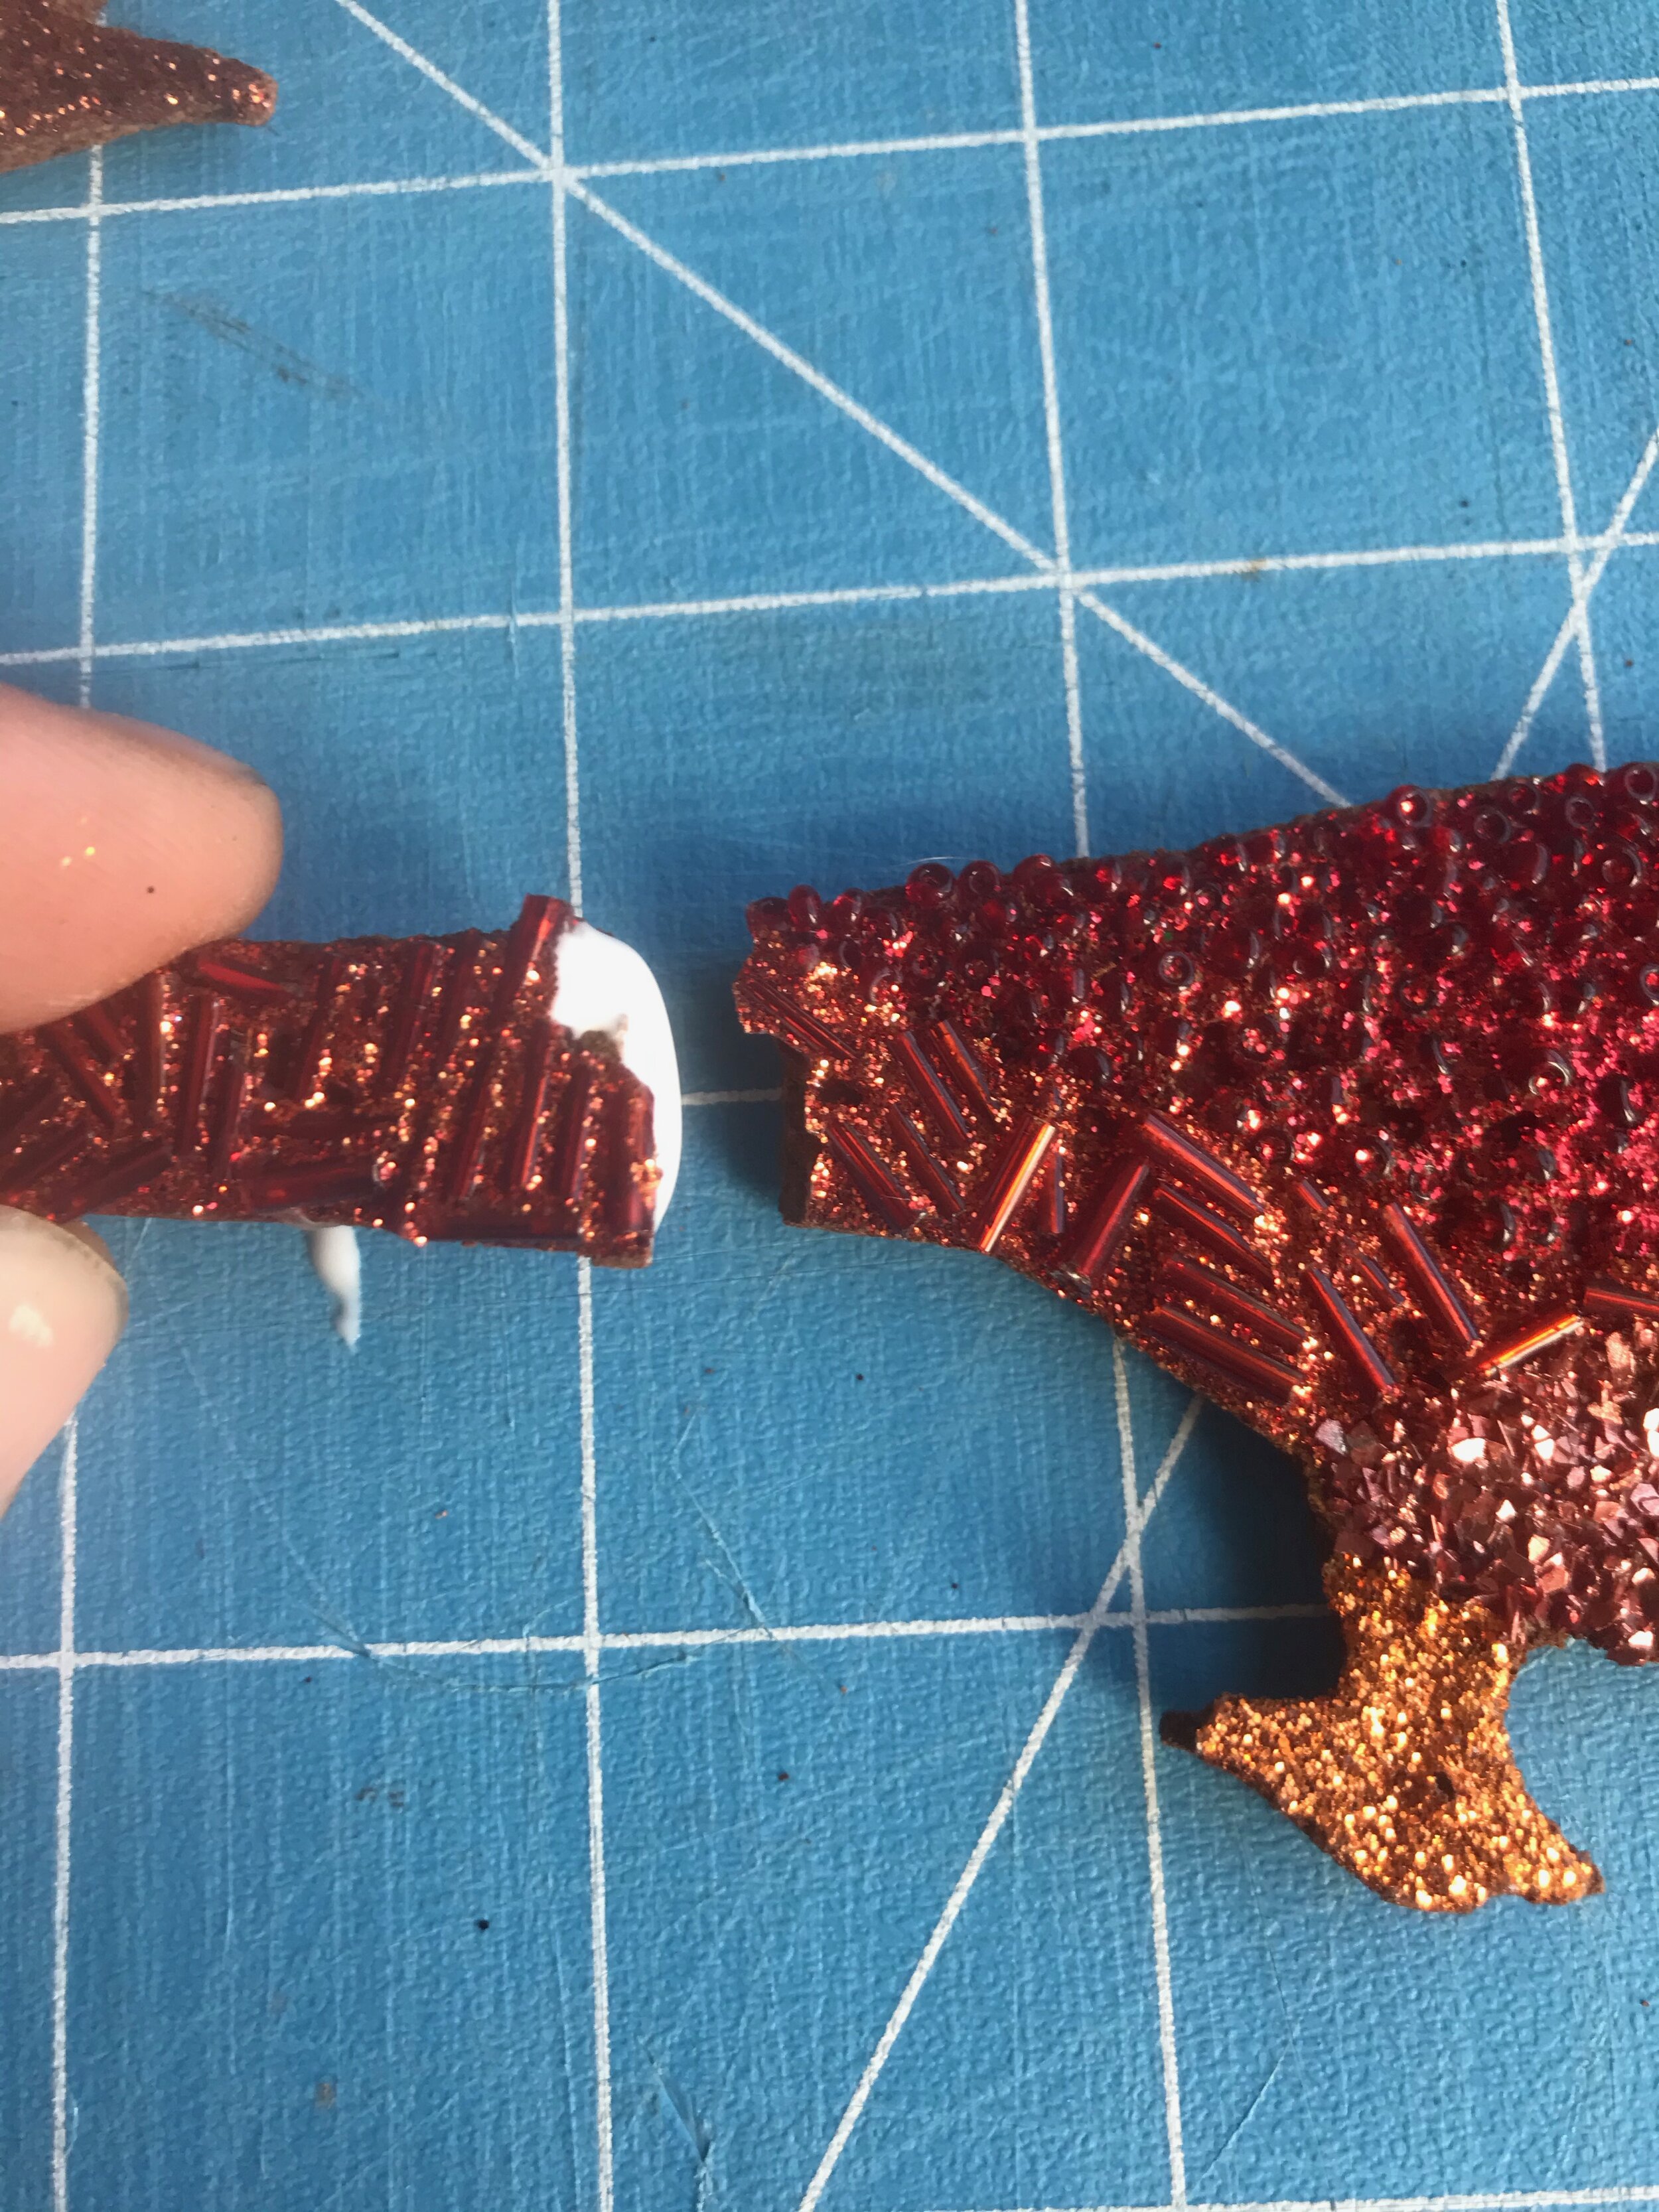
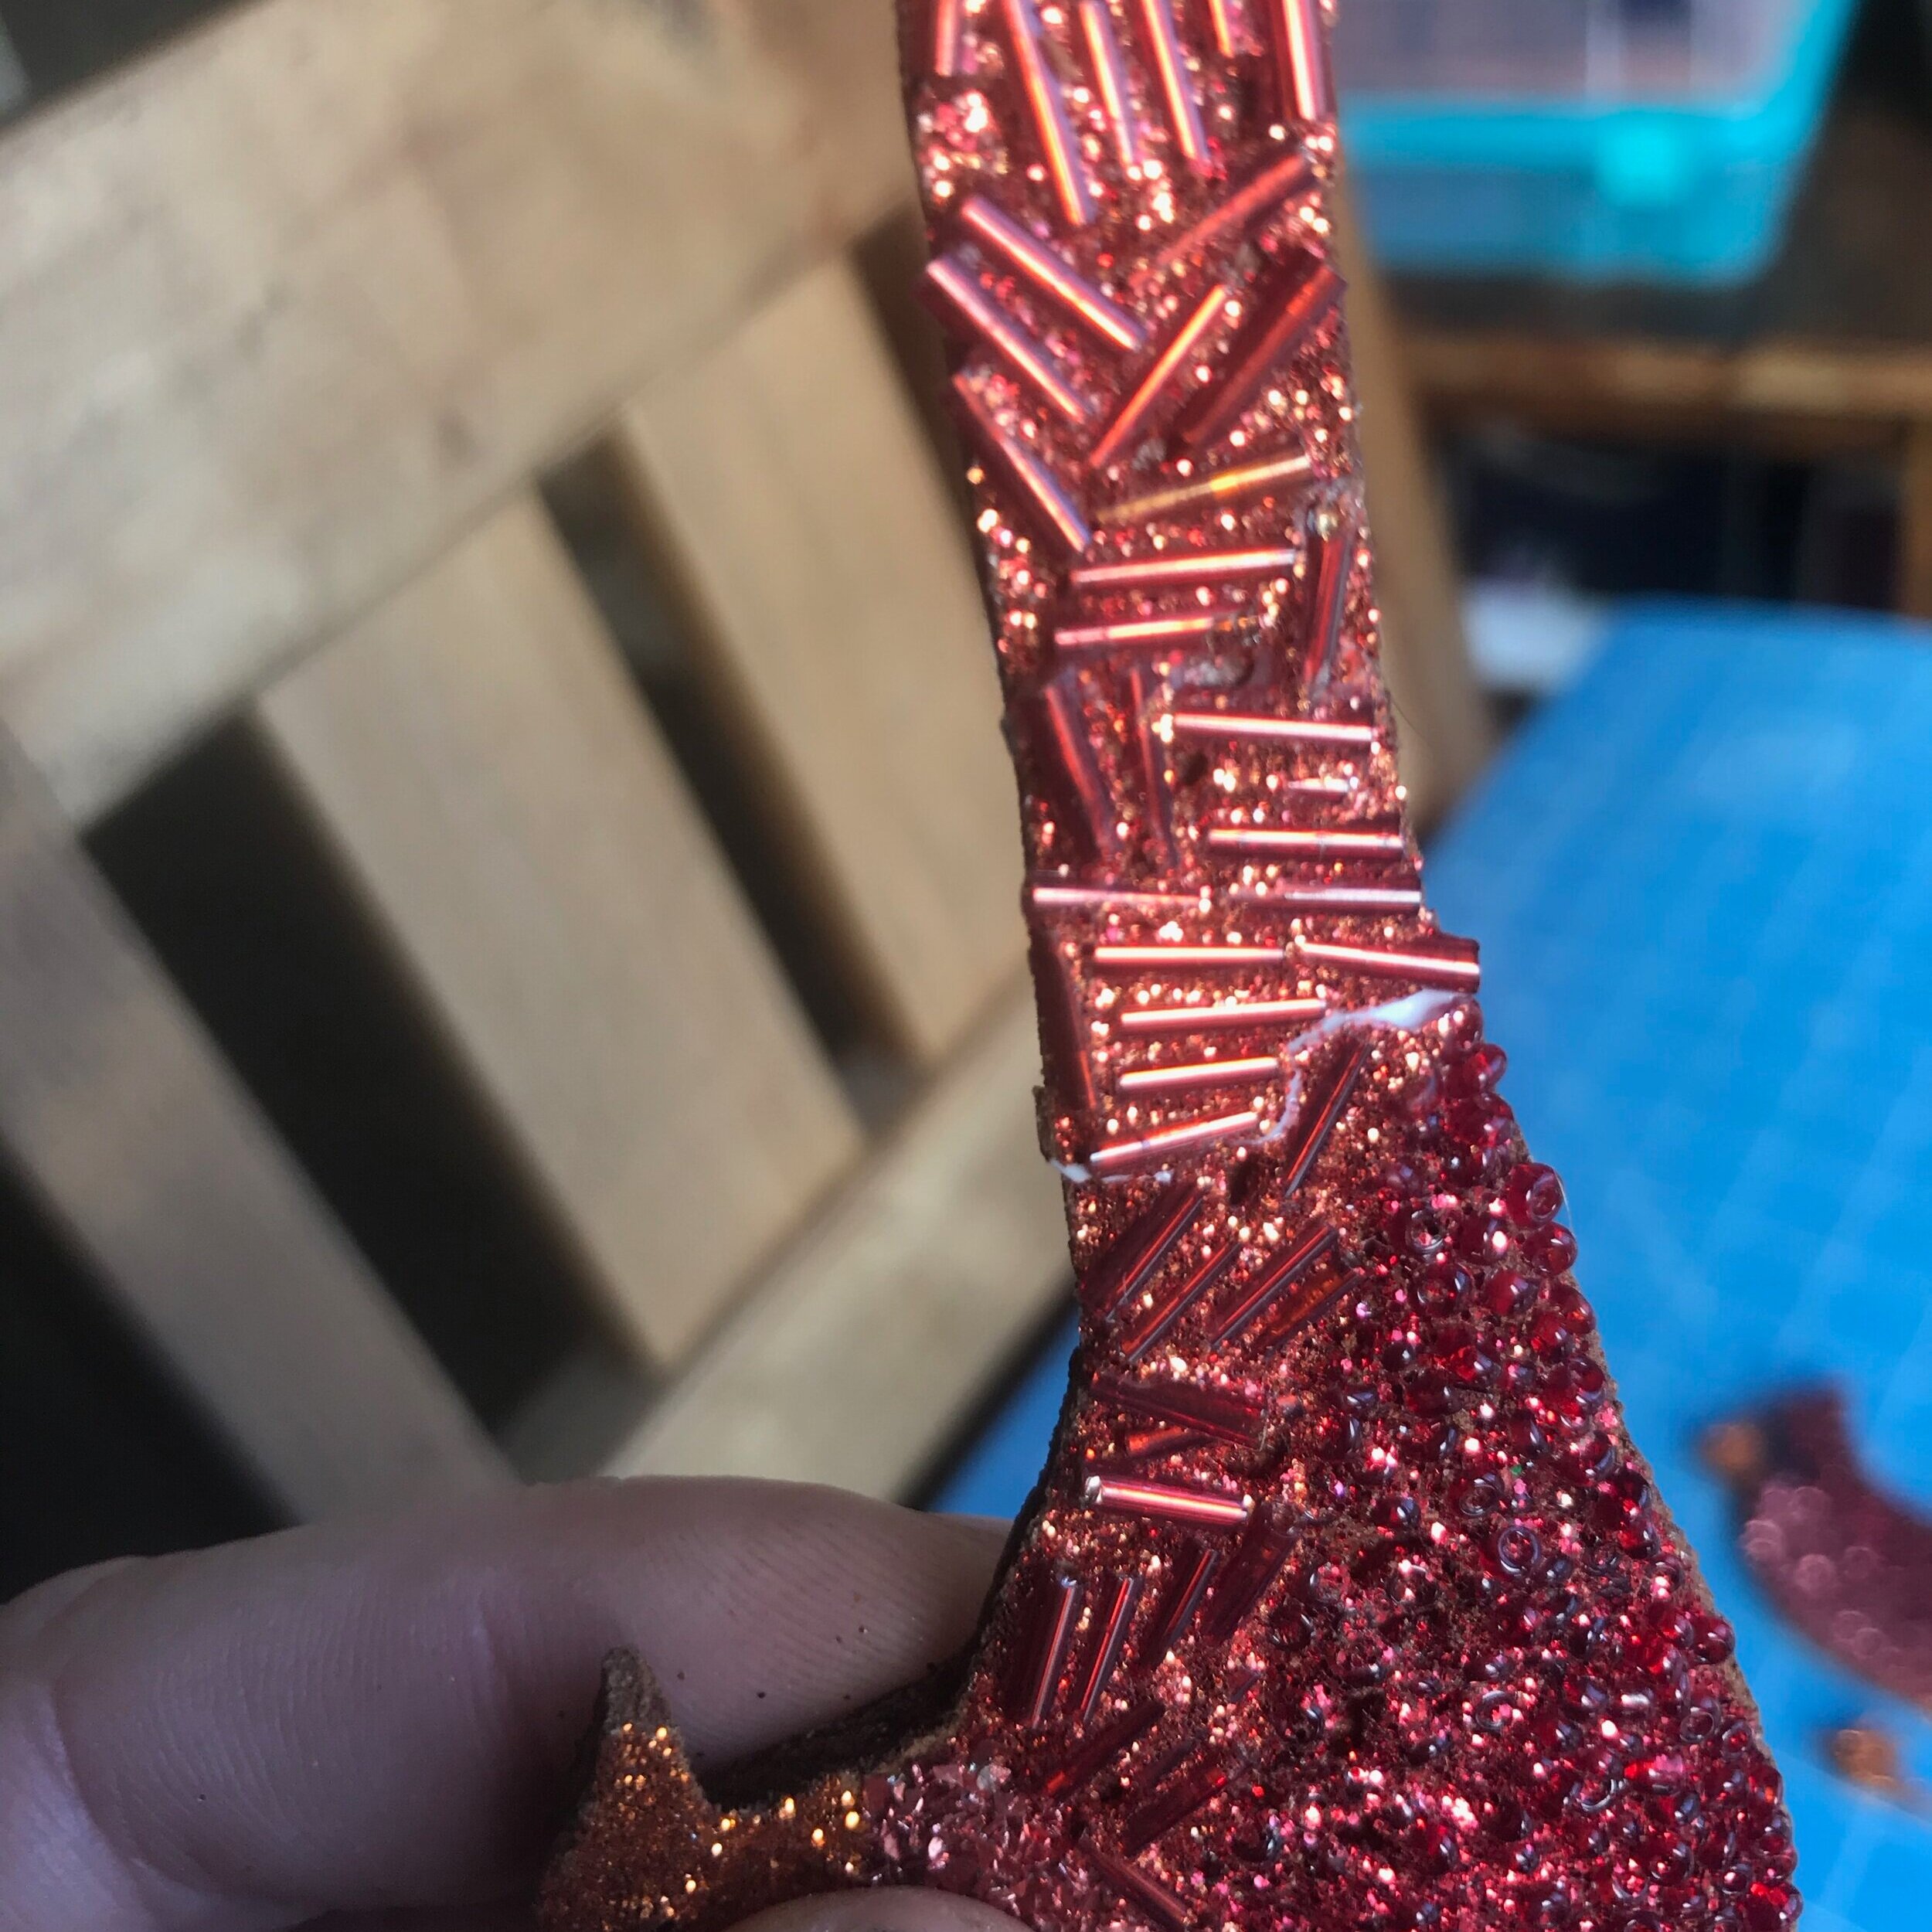
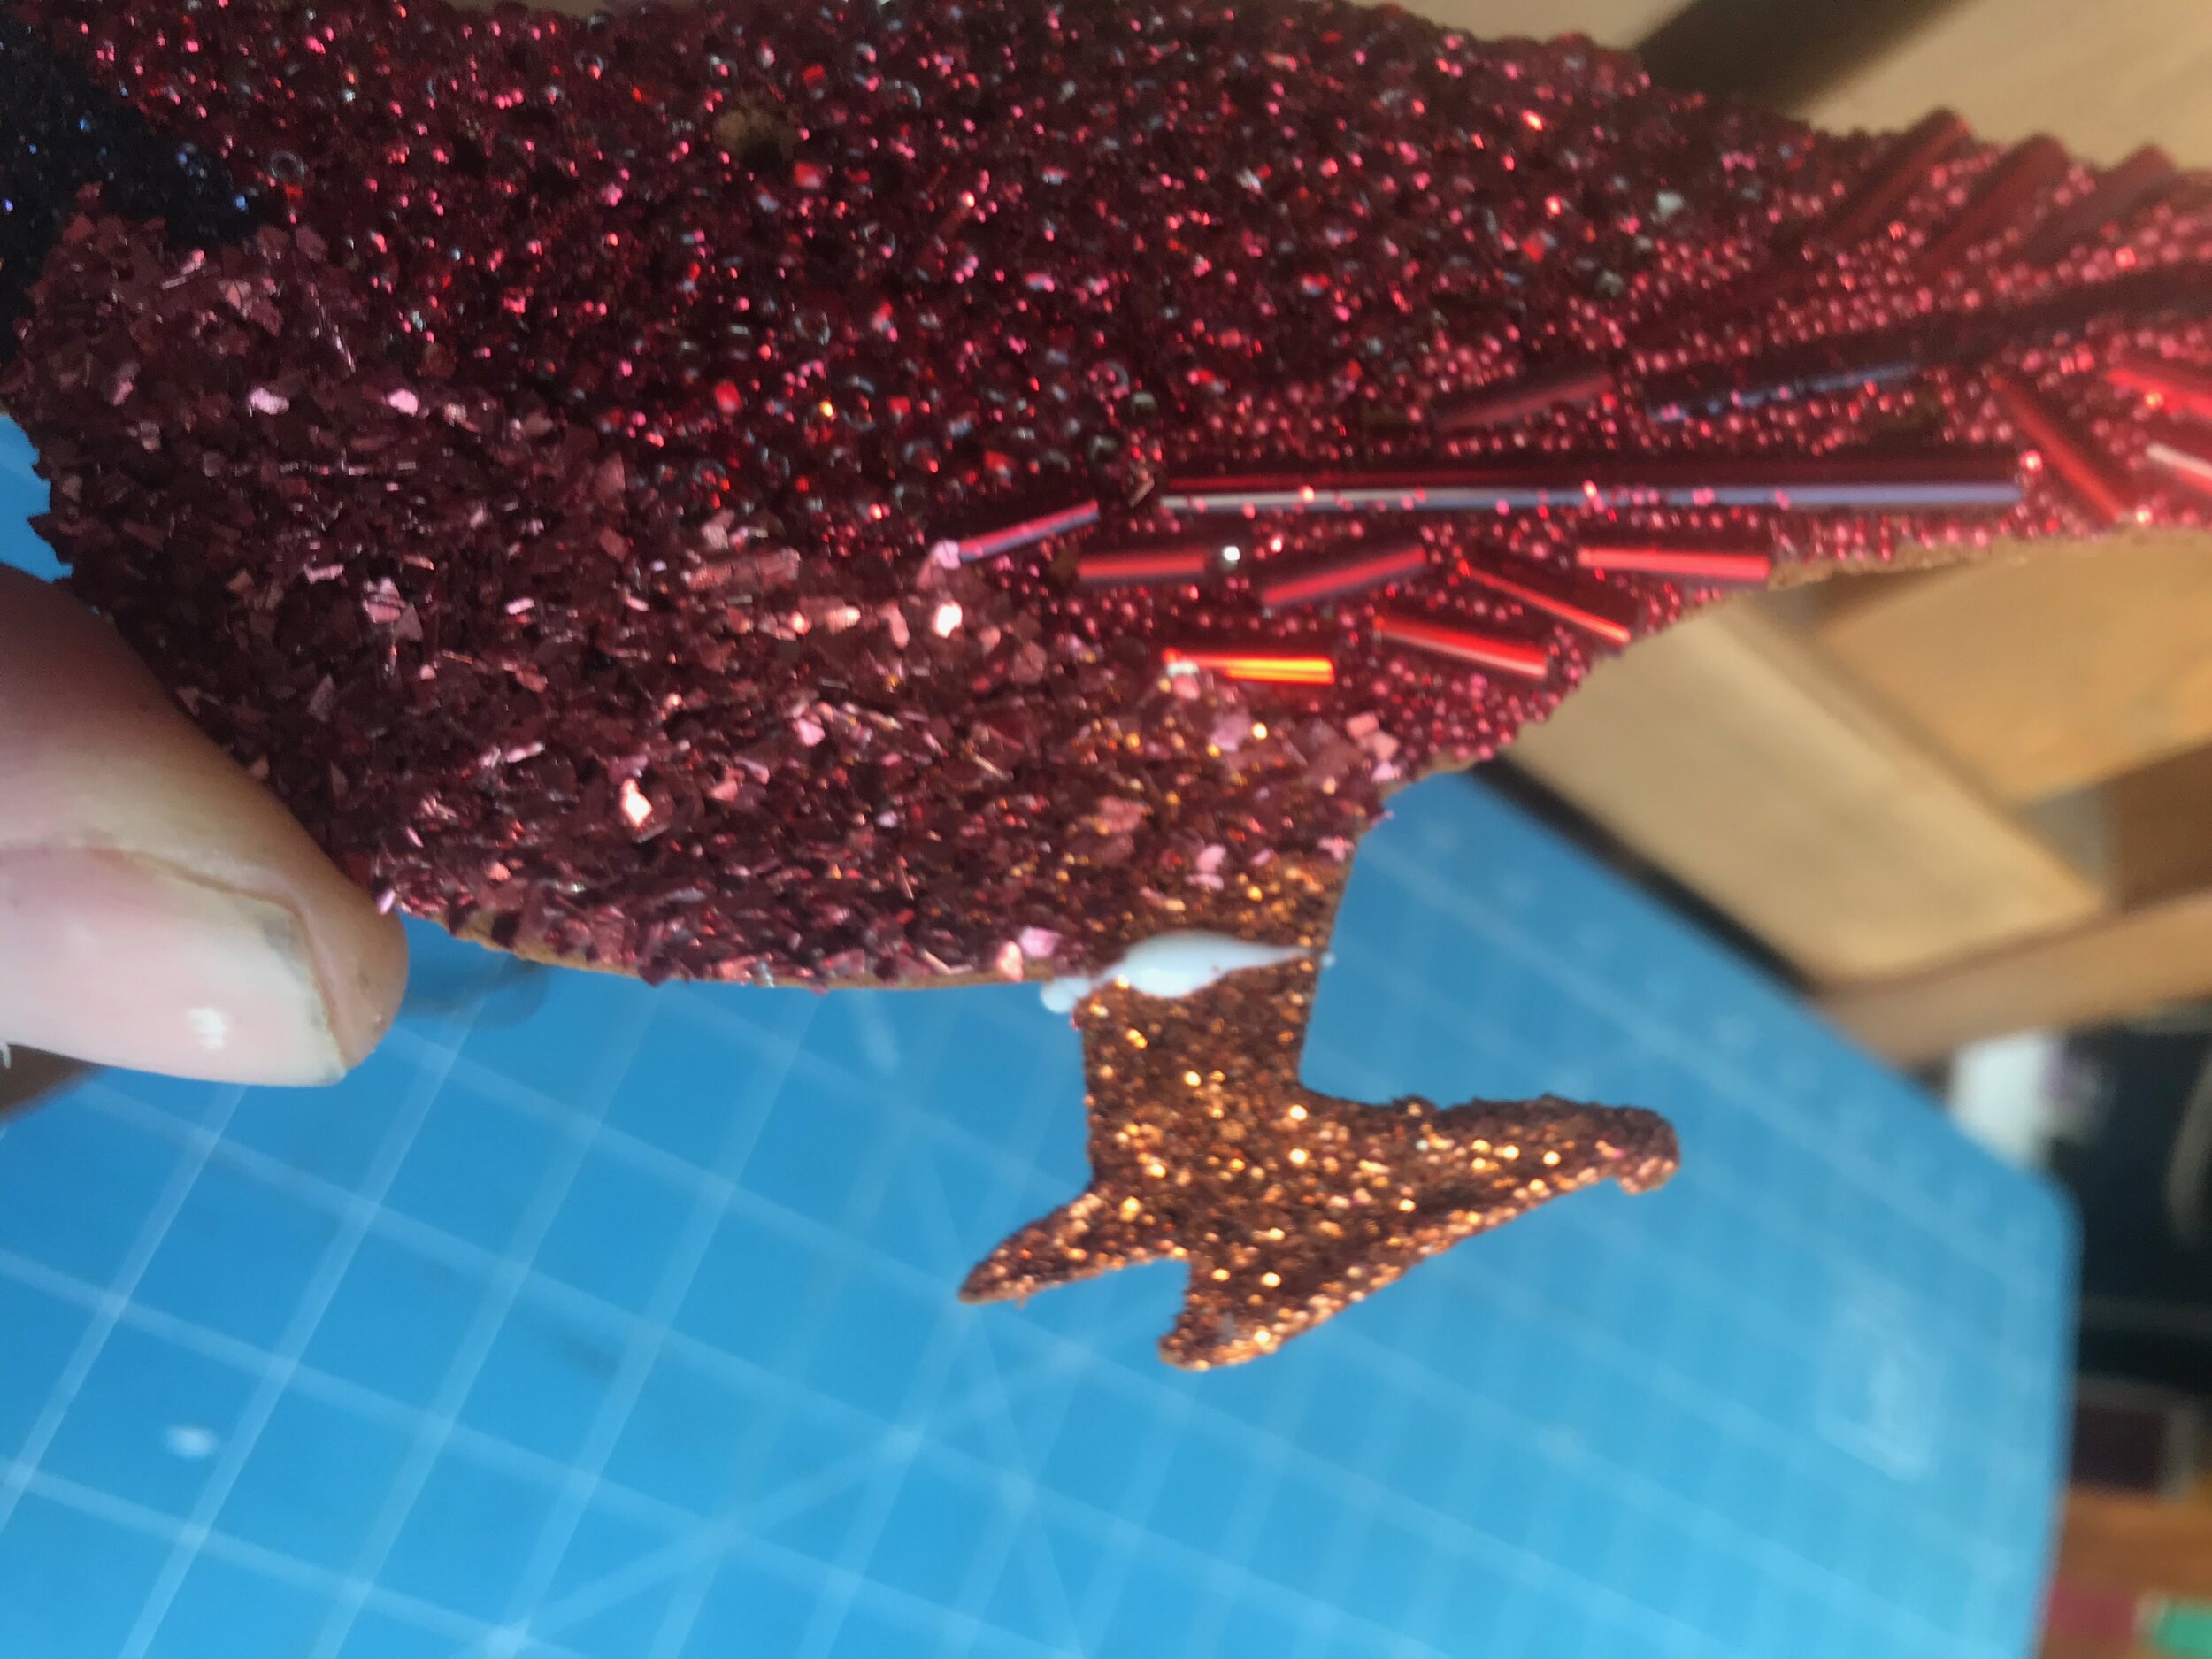
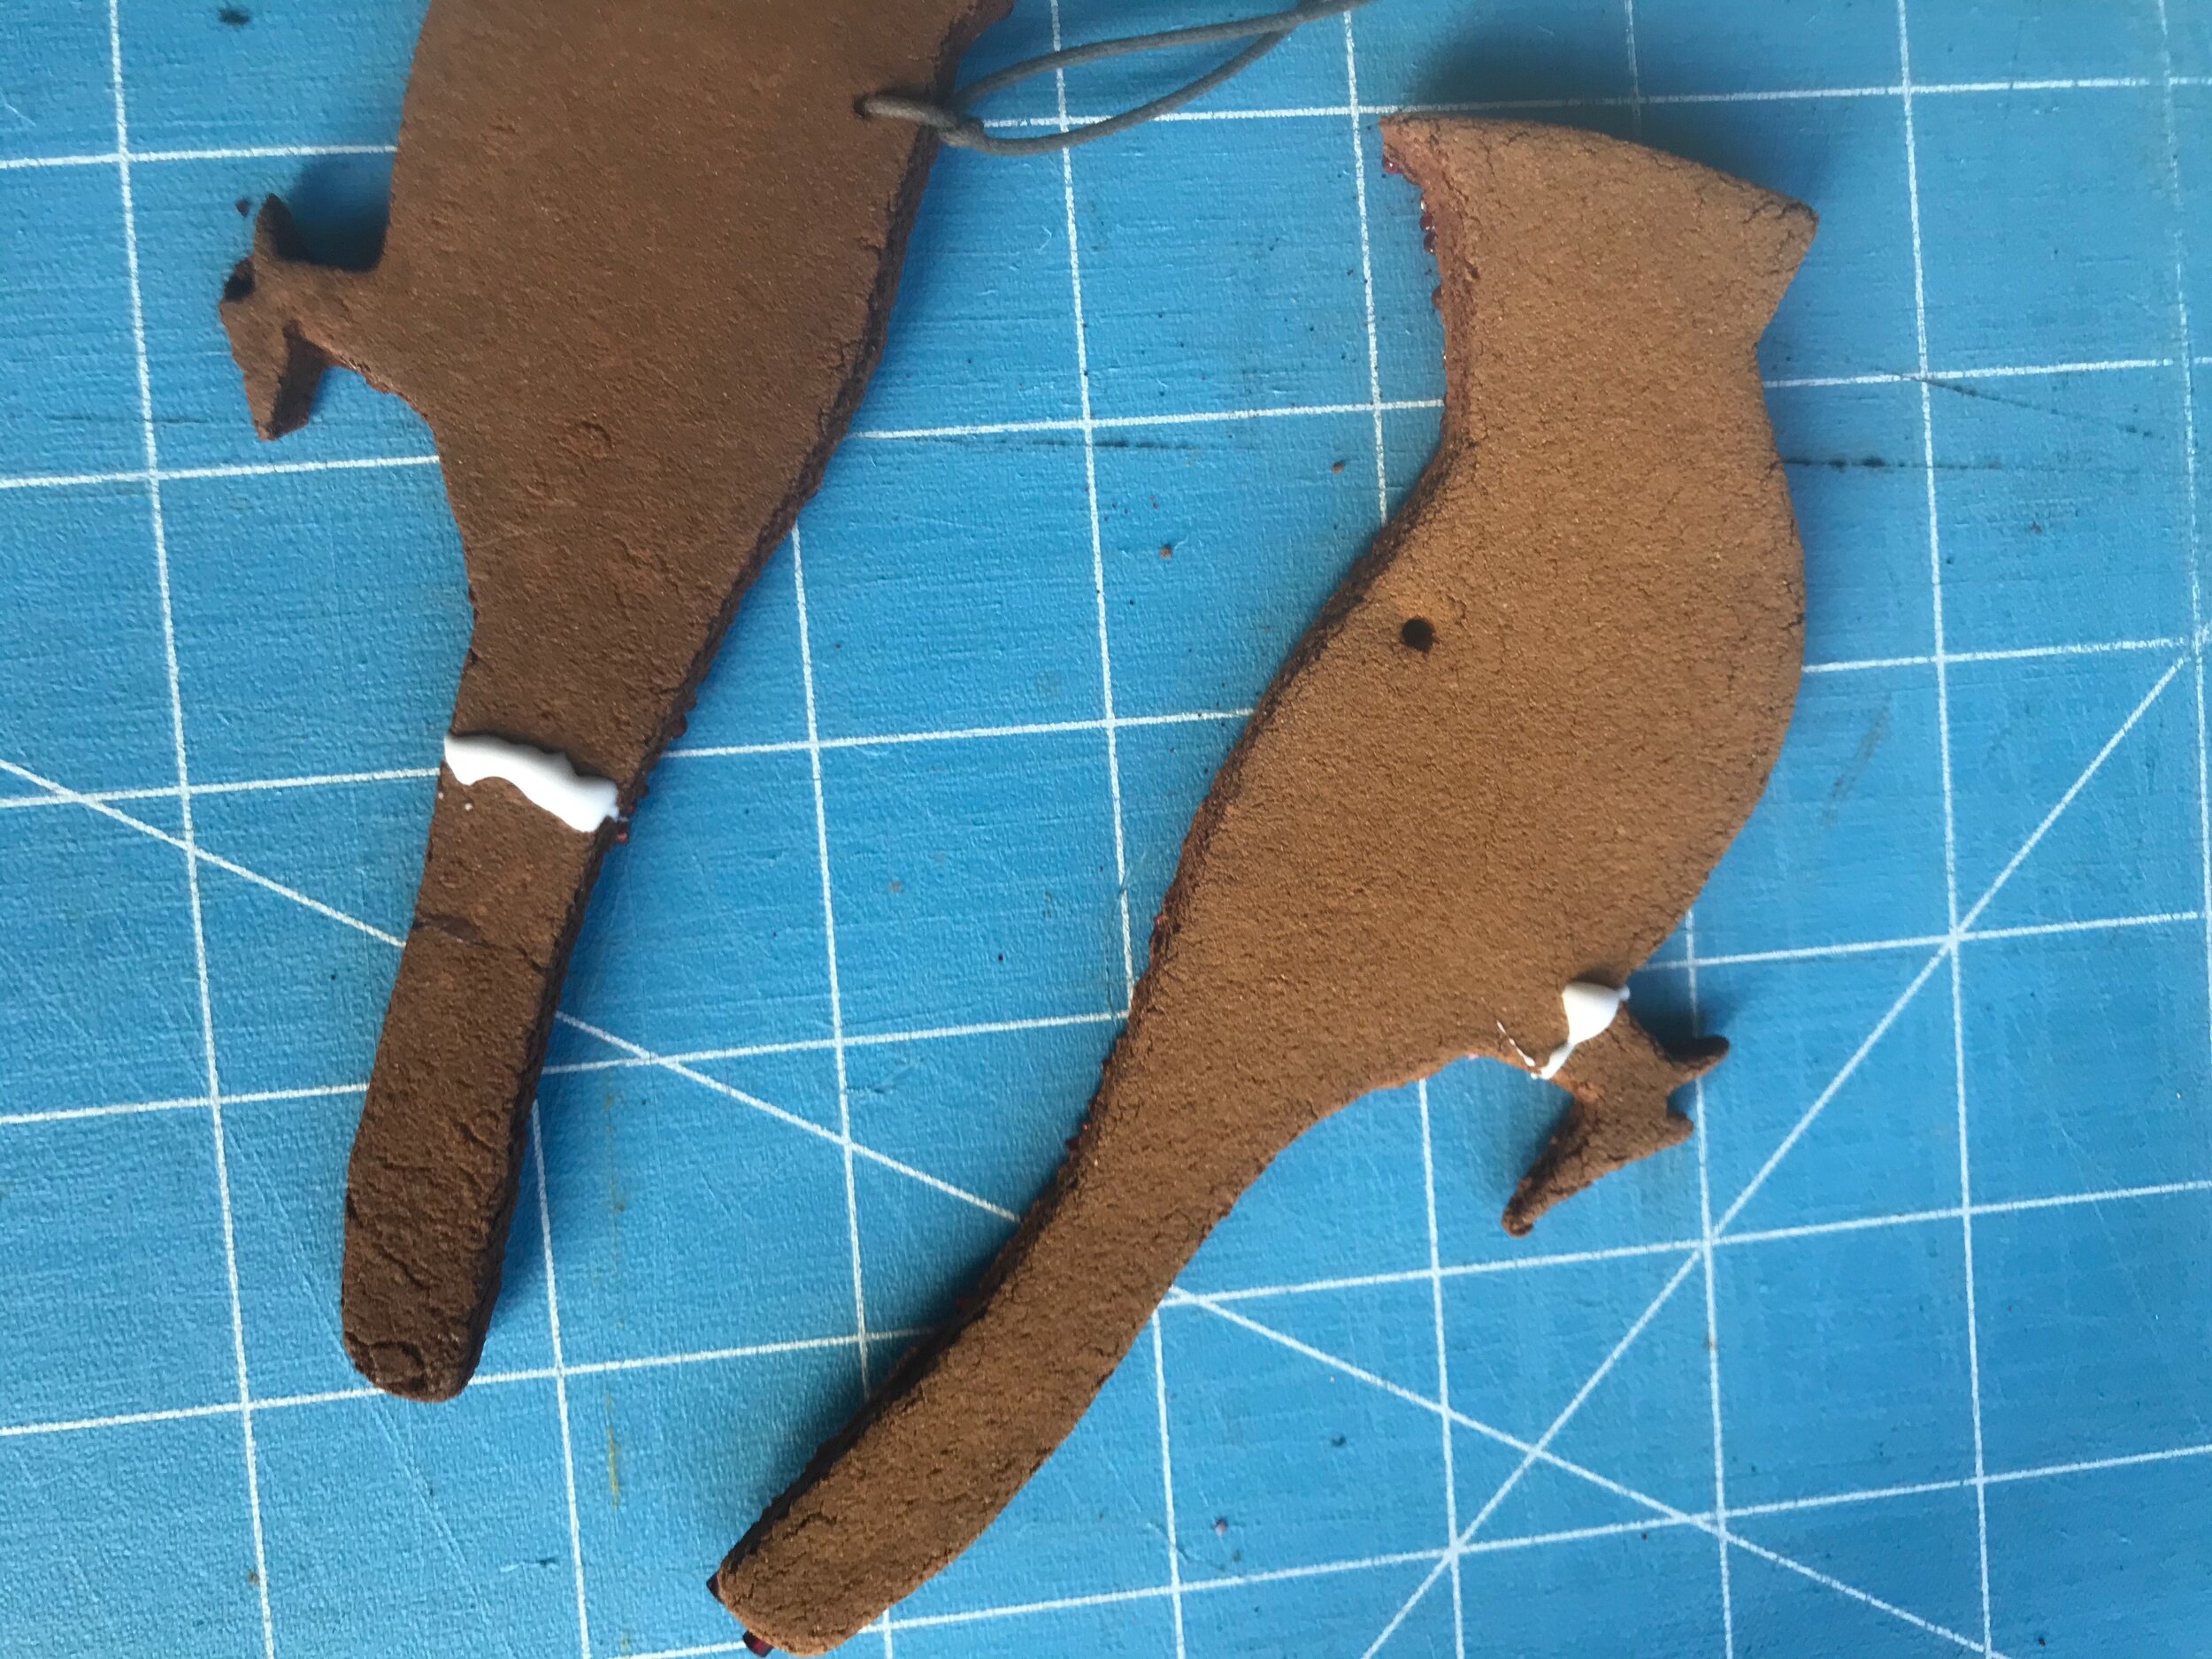
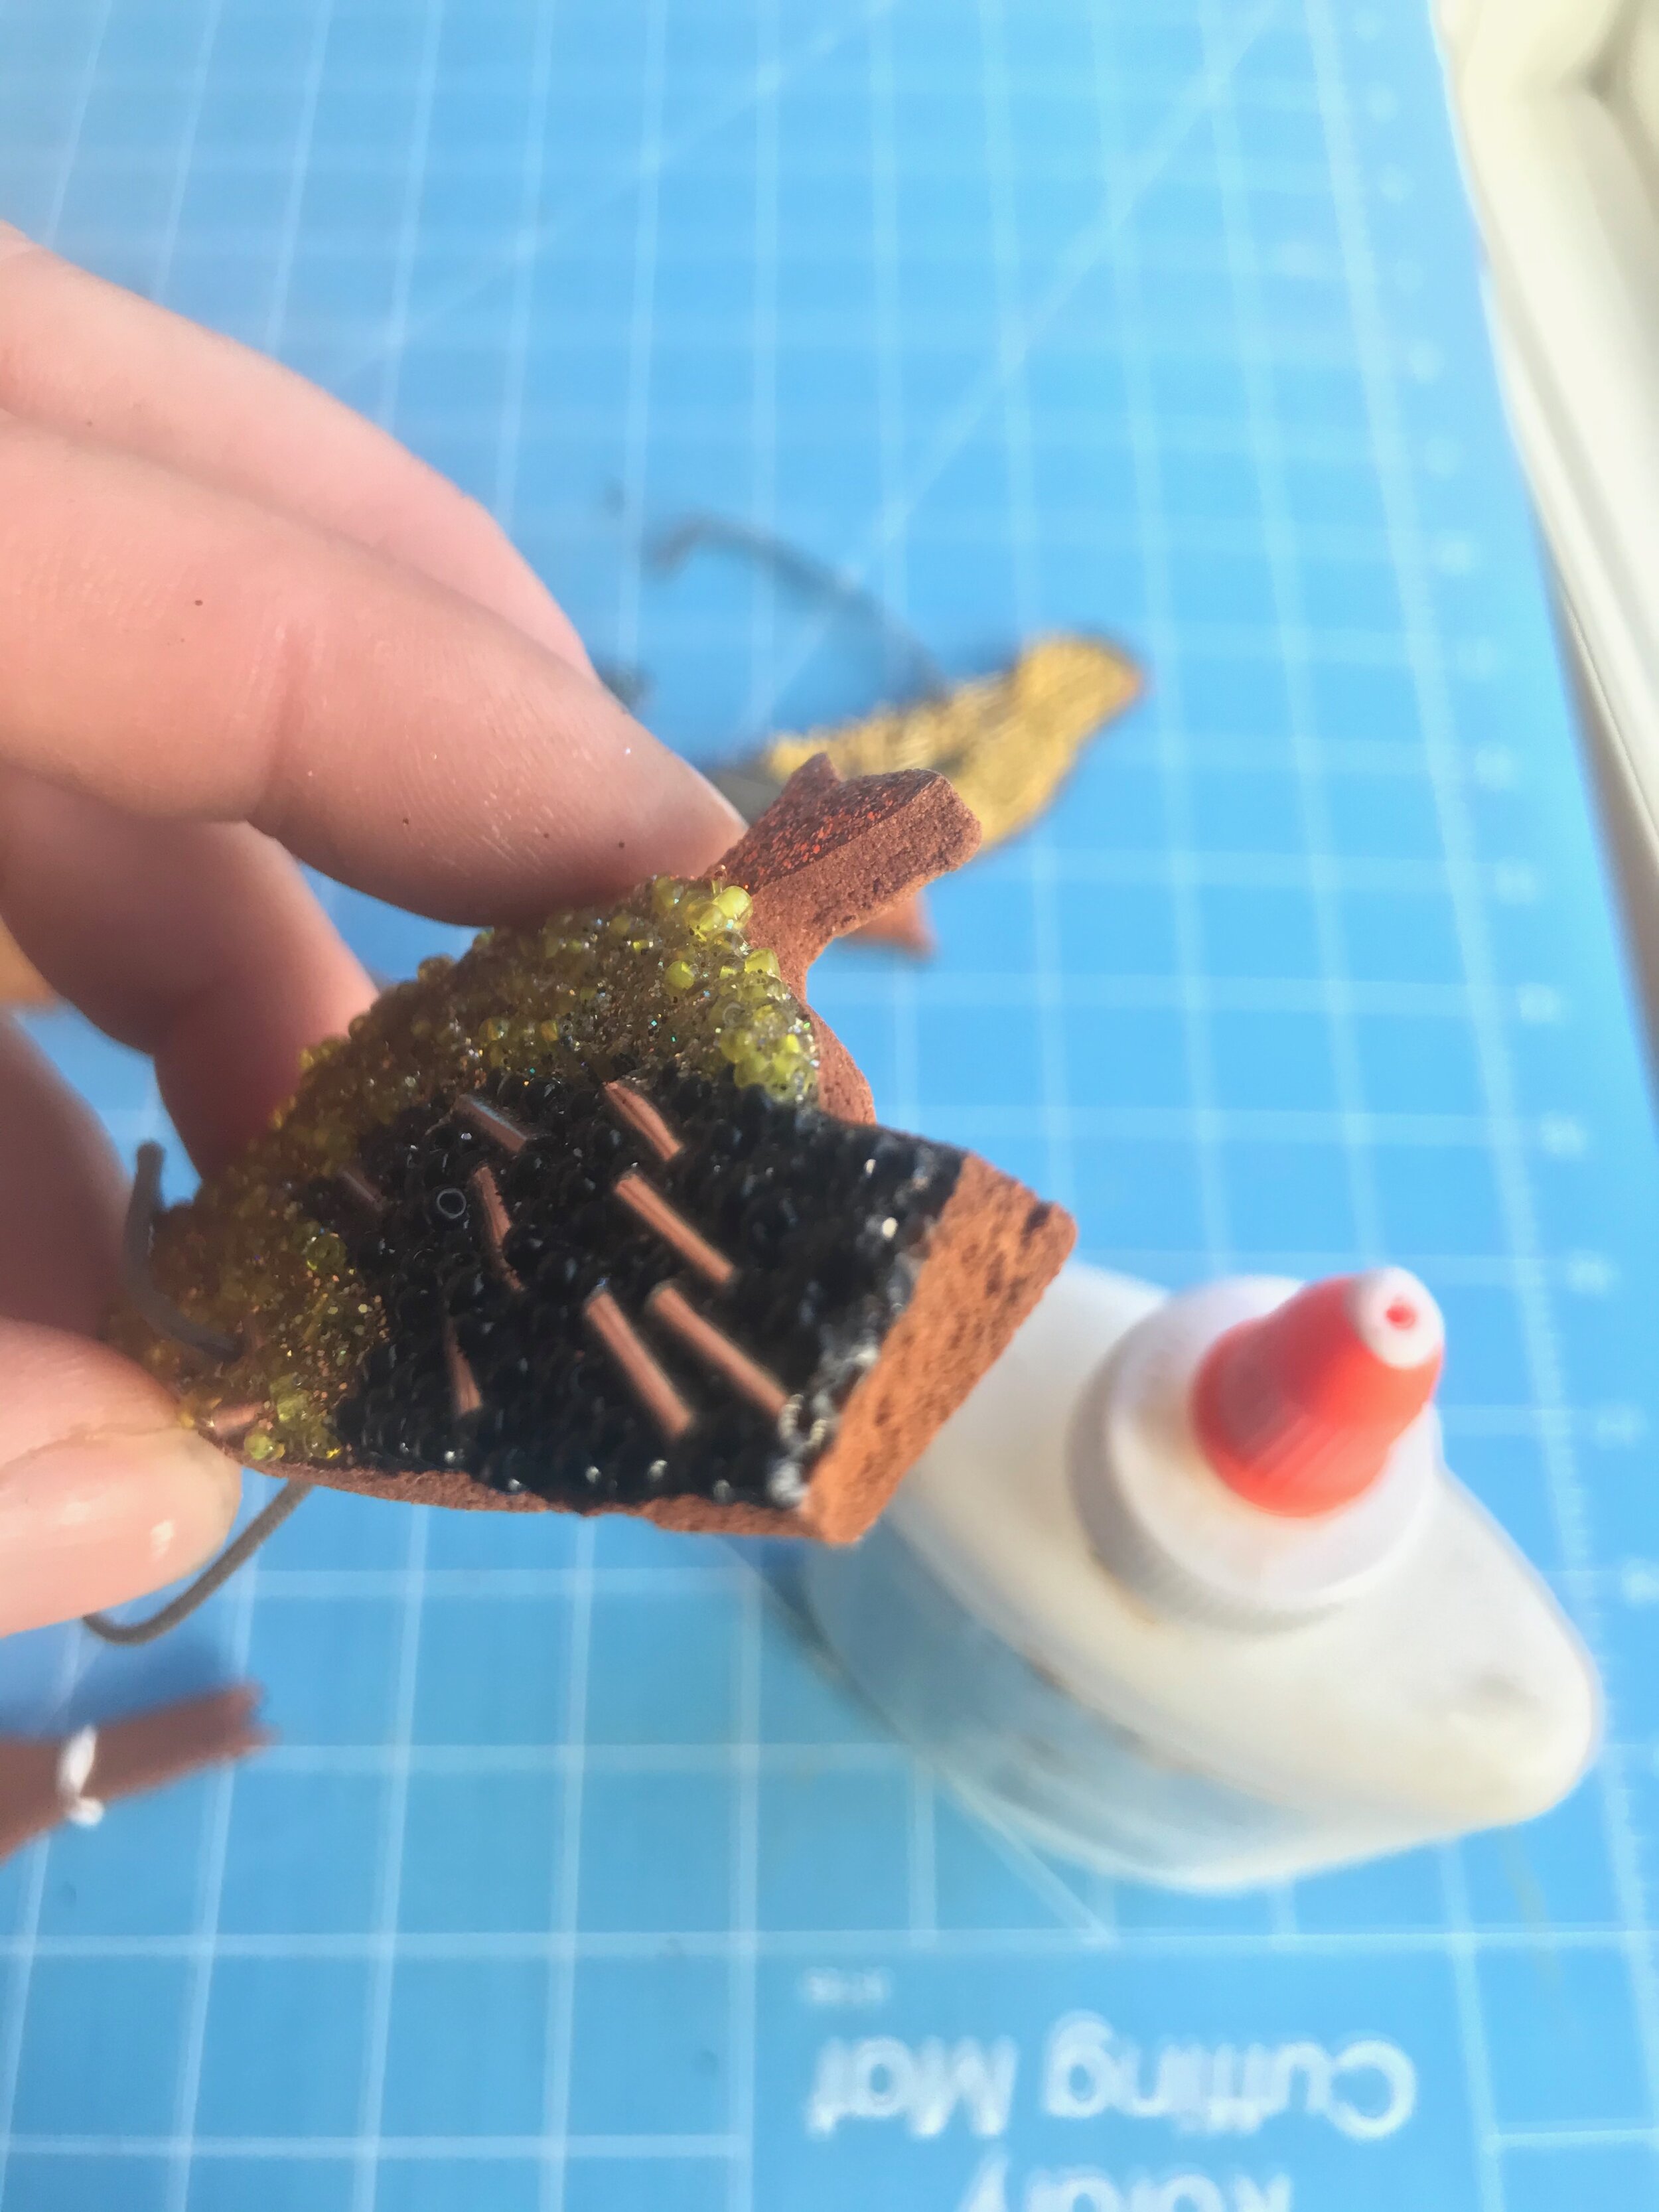
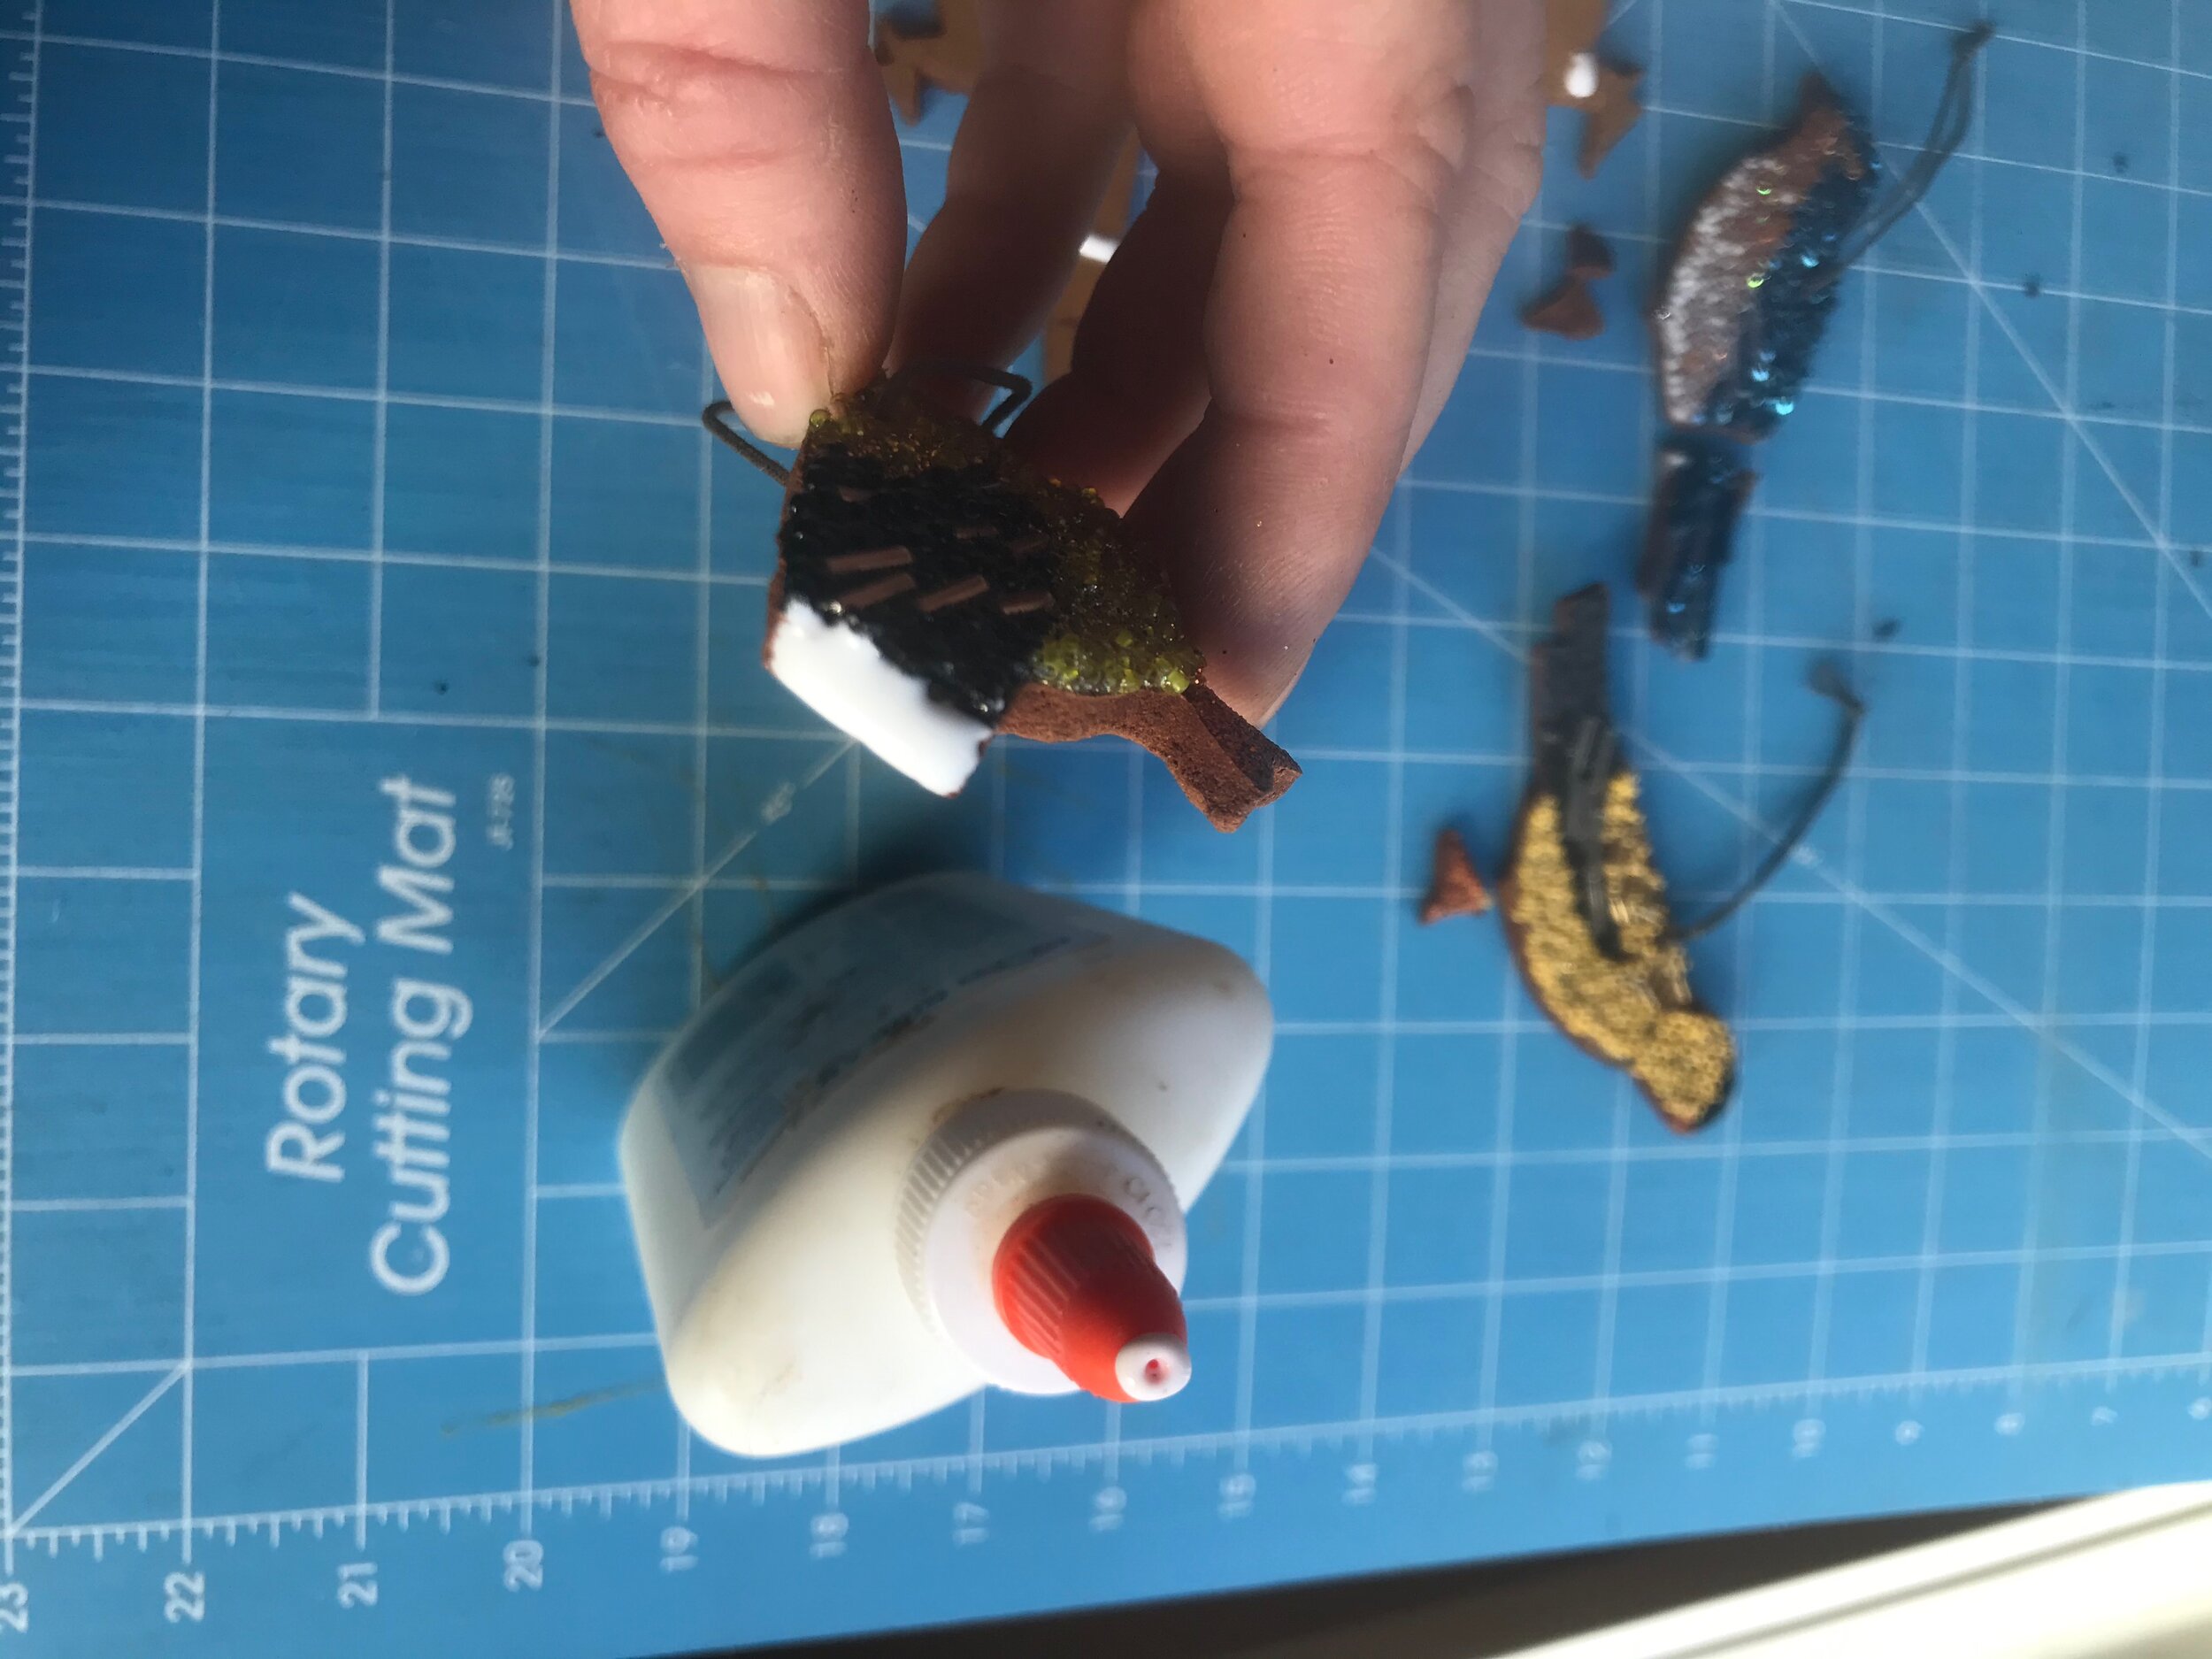
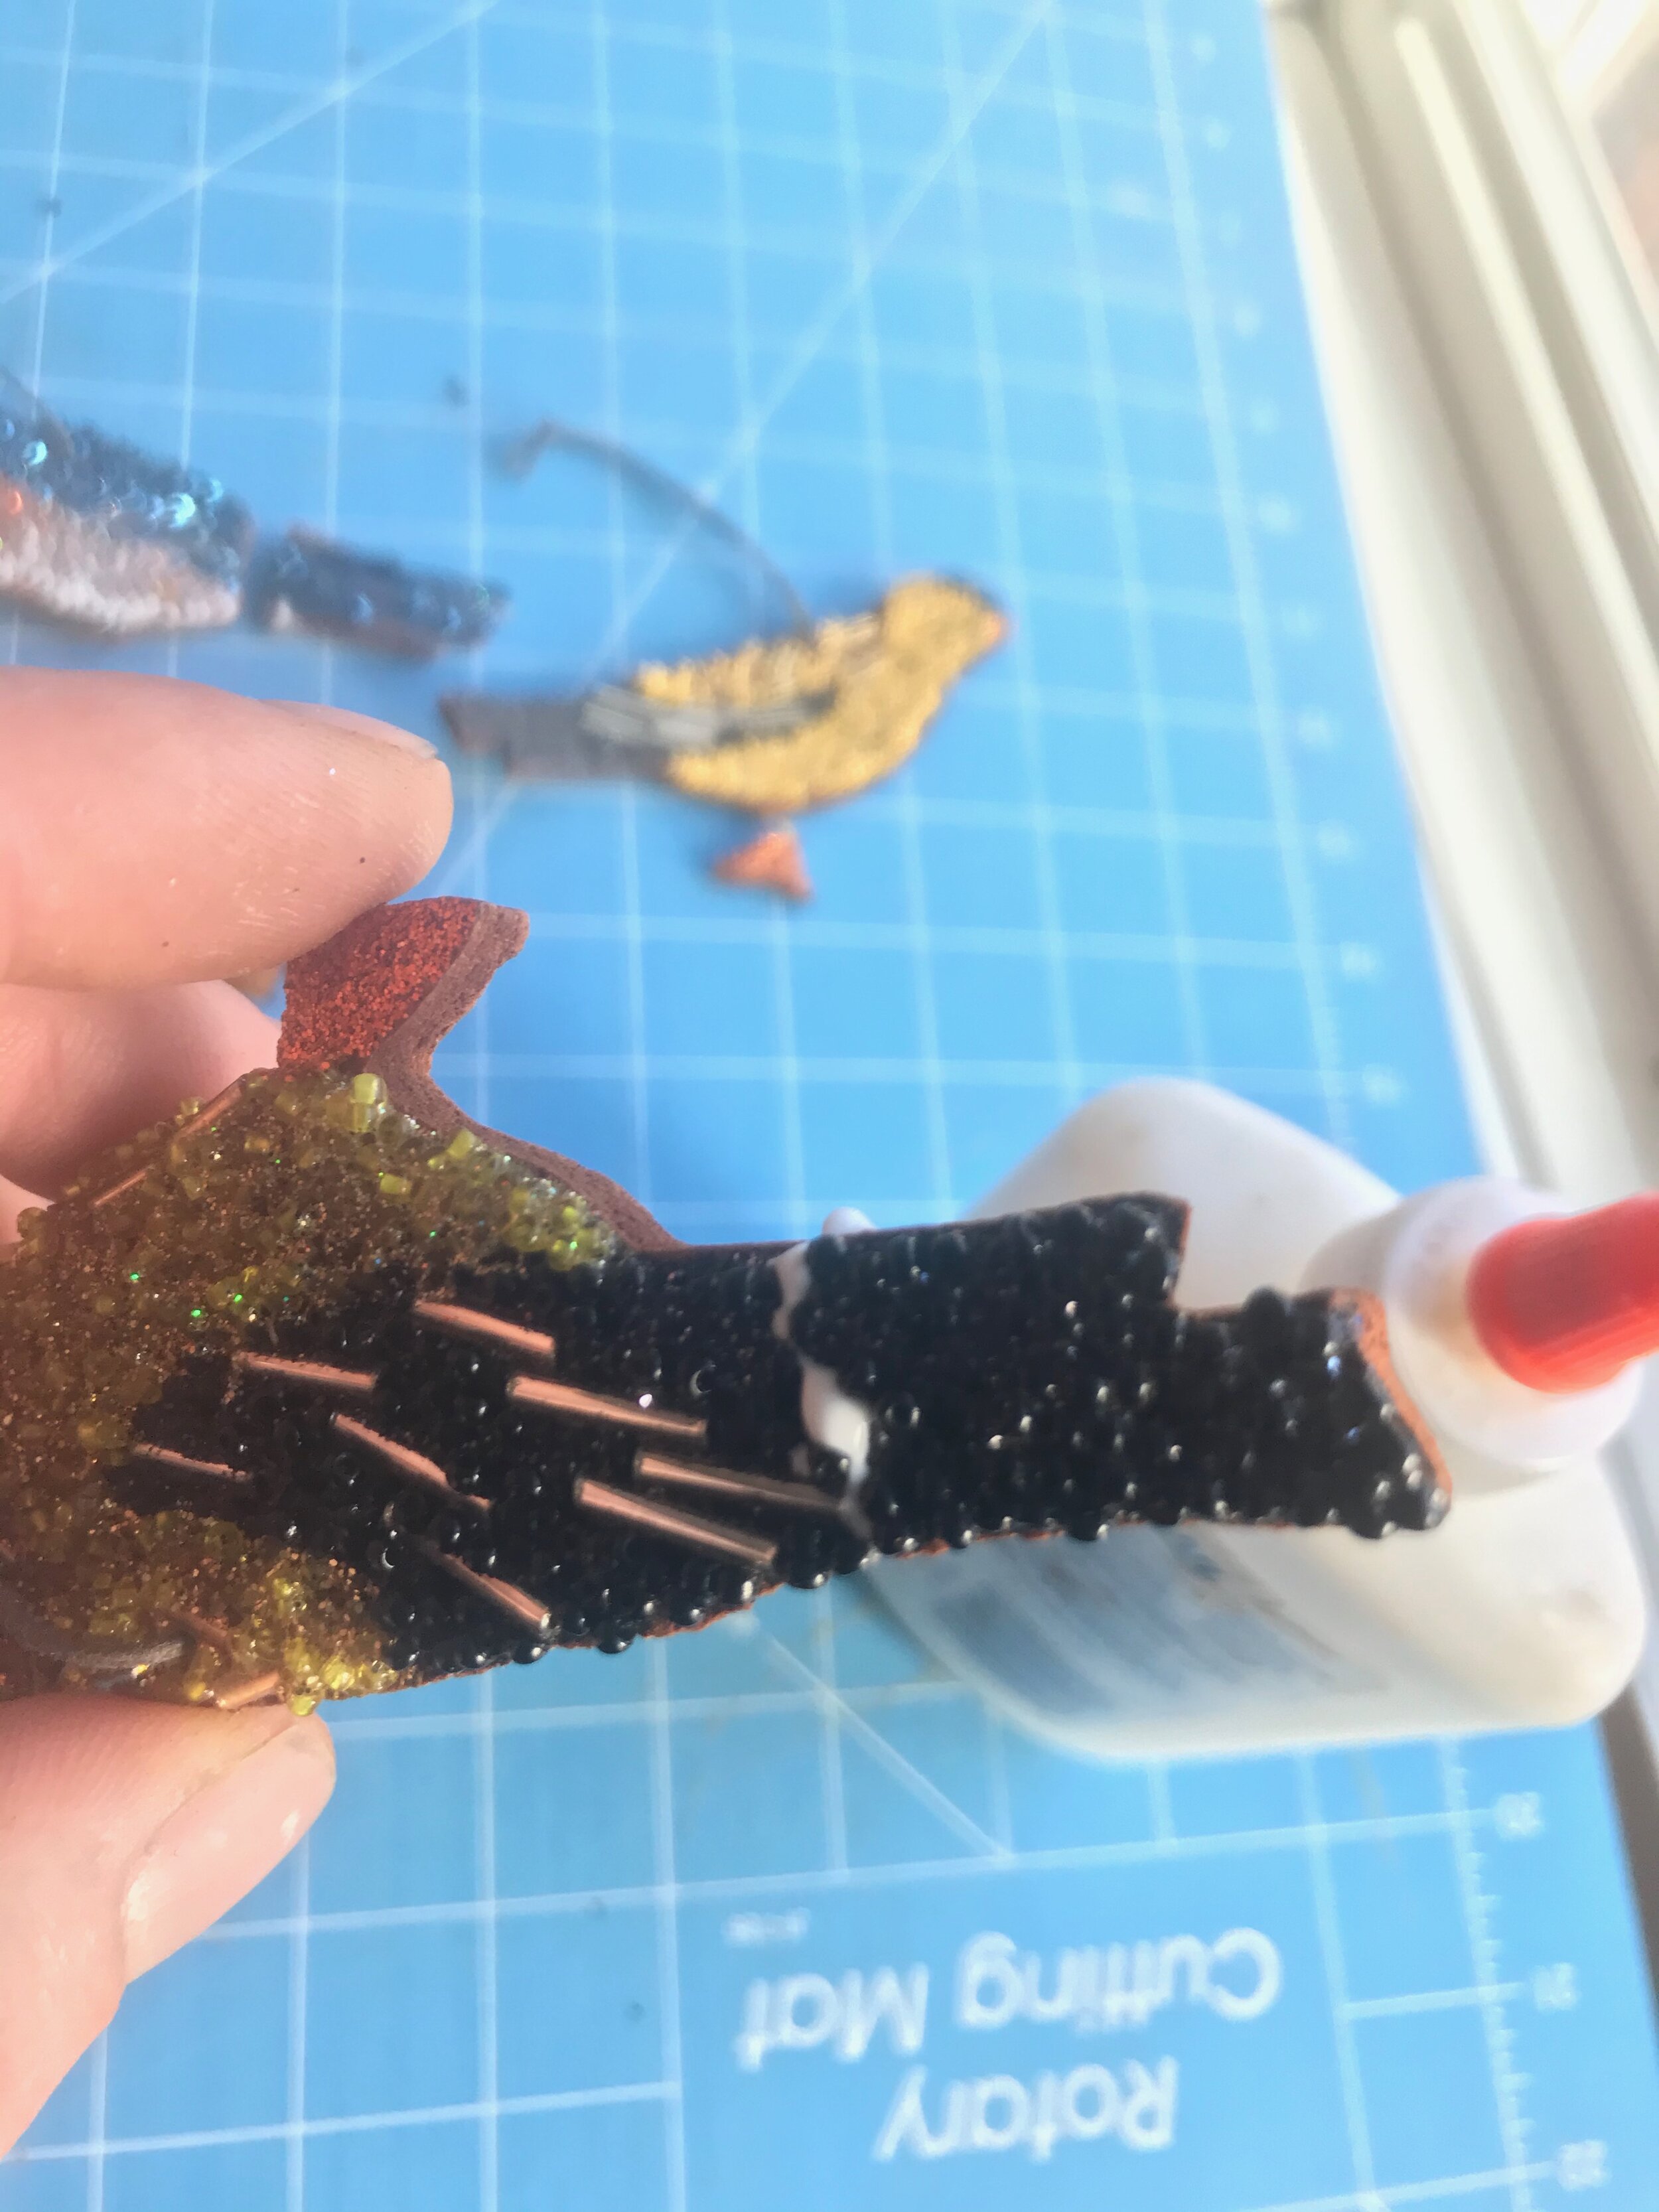
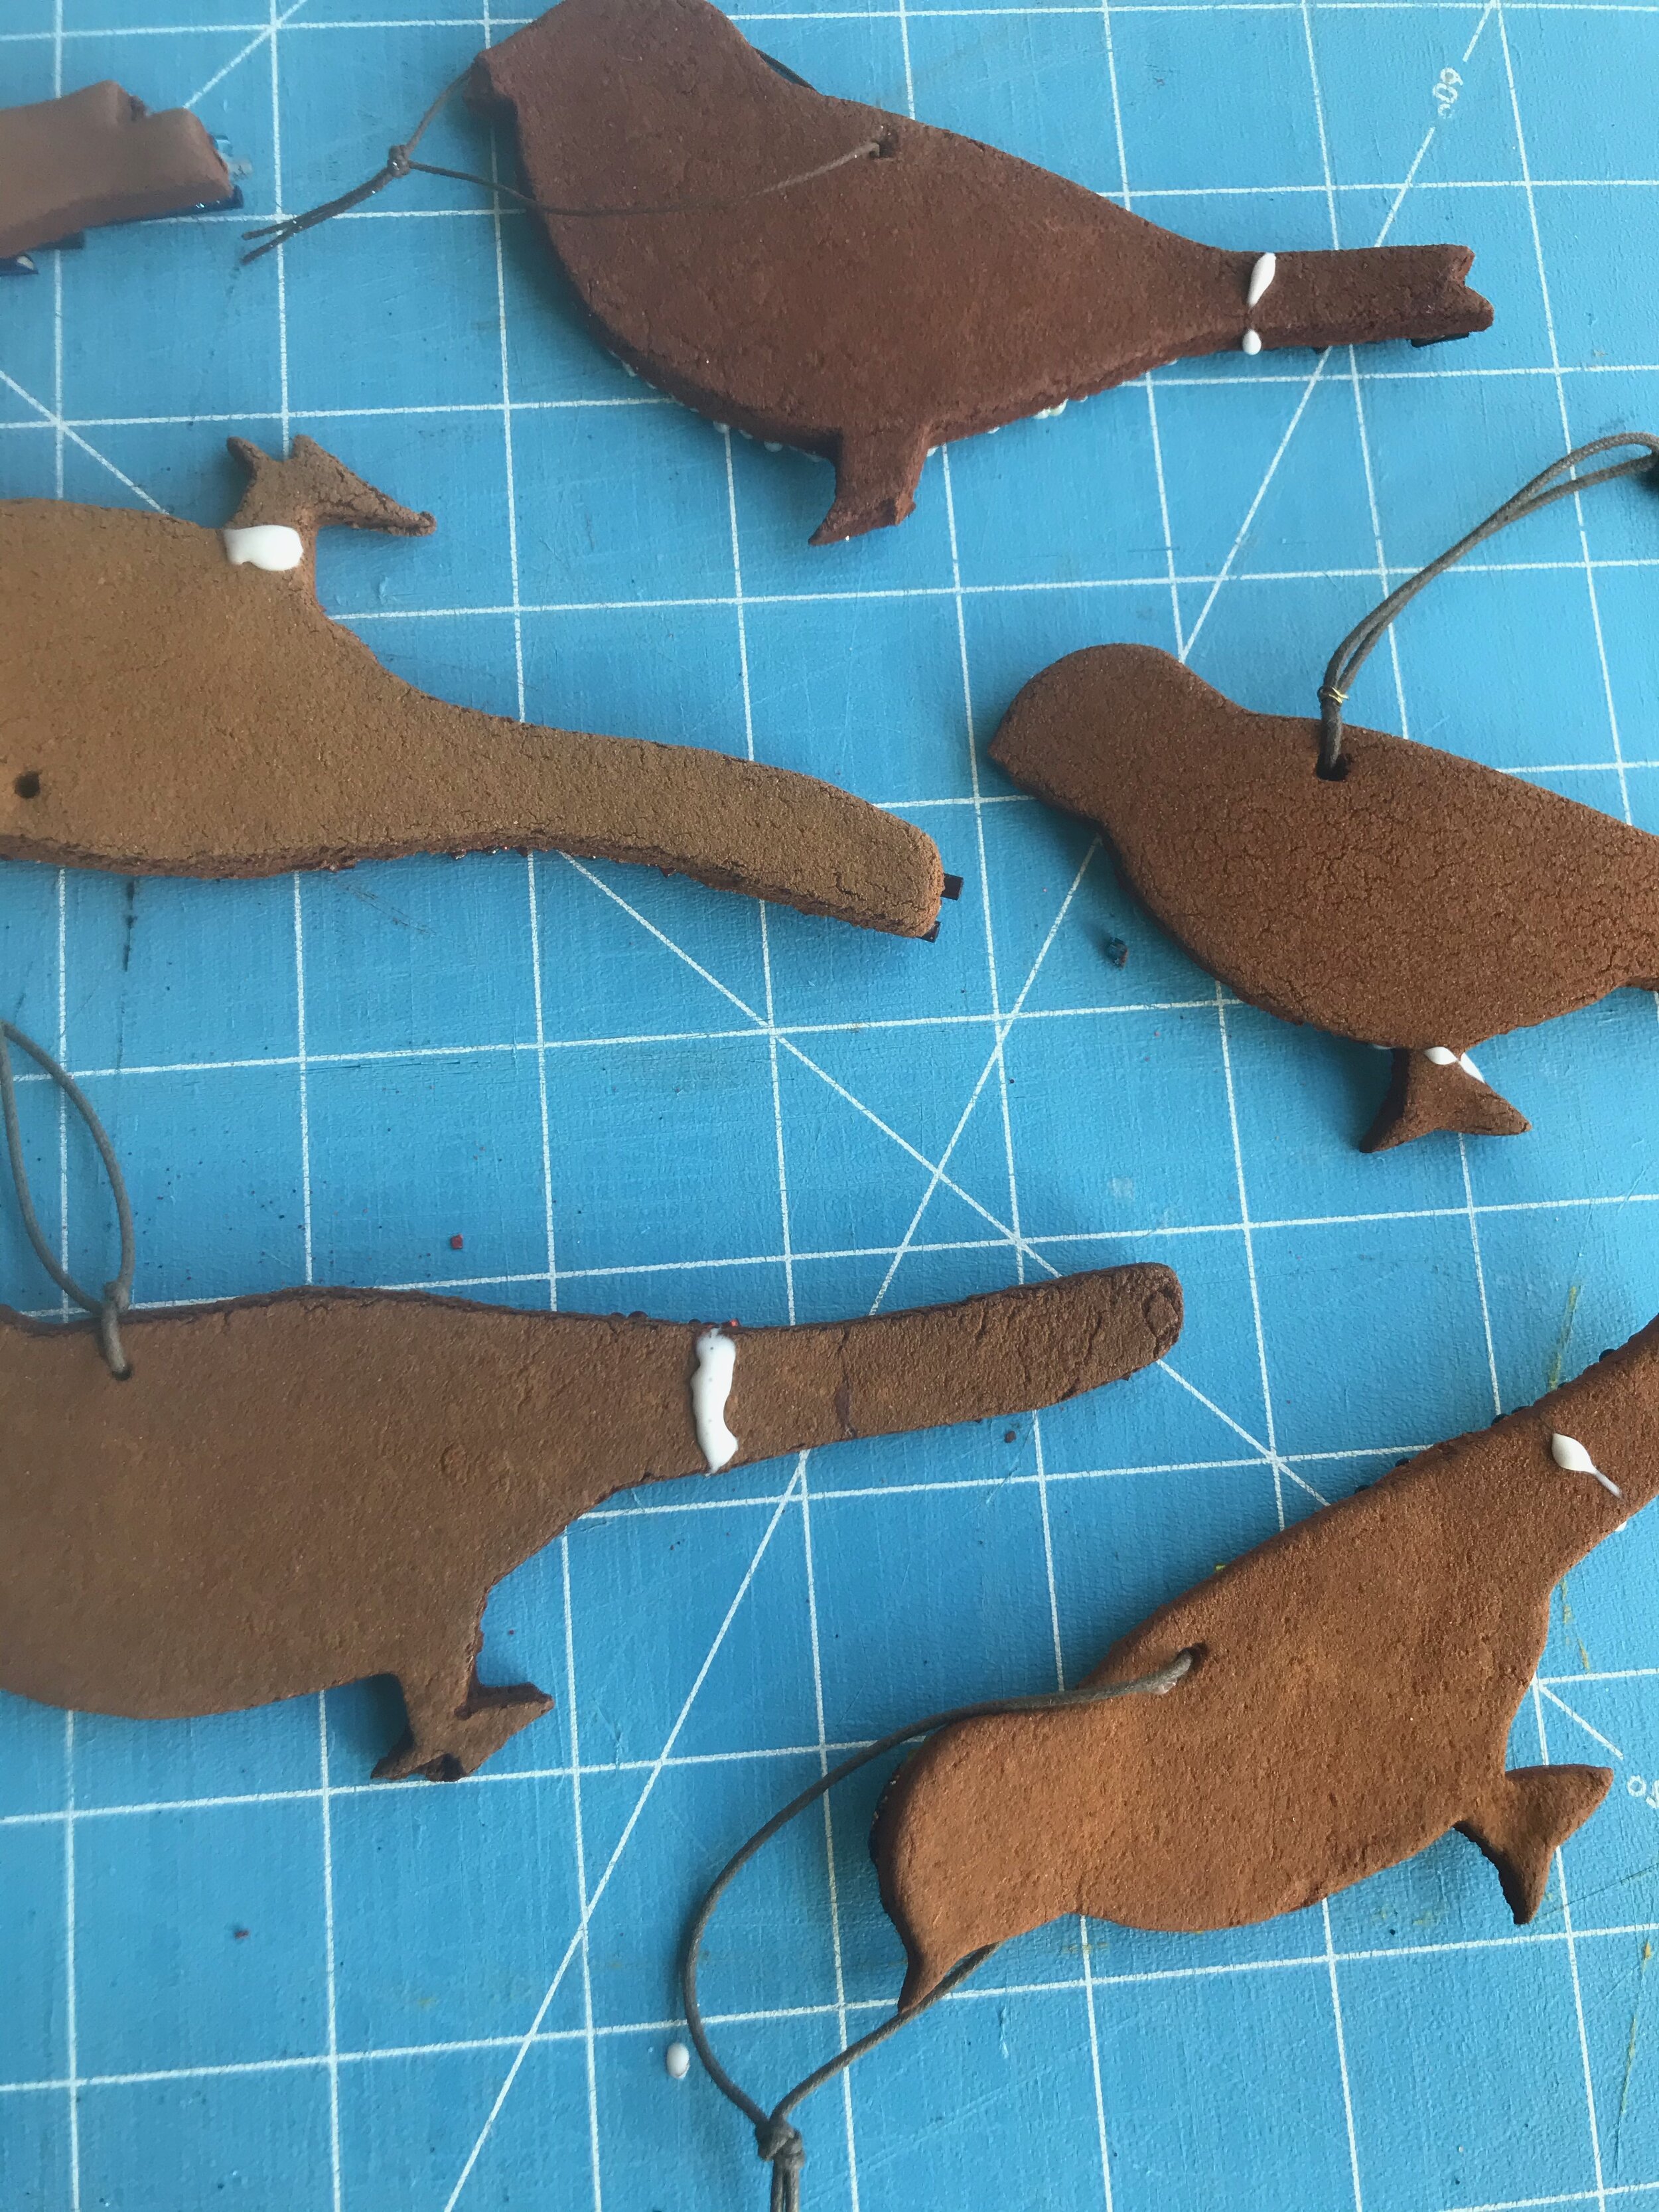
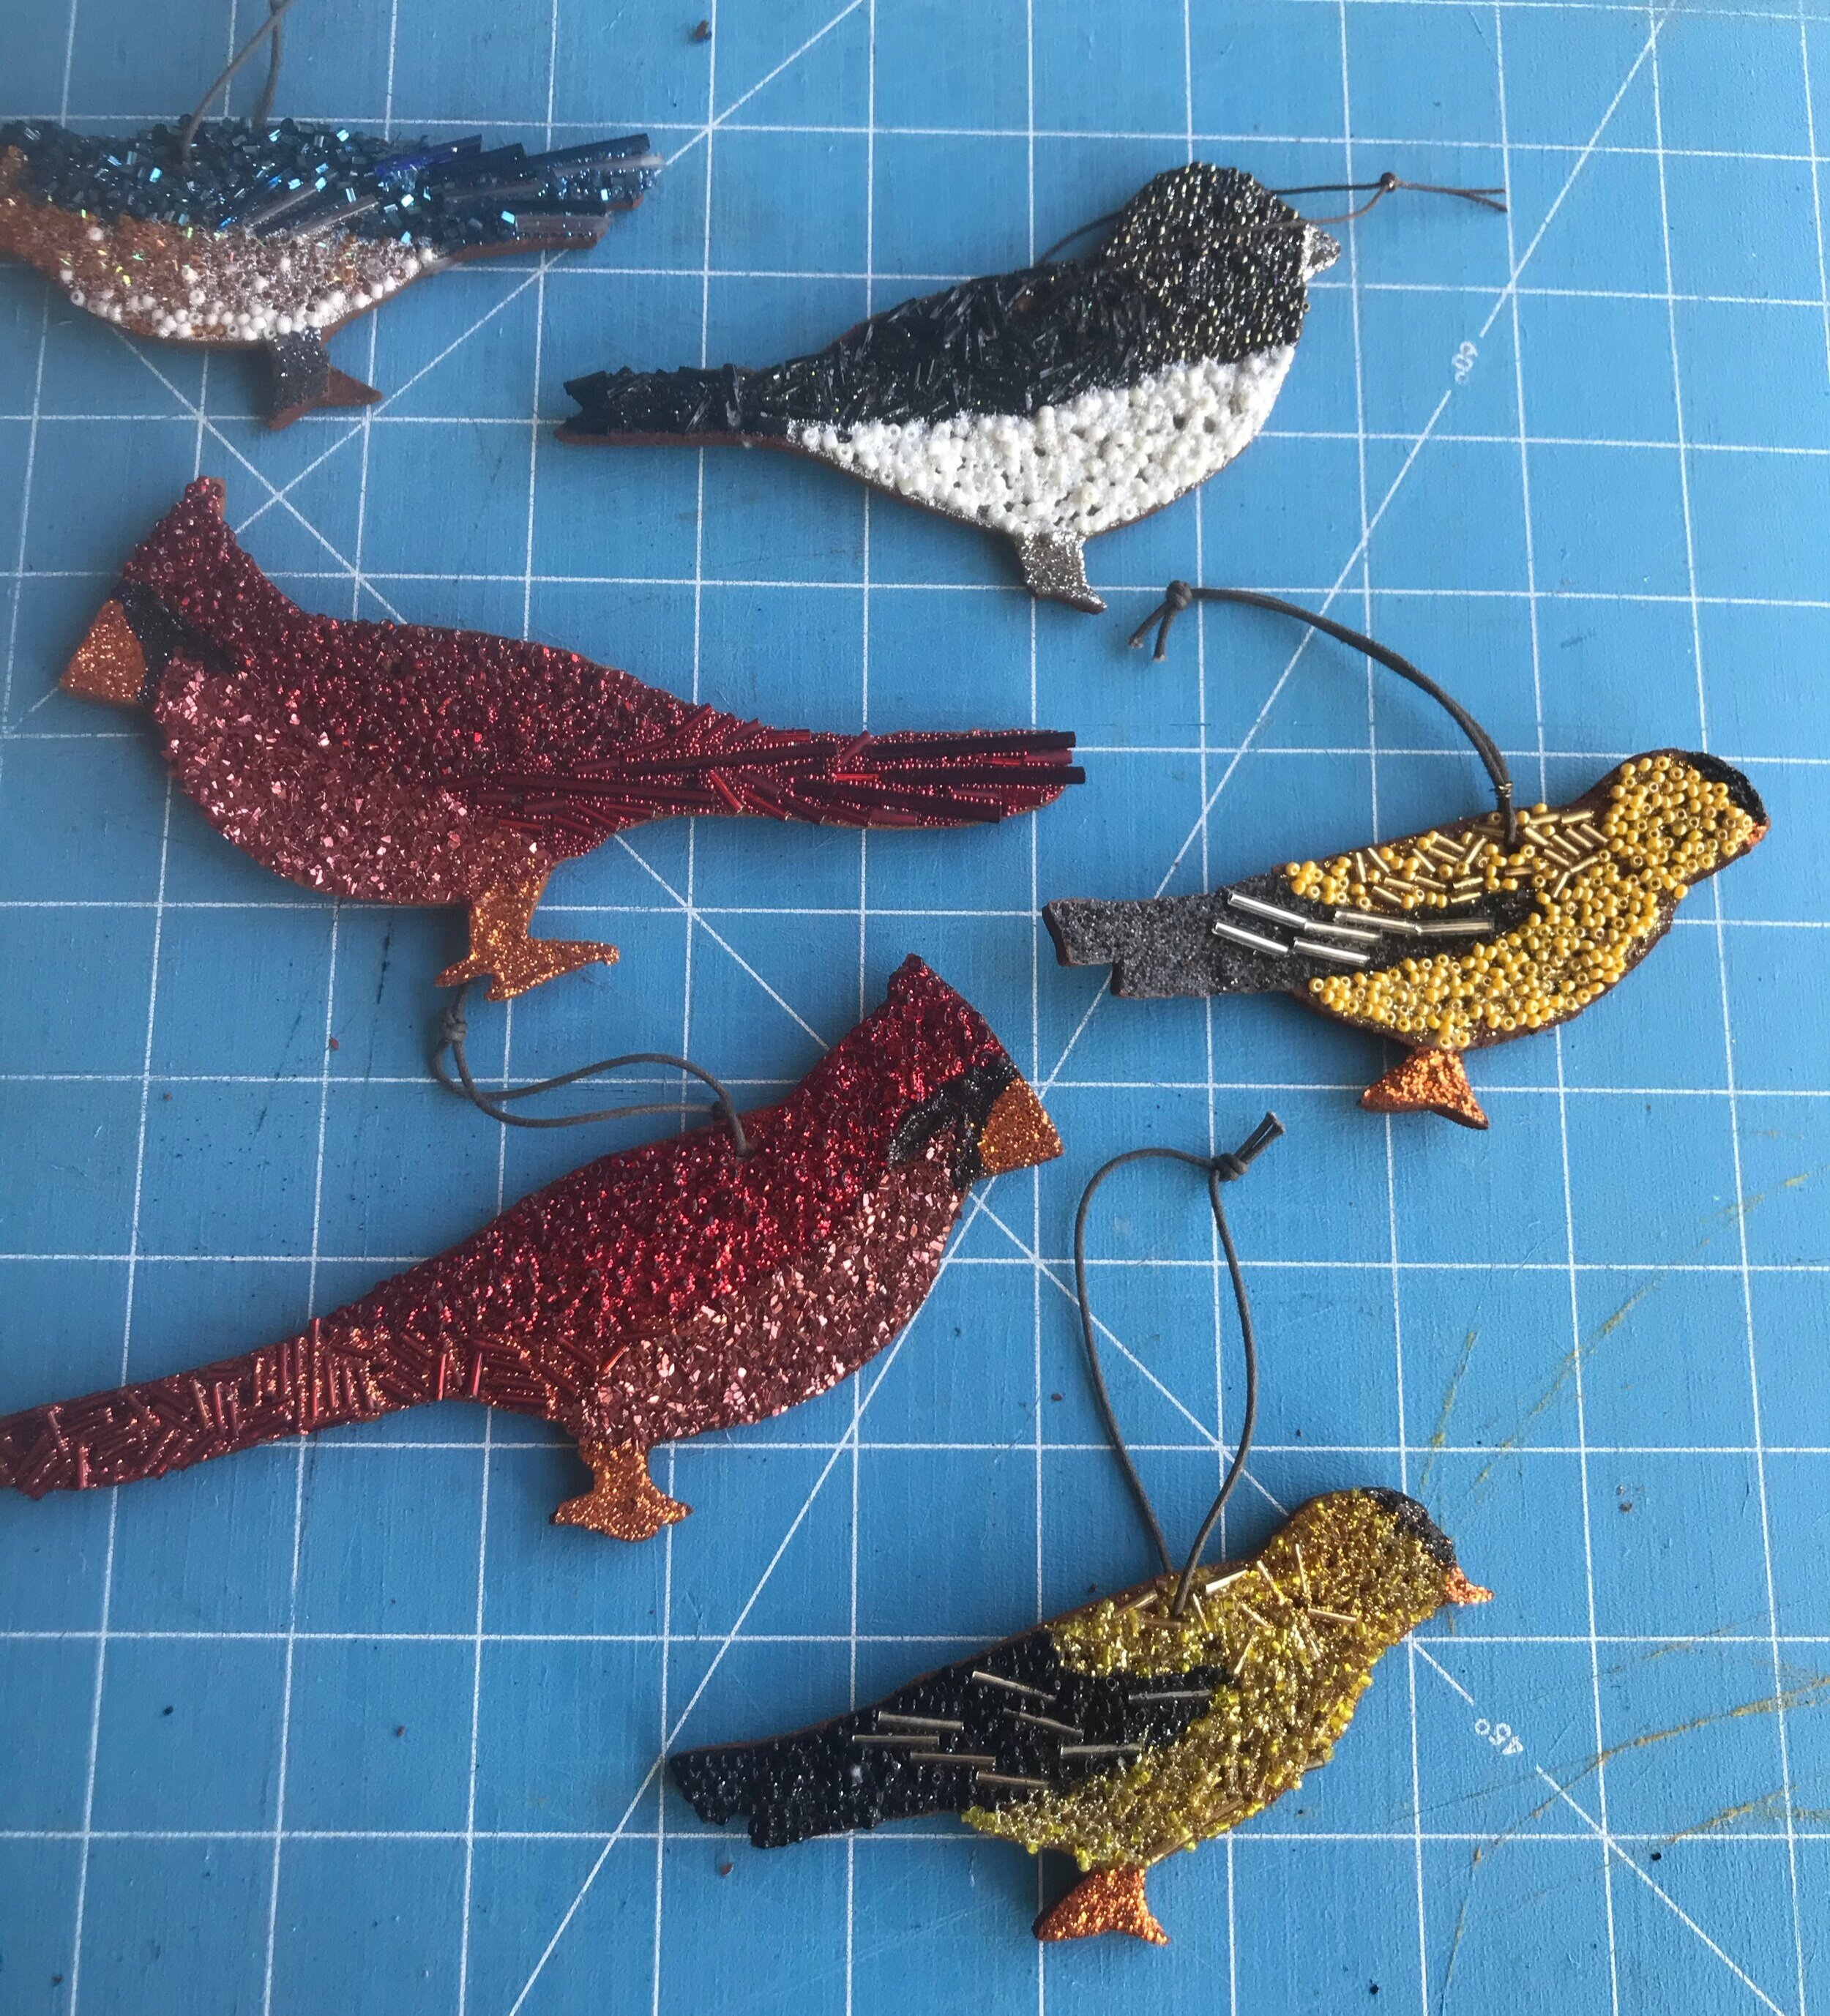
Below are pictures of a few birds that we repaired last winter. All you need to make the repair is a little craft glue! Just apply a liberal amount of glue to the broken edge and join the pieces together. You may have to hold them in place for a few minutes to be sure you’ve got good contact. If a little glue oozes out the front, that’s okay… the glue will dry clear and the beads and glitter will mask the repair site. If the glue oozes out the back, you can just allow it to dry clear… but since there’s no glitter and beads to hide the break site, you could add a little dusting of cinnamon from your pantry to the wet glue (on the back only) and it will hide the crack and reinforce the site. I did not use the extra dusting of cinnamon in the repairs pictured below because the breaks were fairly clean and they fit back together so well.


Warped
We’ve been making these ornaments for a number of years, and it’s taken a few years to figure out how to get the clay recipe and drying process just right…. so some ornaments that were made before 2018 may have had a bit of a curve to them when you purchased them. Also, sometimes if your ornaments are stored in a humid location (an attic or basement maybe) they can absorb some moisture from the air and bend a little on their own! There’s a little bit of craft glue in our cinnamon clay recipe, so there is a bit of elasticity to these ornaments, and we will show you the best way to press them flat.
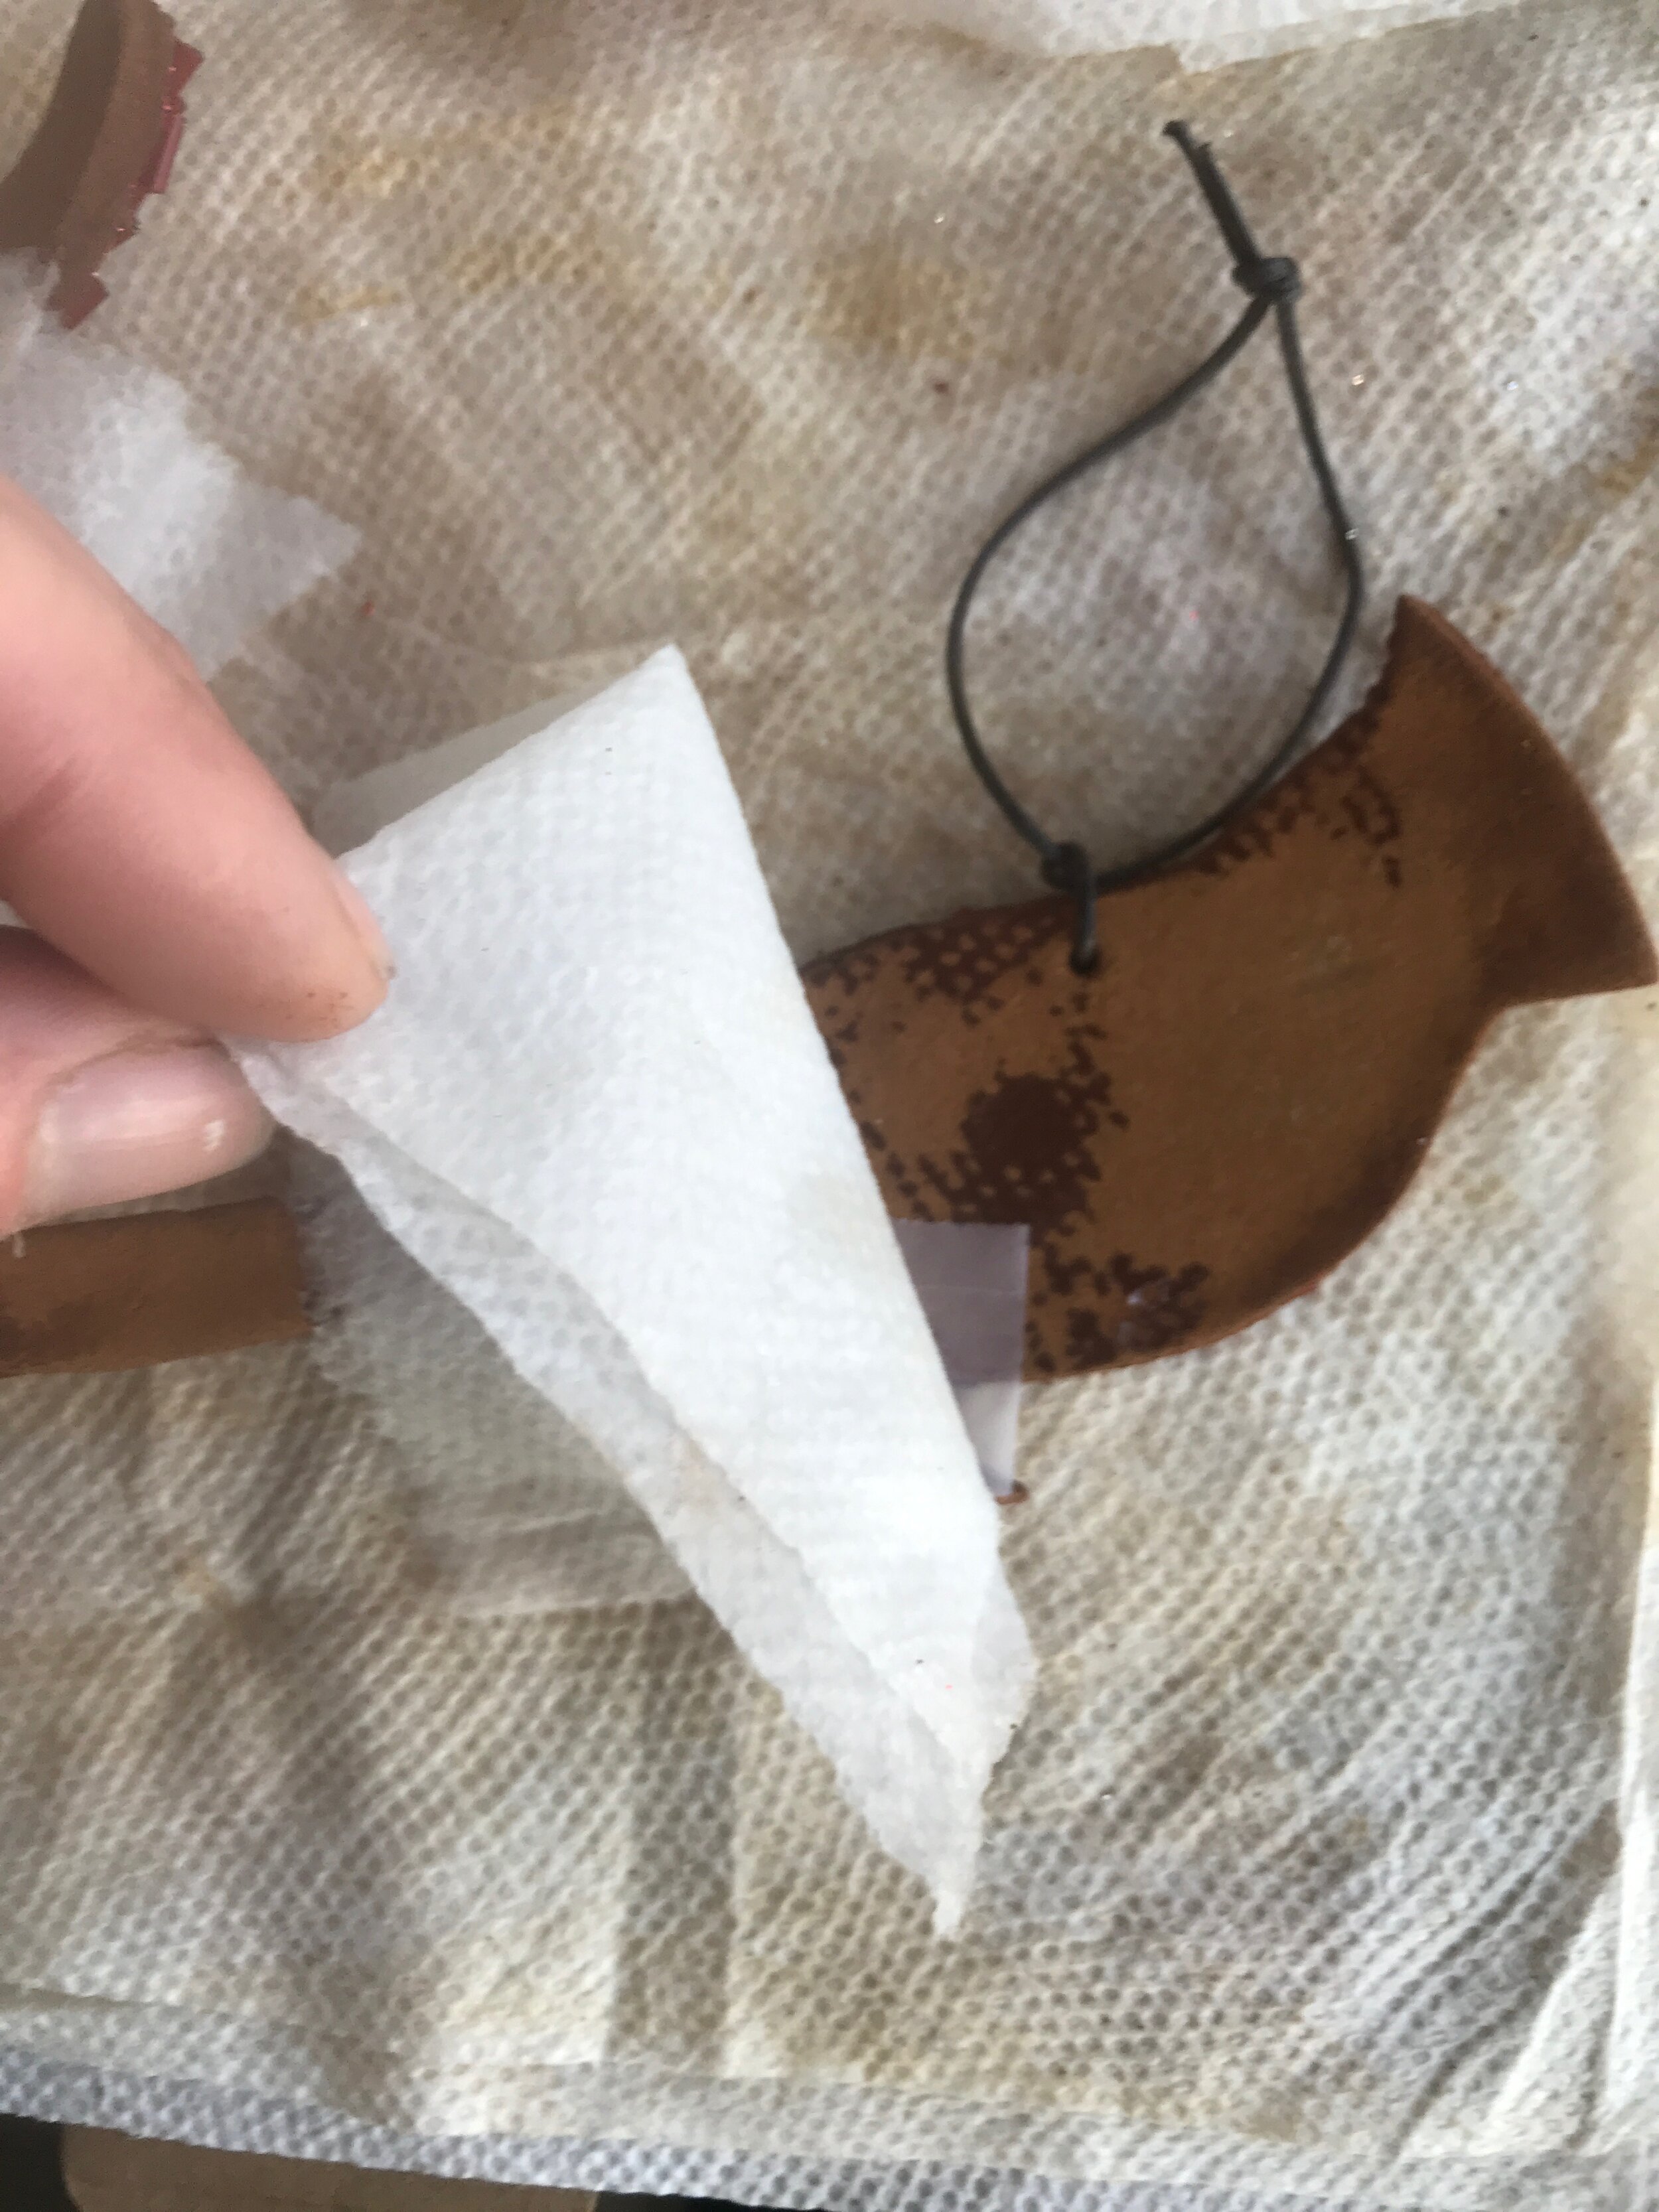
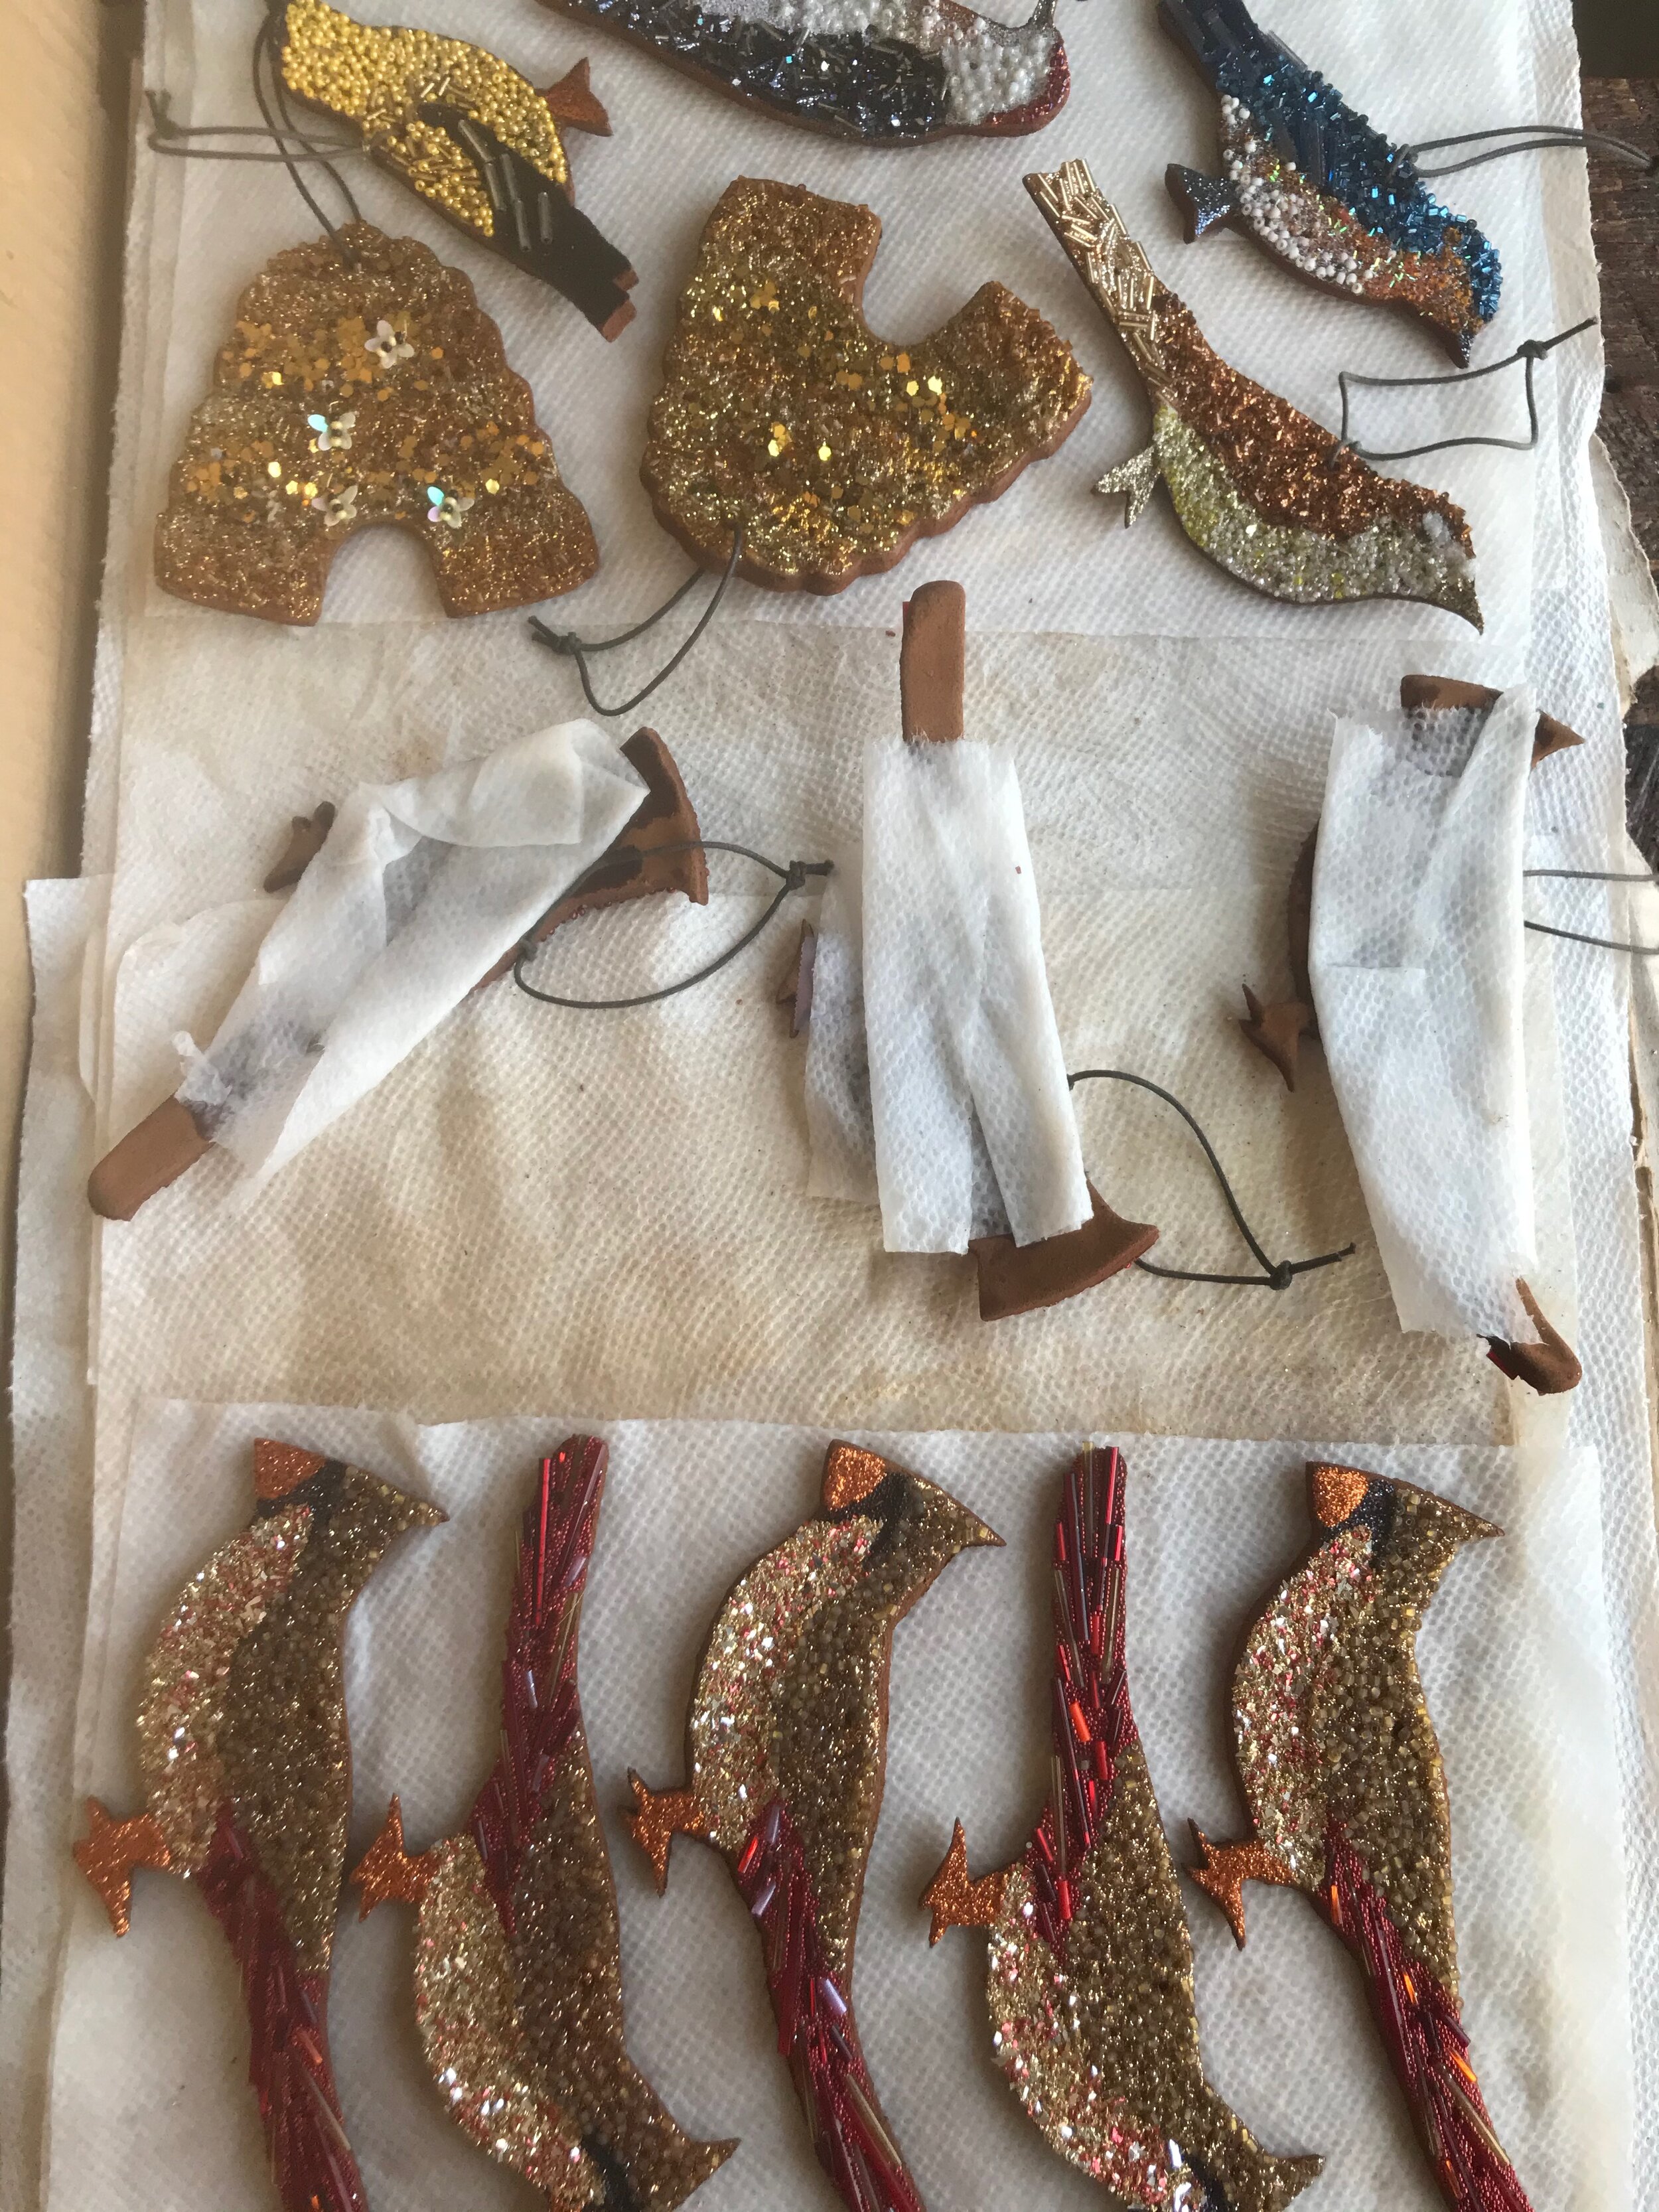
If your ornament is just bendy, like the cardinal and beehive in the first couple of pictures below, we recommend setting a moist paper towel on it’s back for 24 hours so it is a bit more flexible when you go to press it. (If the ornament has a severe bend, and you don’t prep it with a moist paper towel, you can easily snap off the tail when you go to press it.)
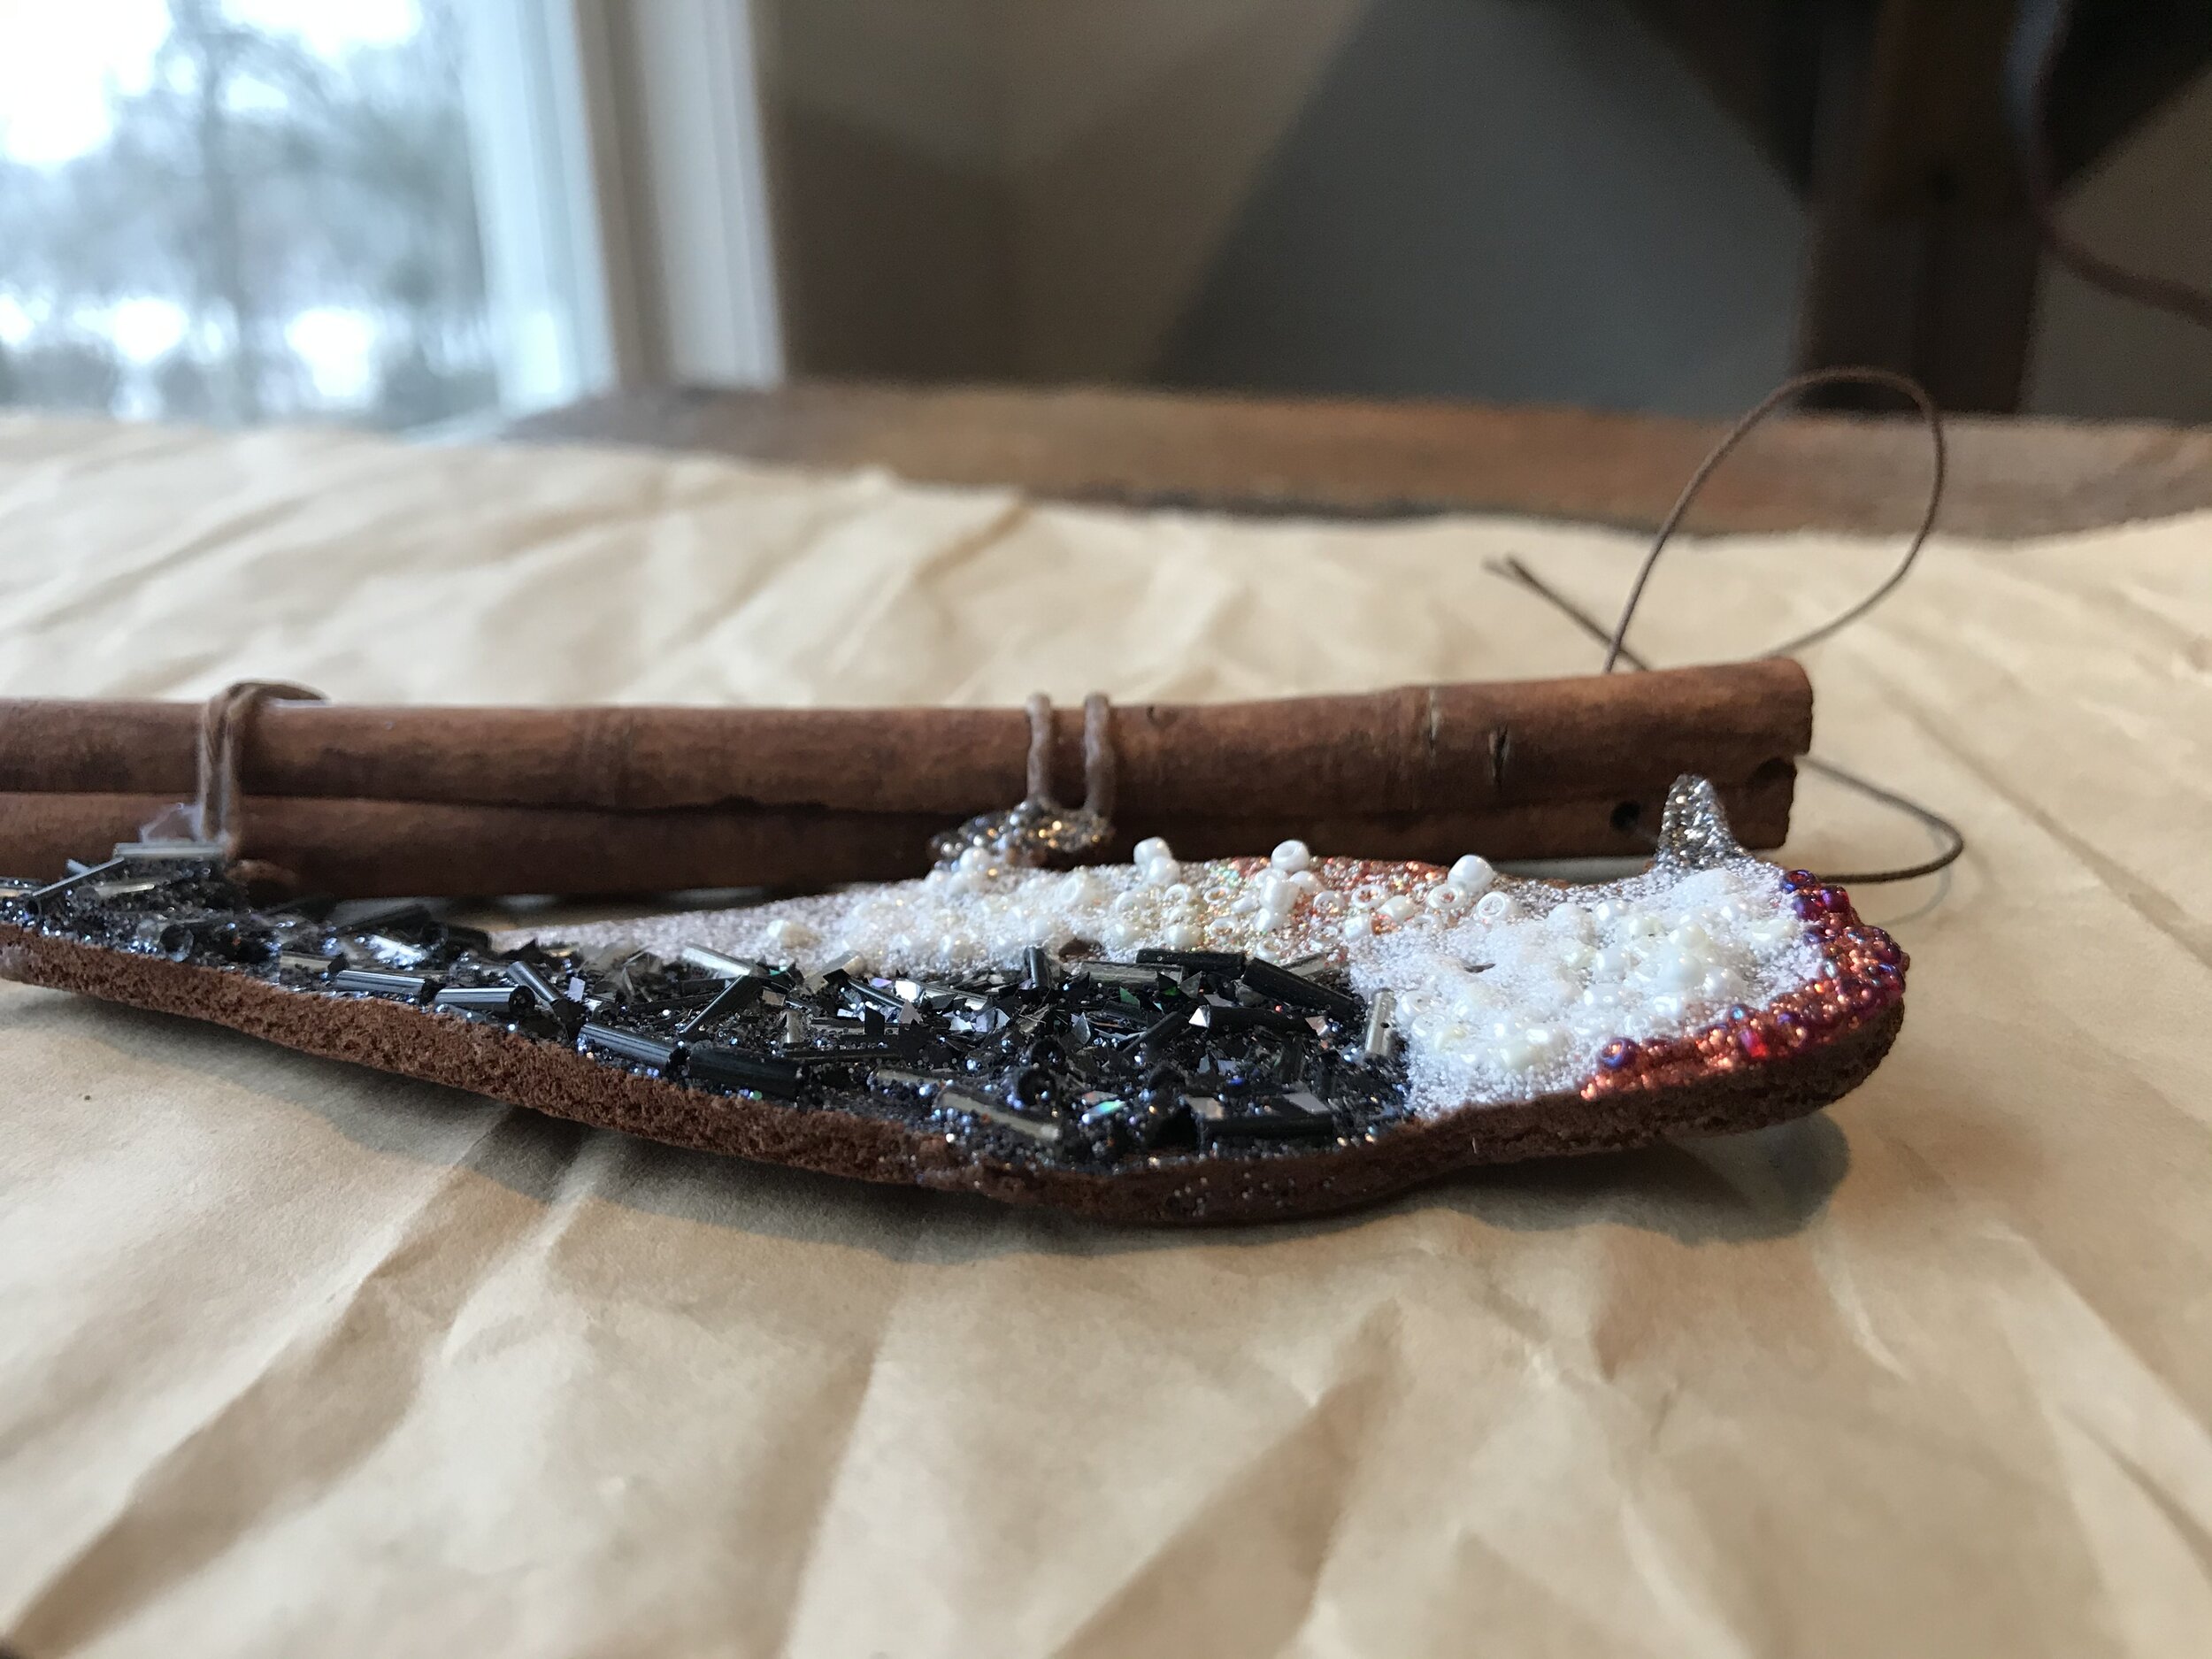
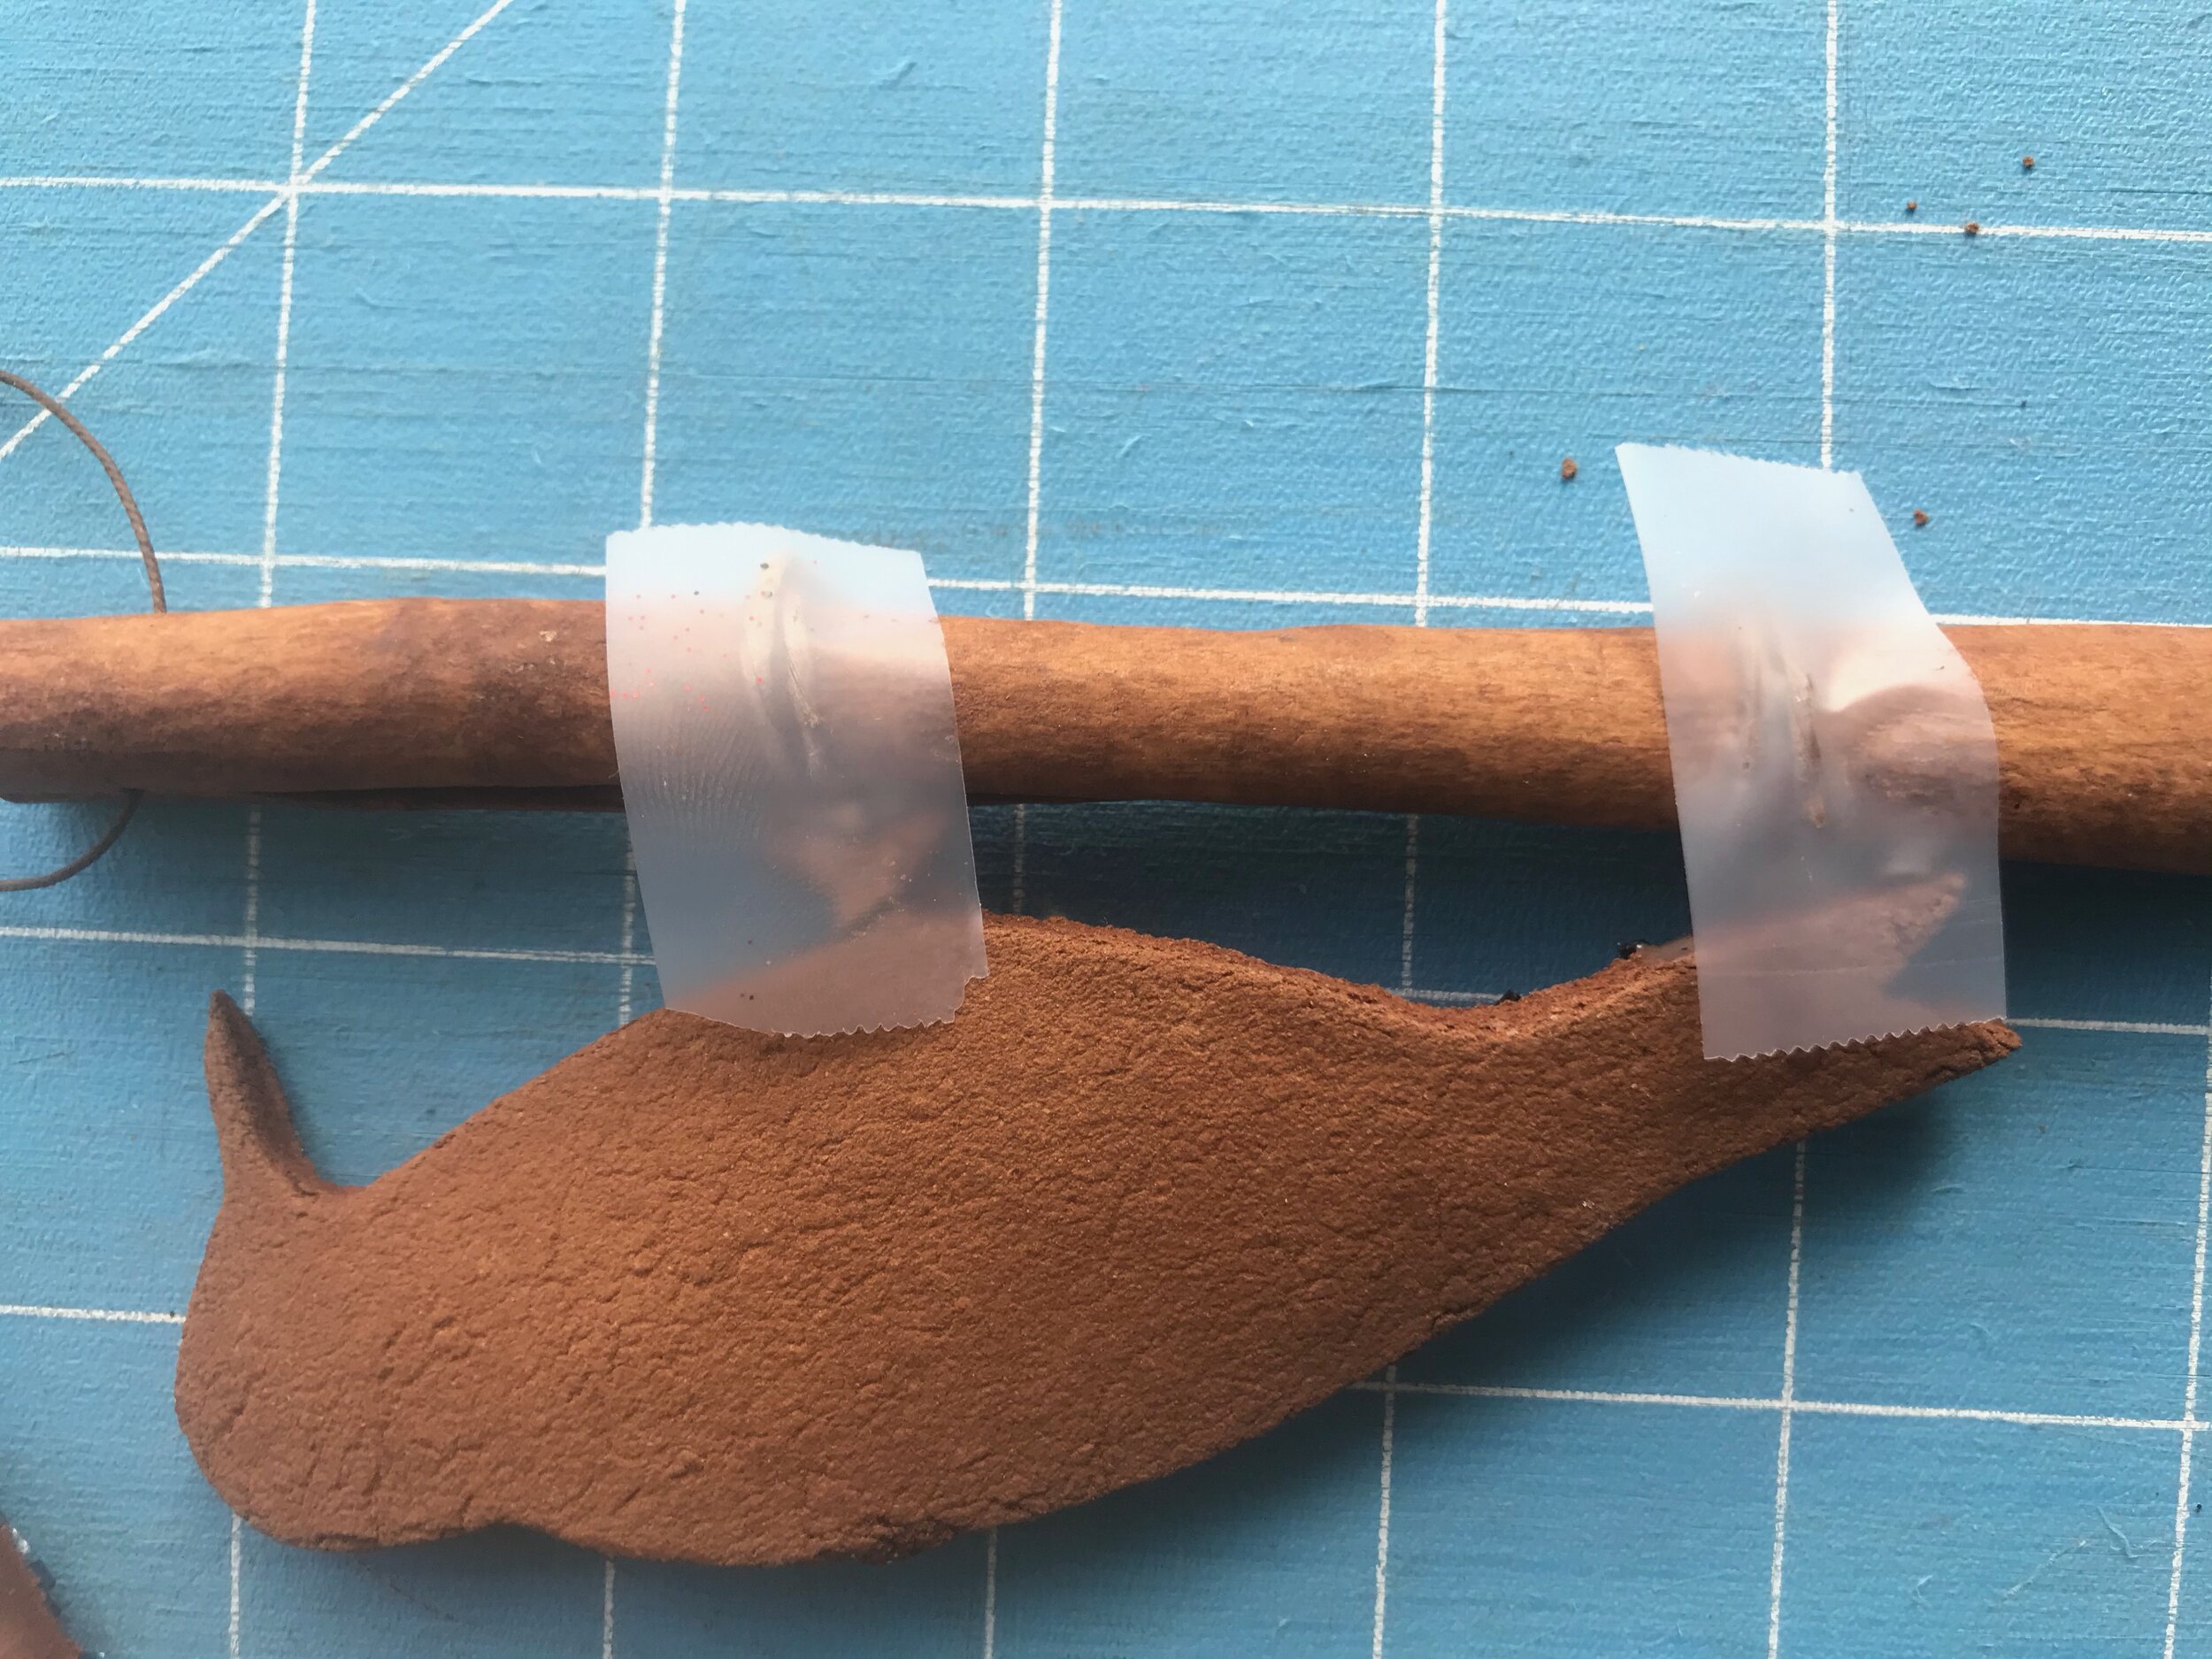
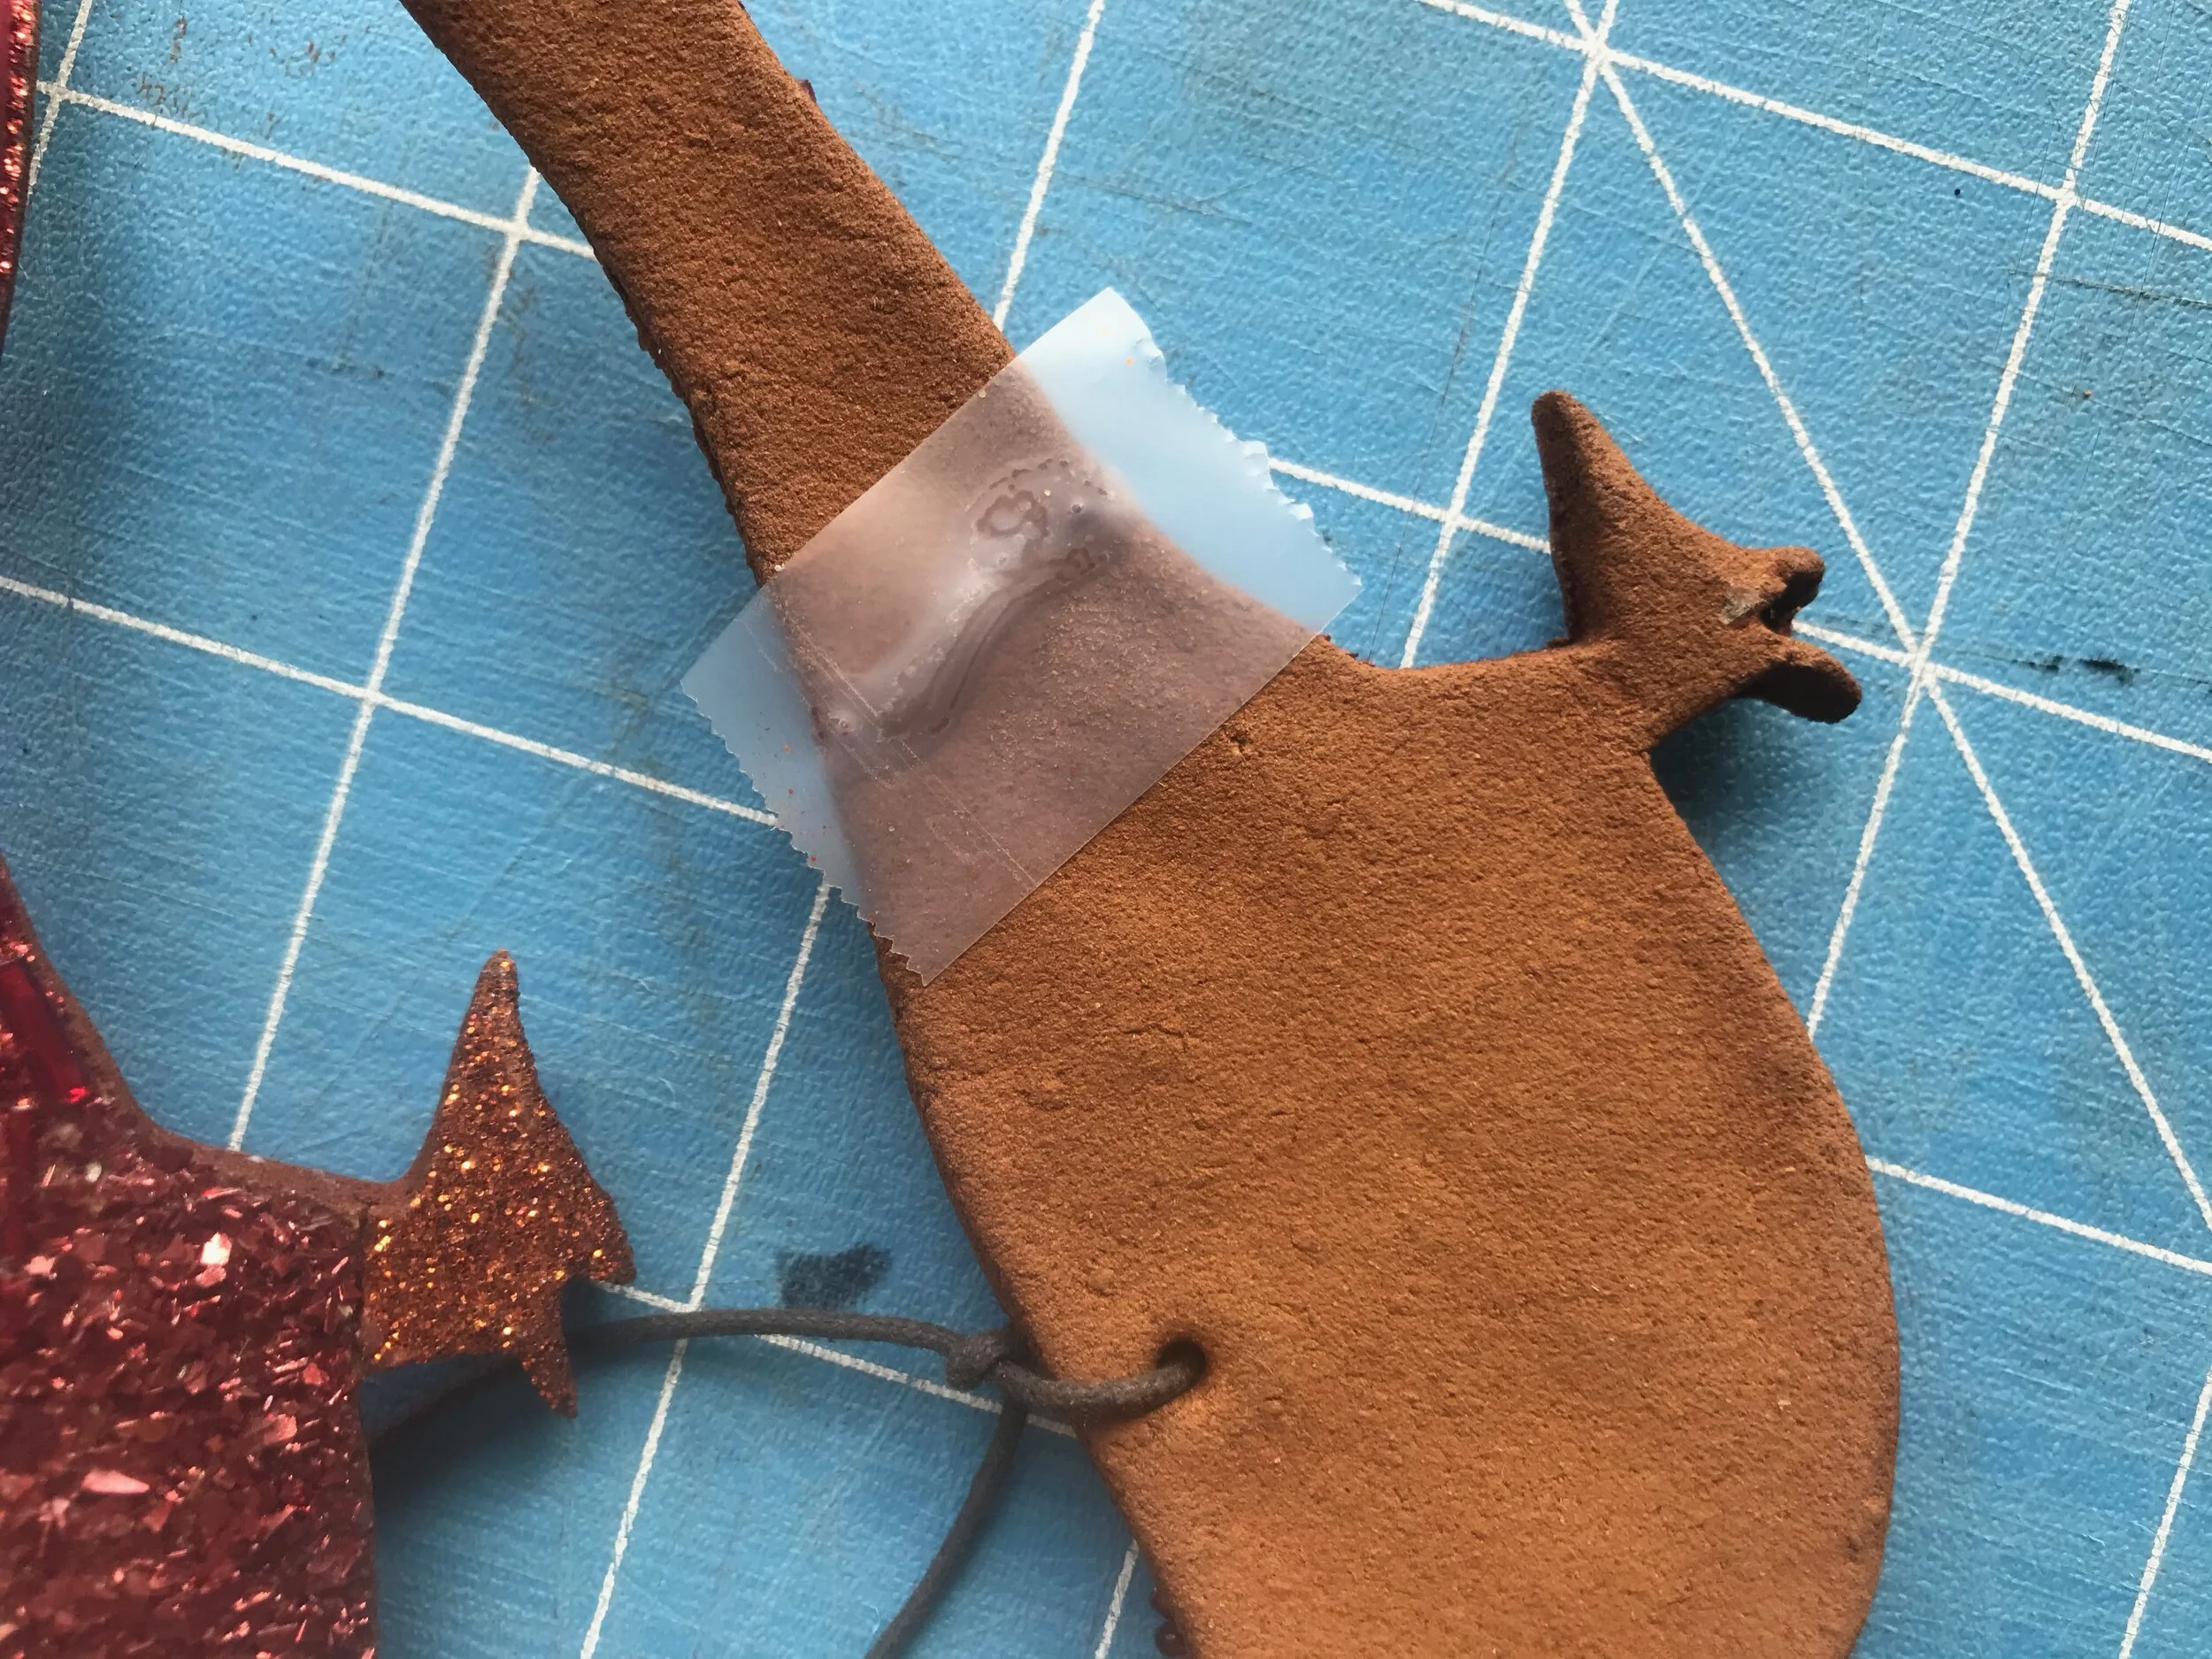
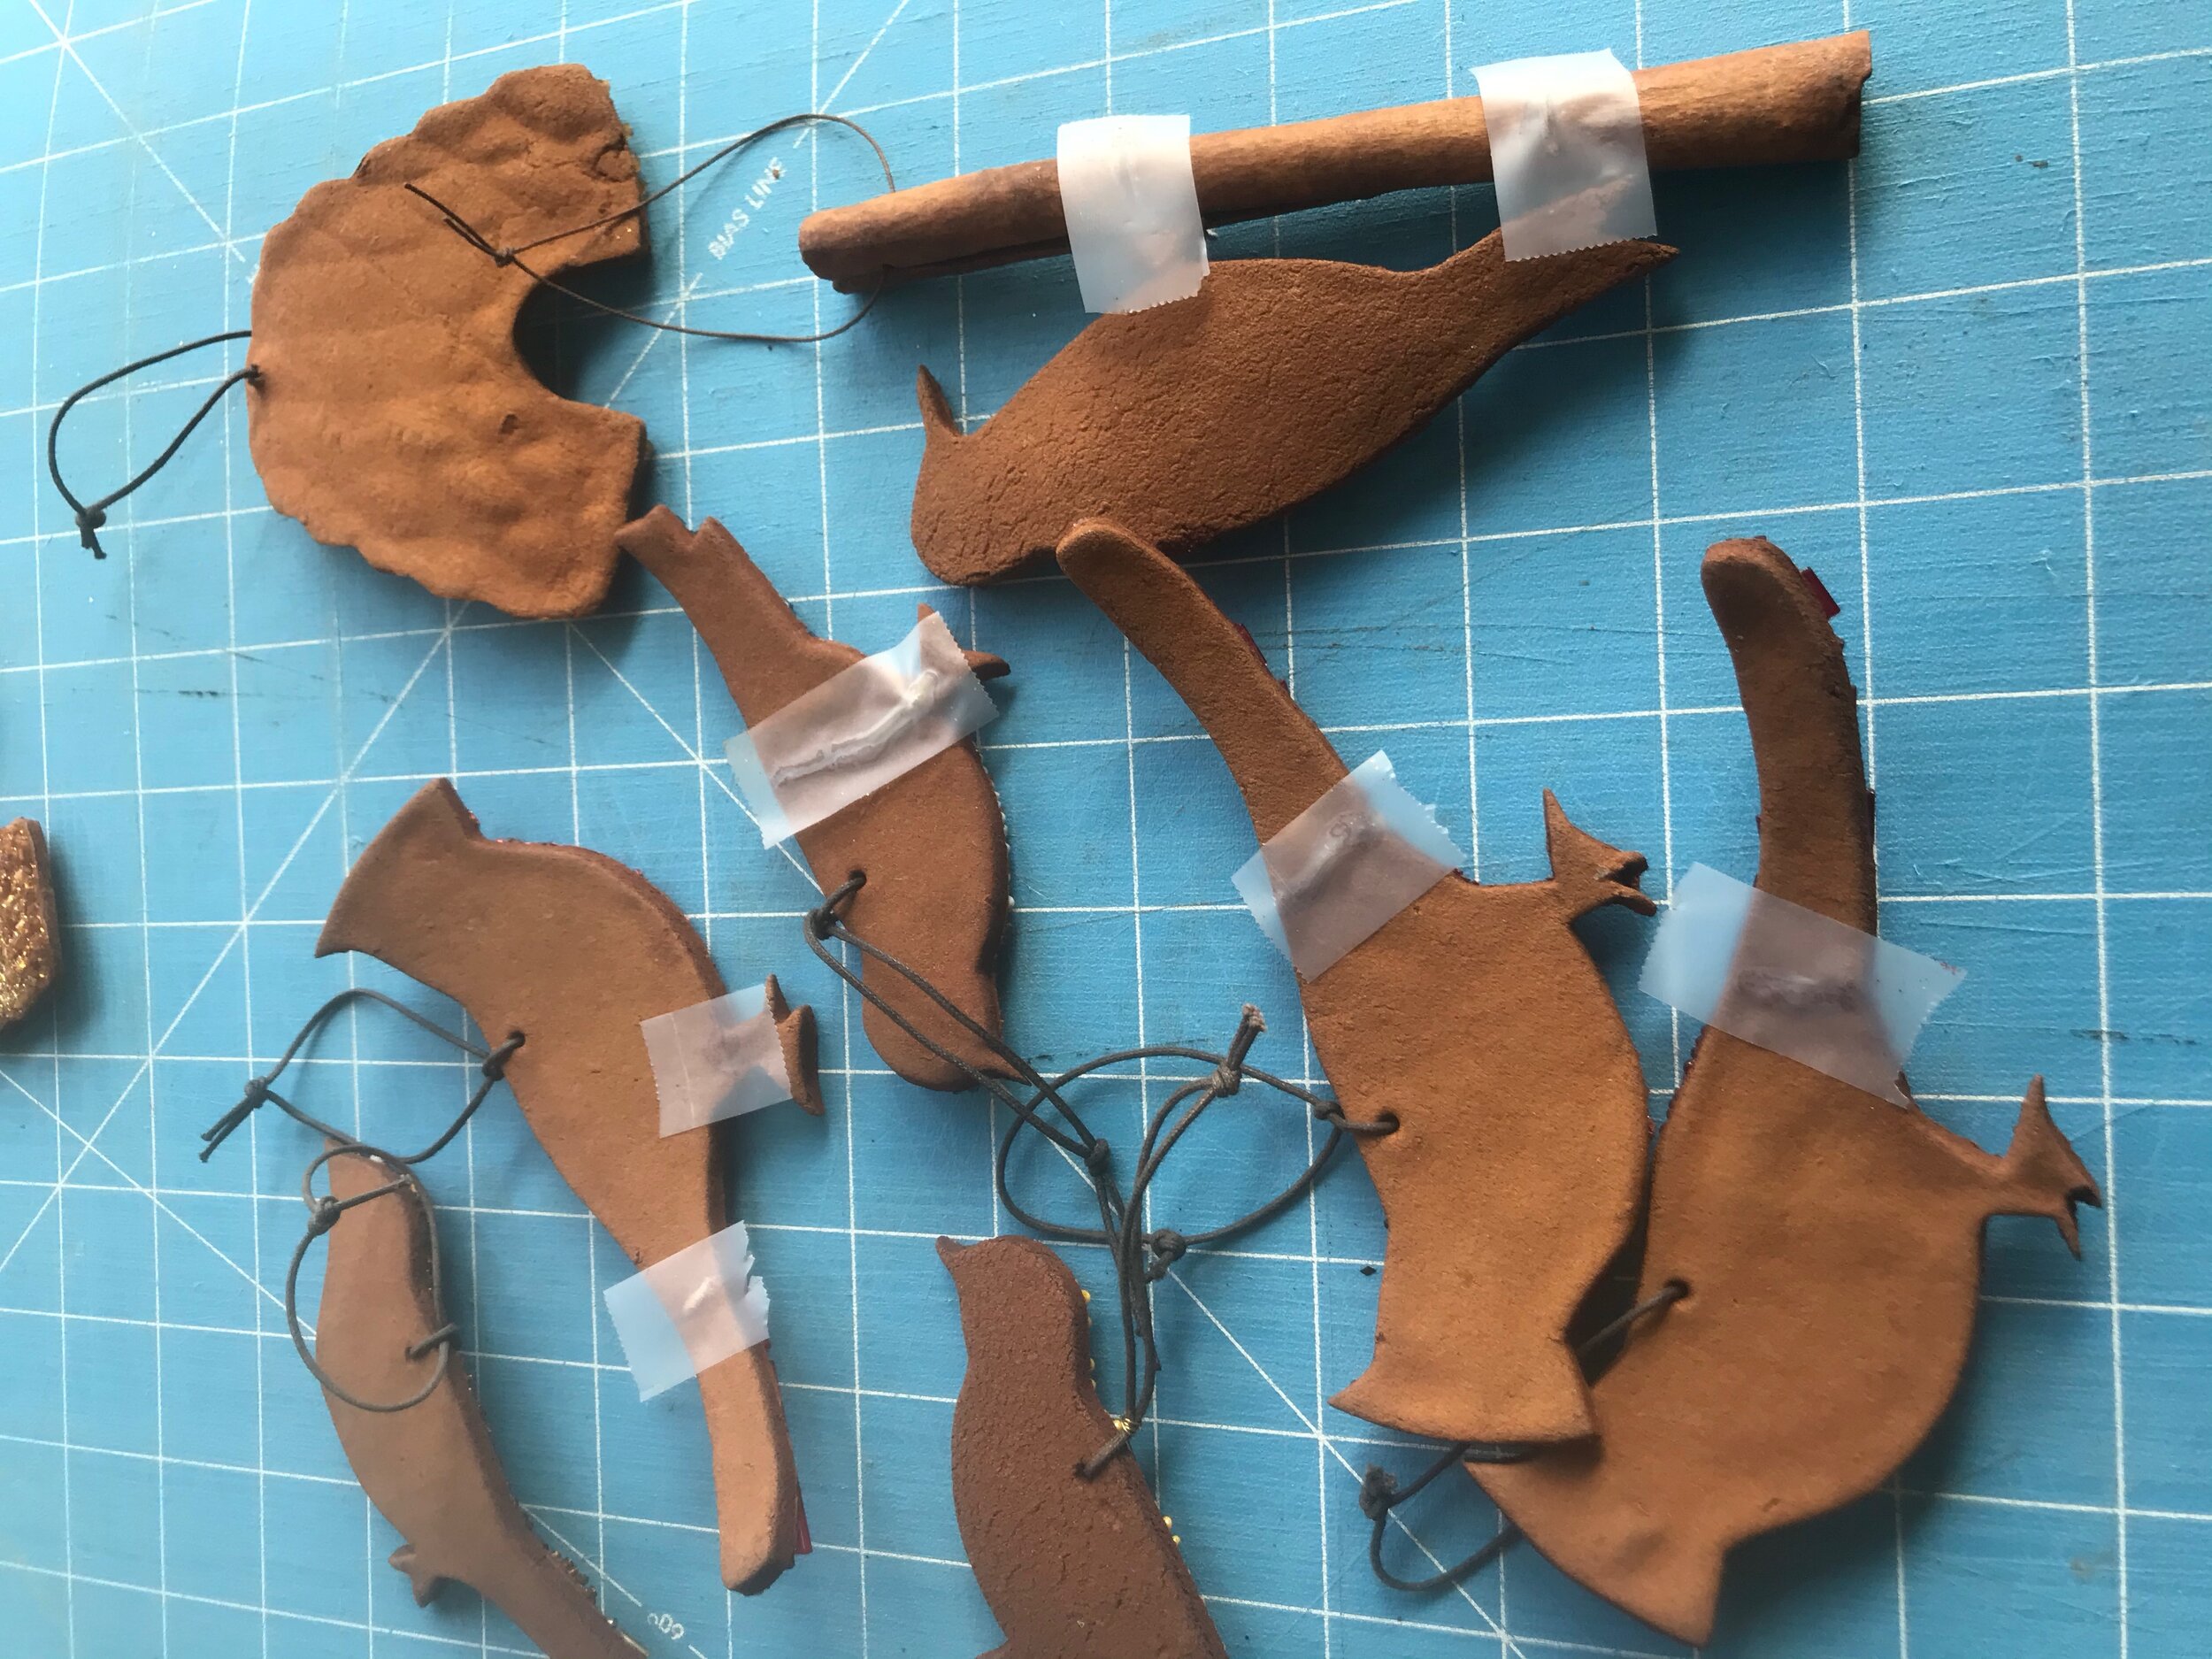
If your warped ornament is attached to a cinnamon stick, like the woodpecker pictured below, you’ll want to be sure the wires attaching the bird to the cinnamon stick are covered with scotch tape before adding any moisture. The wires are attached to the cinnamon stick with craft glue, so if they are moistened with your damp paper towels, you’ll end up re-activating that glue and gluing your cinnamon stick to the paper towel. :) If your ornament has already been repaired (broken tail or feet), be sure to cover the glue line on the back of the ornament with tape too.
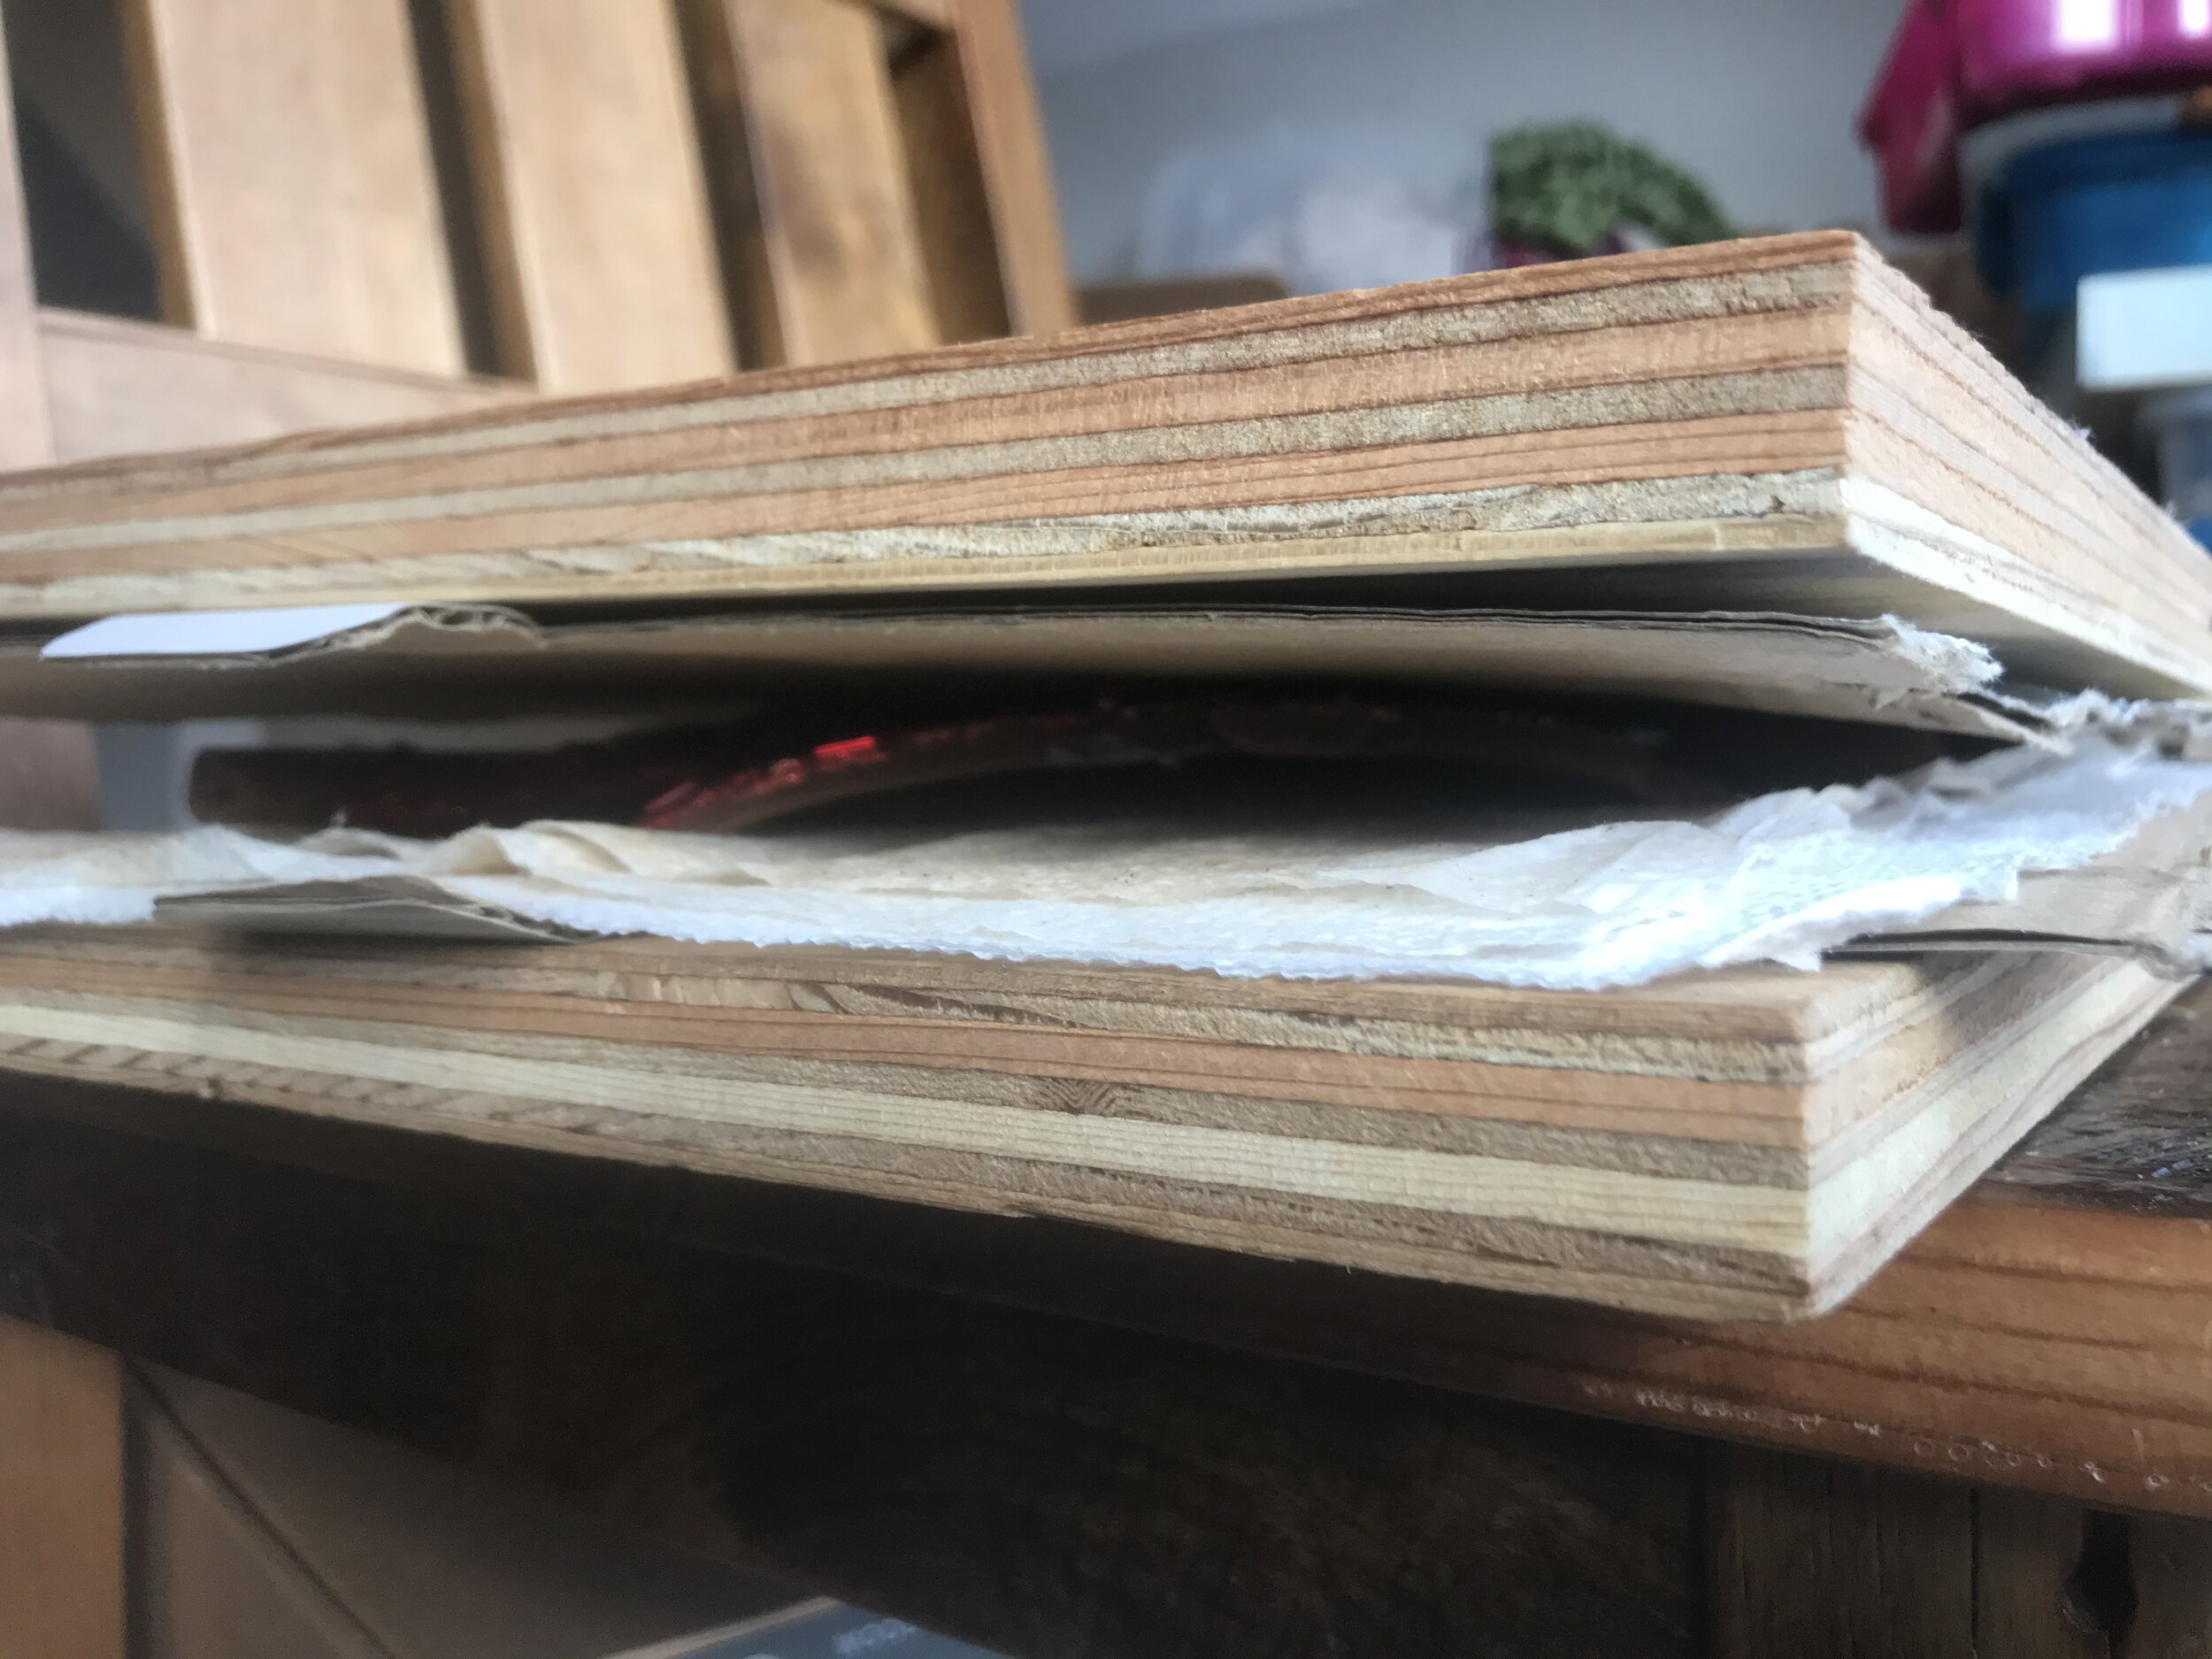
Once your ornaments have been prepped (pre-moistened and taped appropriately) then you can move on to the pressing process. To press your ornaments, you’ll want to gather the following materials:
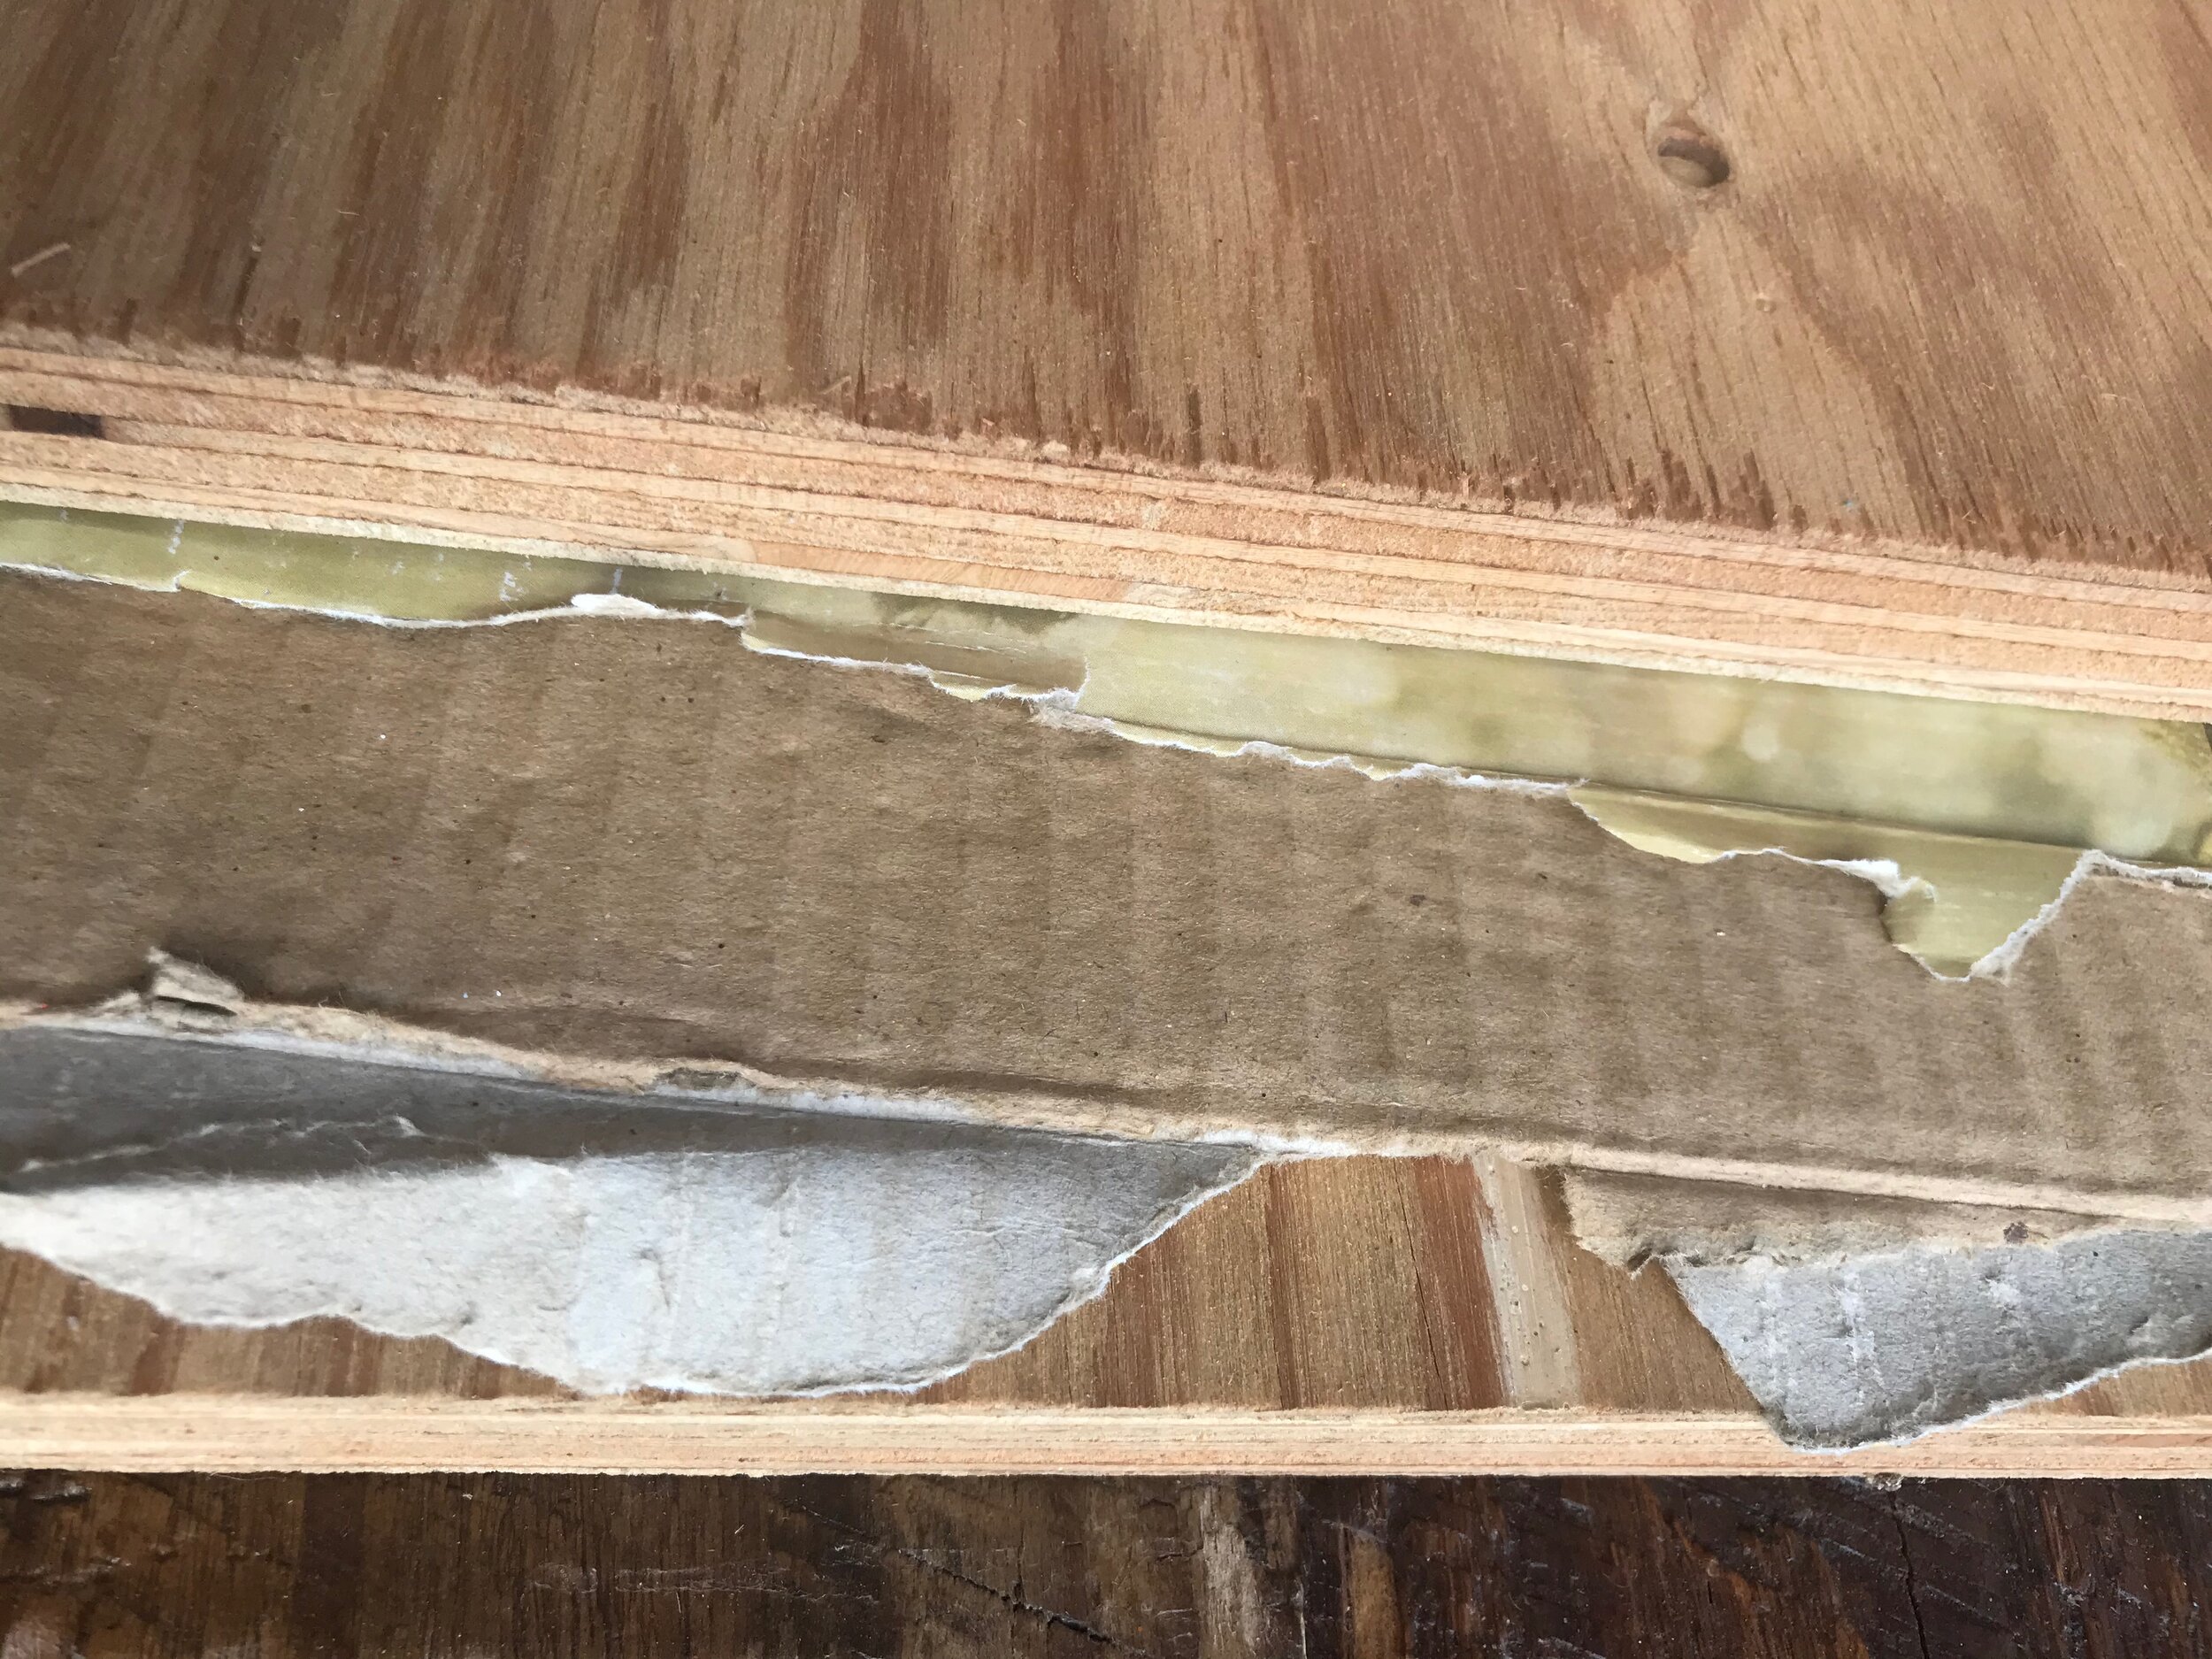
2 boards - or large, firm, flat surfaces like books to create your ornament press.
2 pieces of cardboard - this will provide a little cushion for the ornaments from the hard boards, and protect your boards/books from moisture
damp paper towels
more books or heavy things to put on your press
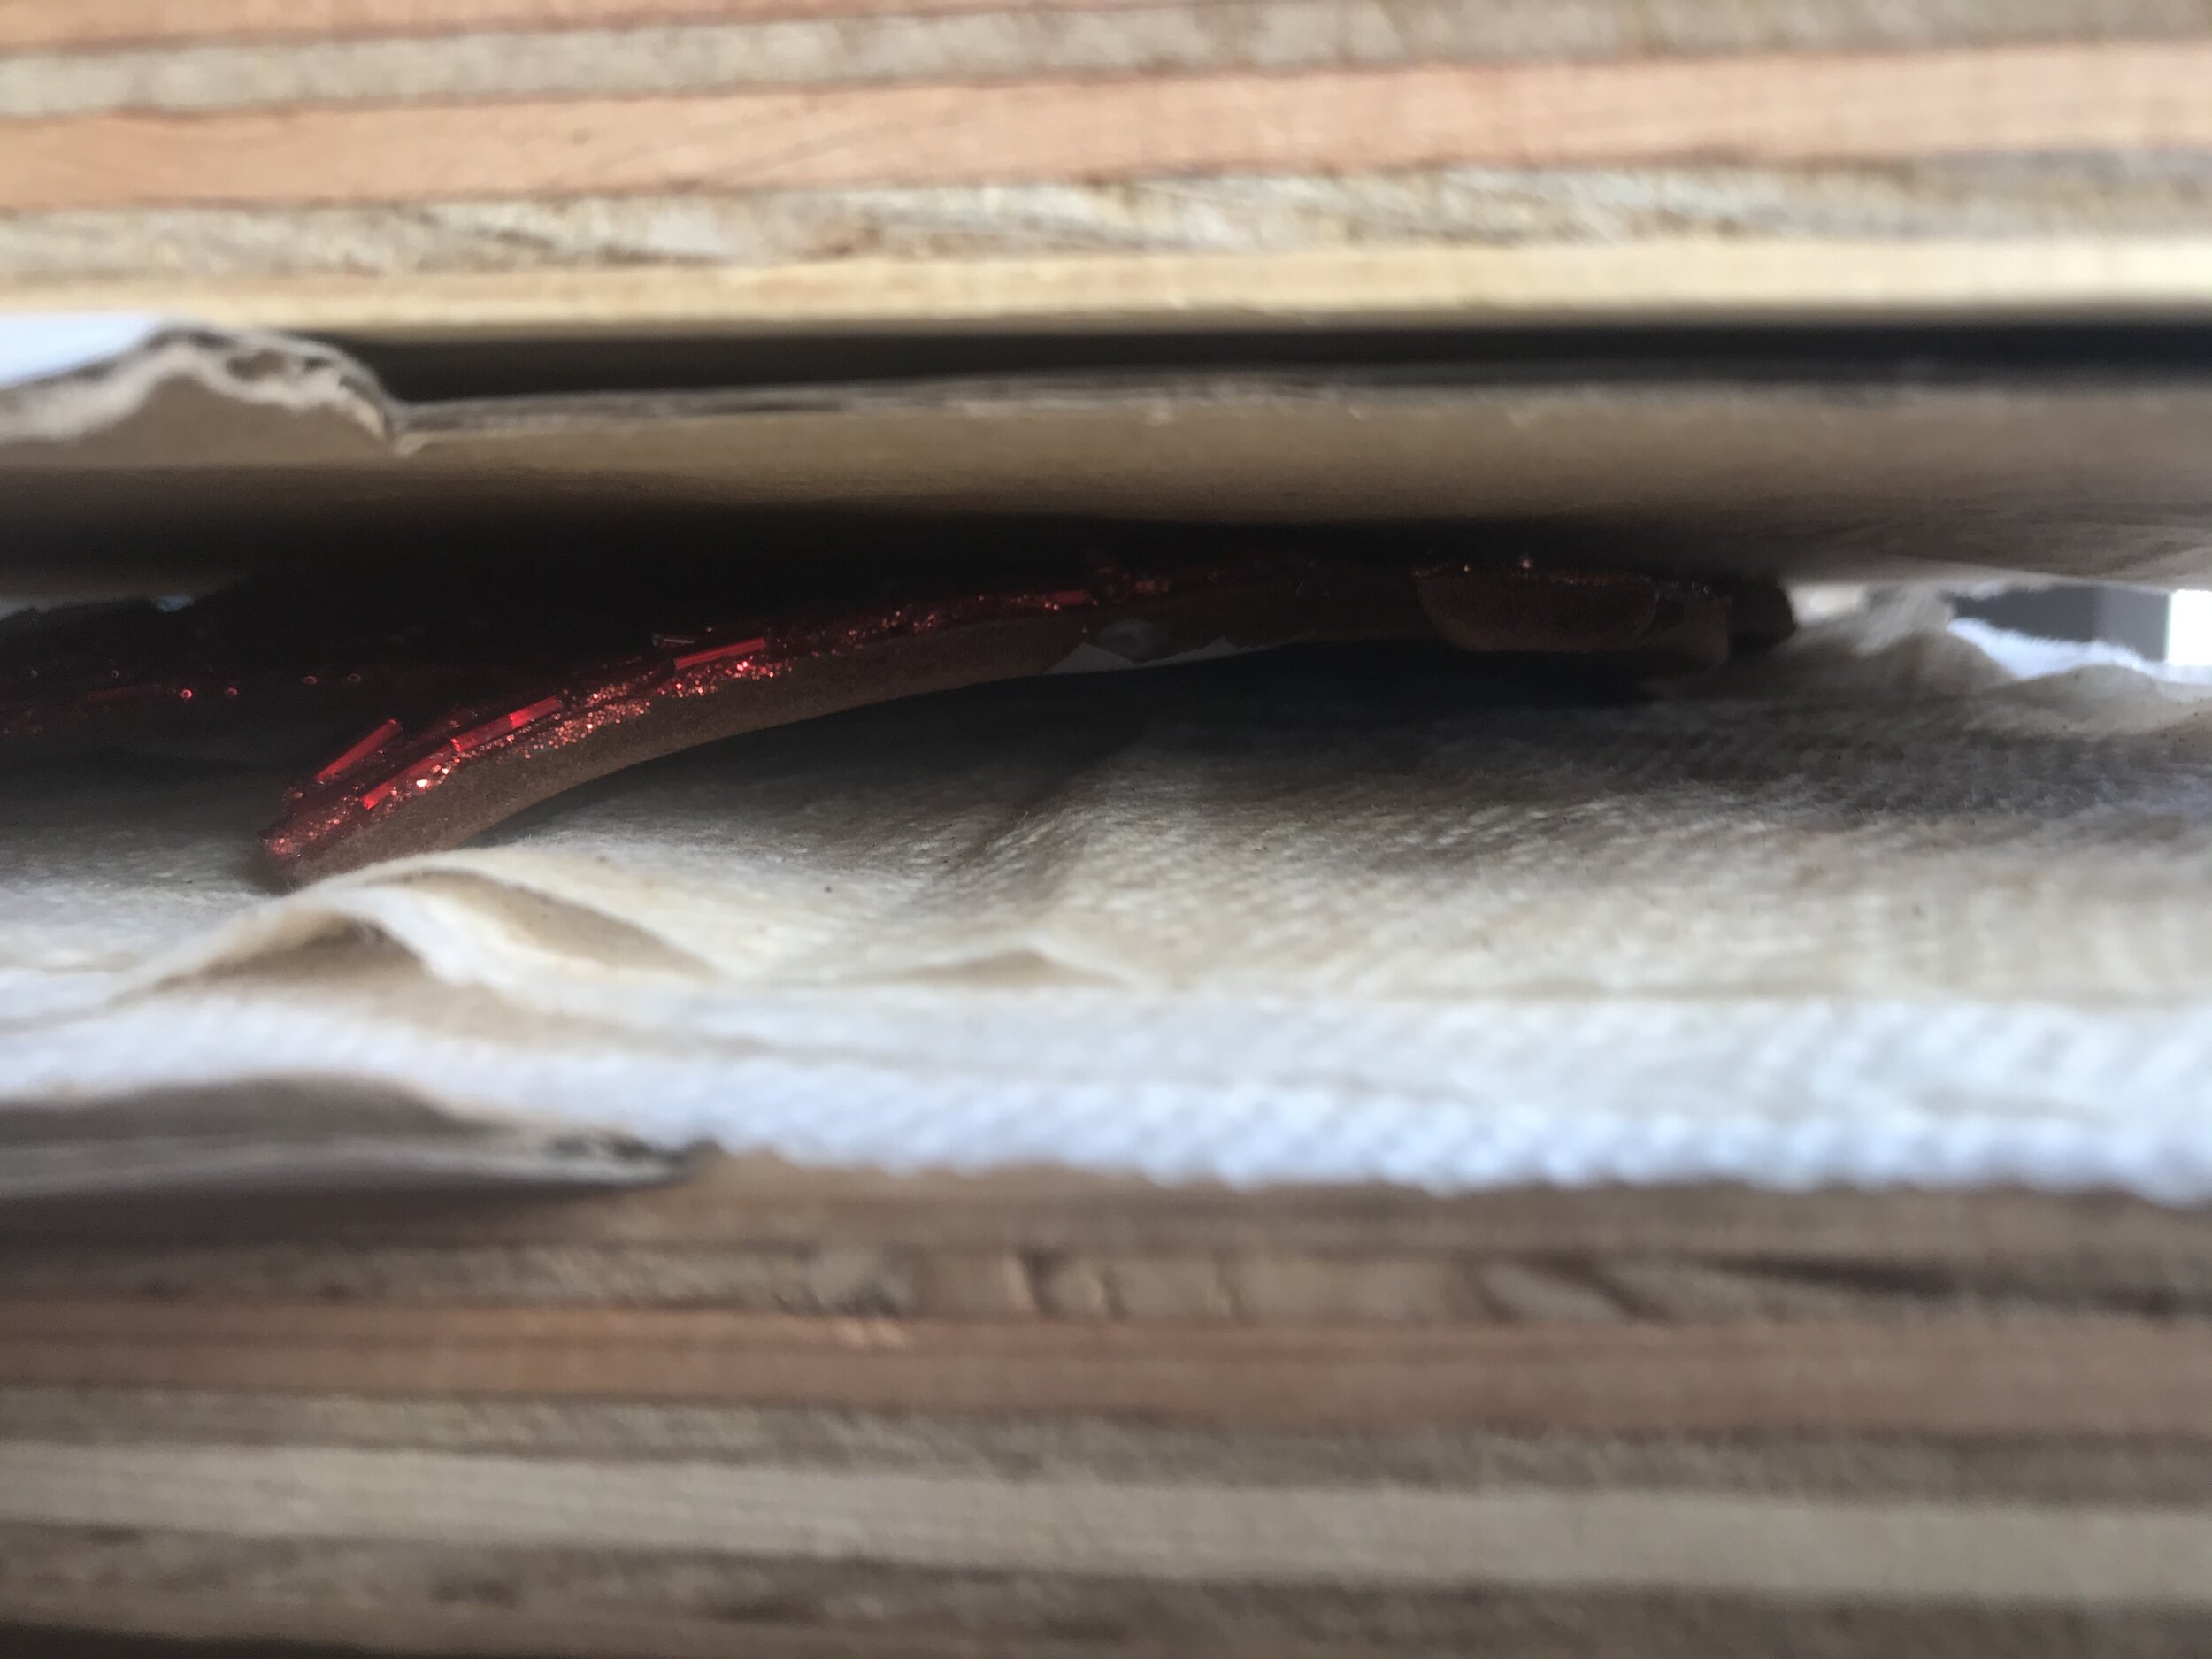
Create your press by laying down items in the following order - board, cardboard, moist paper towels, ornaments (non-decorated side down), cardboard, then the other board. If you’ve got really warped ornaments, you can apply another damp paper towel directly to the back of the ornament before setting it down in your press (because it may not make contact with the paper towel on the cardboard).
Now you need to take things slow and steady… depending on how warped your ornaments are, you won’t want to add too much weight to your press all at once. Your top board might be enough weight to get things started, and then you can gradually add more weight to the top of your press. DON’T RUSH IT! The pressing process can take a couple of days or up to a couple of weeks. If your paper towels dry out before the ornament had flattened, you can re-moisten the paper towels and go for a second or third round of pressing… adding a bit more weight each time. You’ll want to leave items in the press until the paper towels are completely dried out. If things have not completely dried out, your ornaments can spring back to the bent shape… so the longer you can leave them in the press, the better results you’ll have.